Search the Community
Showing results for tags 'tenon'.
-
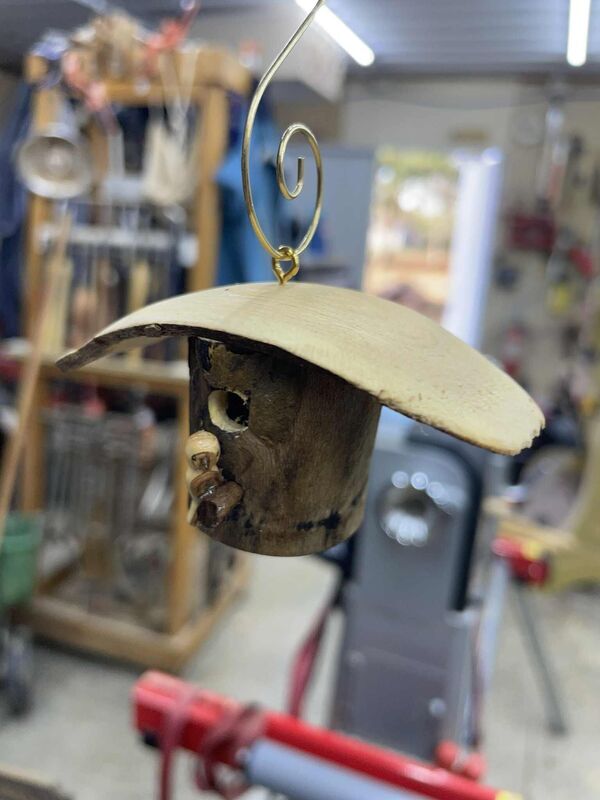
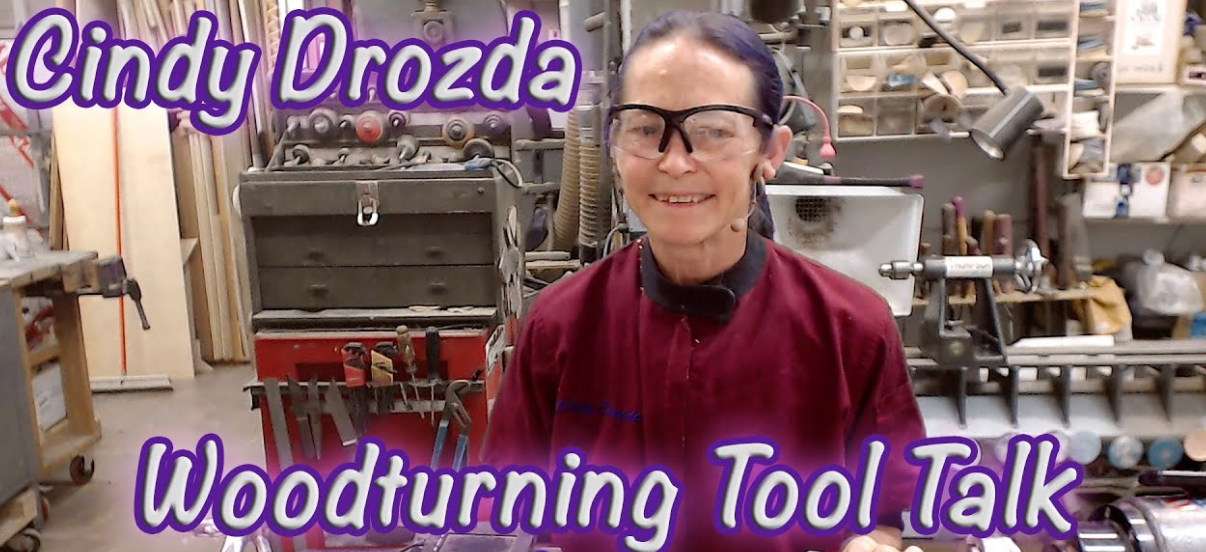
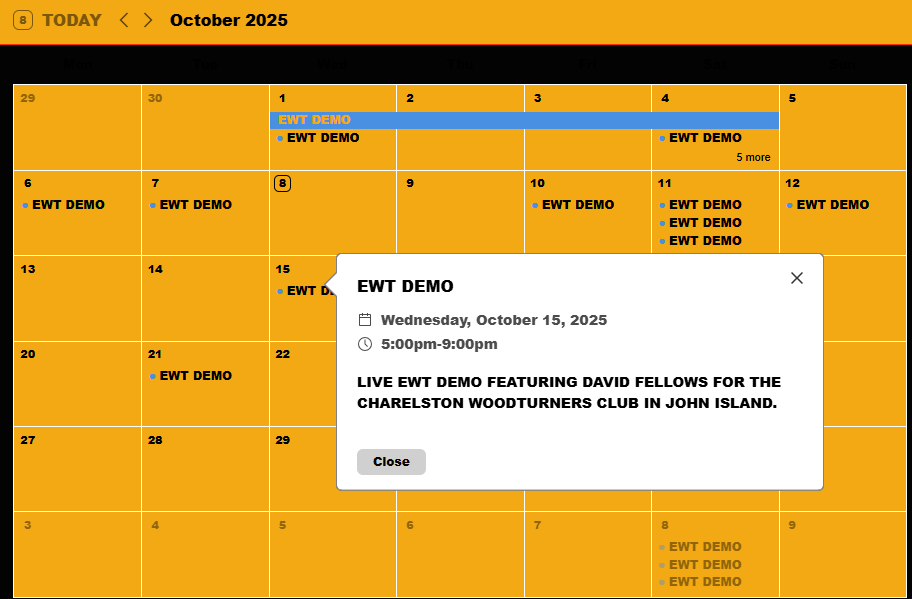
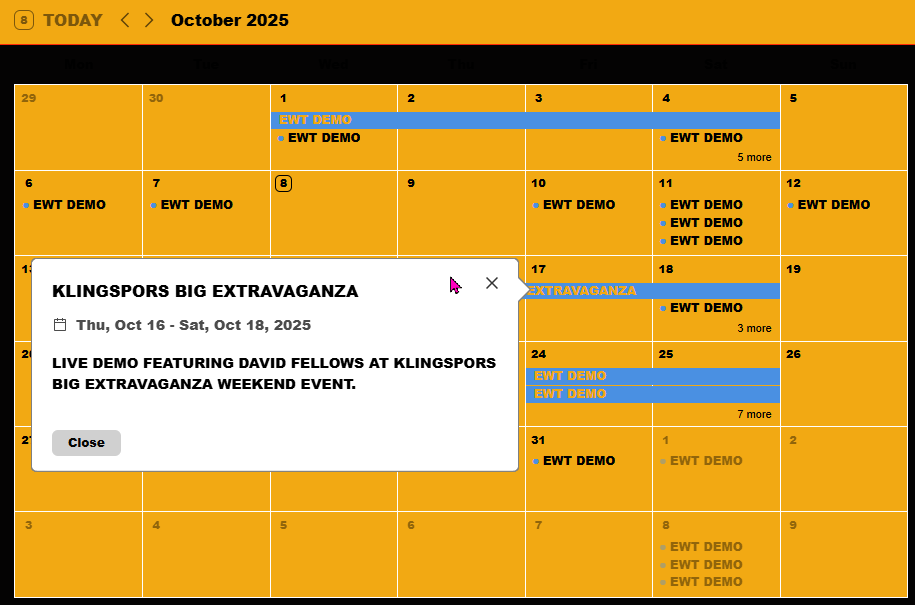
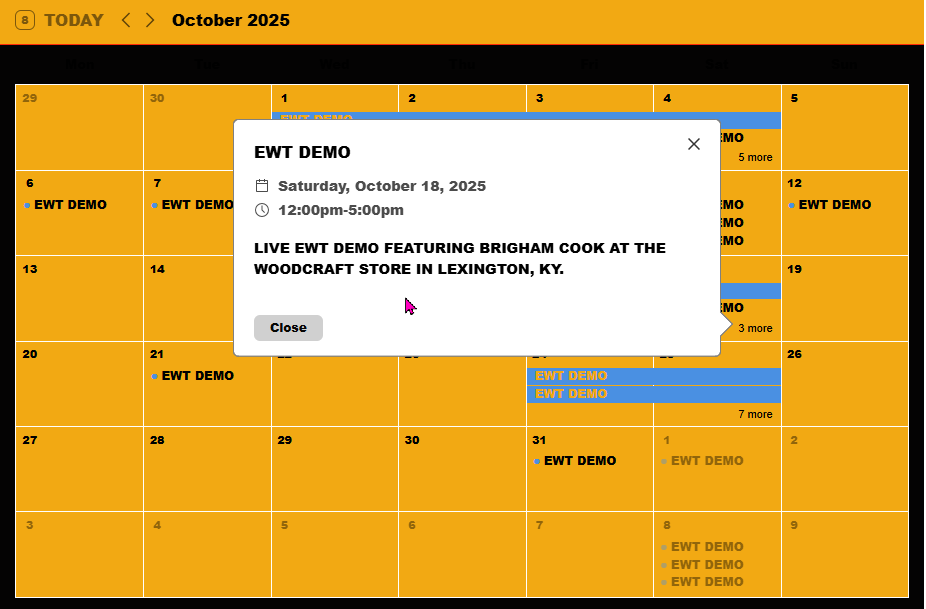
Our Patriot Turners- @Steve Krumanaker is the master at turning birdhouse ornaments! He can see these awesome little houses in the most unlikely places. Check his post for more images and what species he used for these. What's Coming Up- An update on the Fall 2025 Vendor Showcase from Tod Raines and Cindy Drozda. The link for registration- https://streamyard.com/watch/UEPASfQYUjg2 This Friday, October 10, 2025, Cindy Drozda's Tool Talk The YouTube link- https://www.youtube.com/live/nBjS2woRNJU?si=RERI2OapWi-VleUQ For The Newbies- If you have tried turning with a tenon and had the tenon break, Mike Peace shows us methods of salvaging the turning- Expand Your Horizons- Tod Raines' presentation from last Friday focused on making wooden jaws for a four jaw chuck. The wooden jaws are less prone to damaging the turning. Some good instructions on making the jaws. Live demonstrations can have their share of "oops" moments. Fast forward to the 1 hour mark and see the "mistake" and Cindy's comment just before the excitement. Richard Raffan turns a bowl to salvage it from splitting. What caught my eye was the way he used a shop made jig to hold the turning to the lathe while he created the bowl feet. Simple but affective. Very near the end of the video, just past the 22 minute mark Turning Time With Easy Wood Tools- Easy Wood Tool Demonstrations for next week- https://charlestownewoodturners.org/ https://www.woodworkingshop.com/woodworking-extravaganza?srsltid=AfmBOortMTJHpUxUpUHBQ-n1P3ZiLX628bhOnkhPrfM6A1VkMsyPRgZg https://www.woodcraft.com/pages/store/appleton?srsltid=AfmBOorIkkkEMwjeU3Lbt8FM8cpQrFyH4Fo_3TsmDTe1pw77kLx_nVsy https://www.woodcraft.com/pages/store/lexington https://www.woodcraft.com/pages/store/oklahoma-city Easy Wood Tools negative rake cutters were developed for turning acrylic and hybrid blanks. Jake Thompson turns this one for a very worthy cause. At the end of this video, EWTs Yorkshire Grits are used to bring out a glass like finish @Jordan Martindale New Turning Items- New from Sorby tools! Looks like a much easier tool to use than the full size texture/spiraling tool Available from our very generous sponsor- https://www.woodcraft.com/products/sorby-micro-spiral-set?srsltid=AfmBOooVjnNIgh5-vGlf4l_MjIRBT1goQ8eIT7tbv33eIthOBSgPr1K7 Not new but on sale from Highland Hardware. The Wood Slicer bandsaw blade. Great for cutting stock for segmented turning. Click on the image for the link to the sale- Another source for modular tool supplies The Woodturning Tool Store Everything Else- Safe turning

-
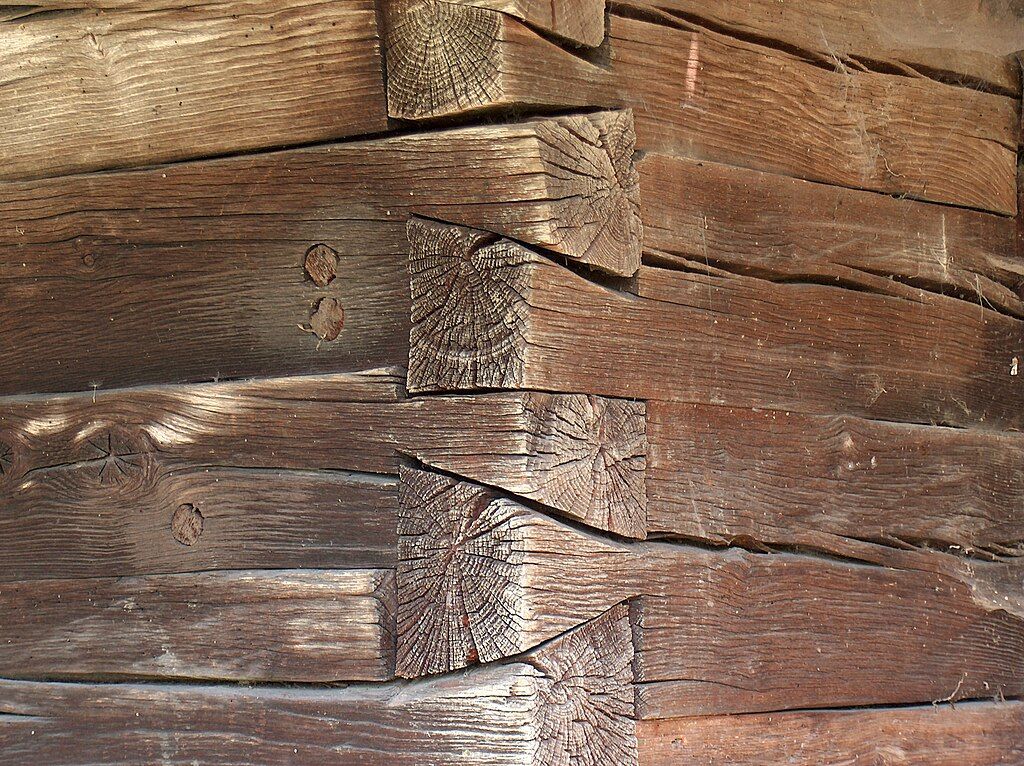 Instructions Welcome to our Glossary of Woodworking Joints. Feel free to edit and add terminology to this research page. Please follow the general guidelines as outlined below. Add only woodworking terminology that is widely used in the crafts, arts, trades and industry of woodworking. Avoid entering terminology that is used locally, or regionally. Please research your own entries, before entering them here, and verify that they are indeed accurate and reliable. A B Biscuit Joint - Crescent-shaped slots are carved into 2 pieces of wood, then an oval-shaped "biscuit" is glued into place to join them both. Keeps glued boards aligned while glue dries and strengthens the bond. Cut perfect biscuit slots with our Biscuit Jointers. Box - A corner joint with interlocking square fingers. Receives pressure from two directions. Bridle - The bridle joint is often defined as the reverse of a mortise and tenon, and is chiefly used in the carpentry and joinery trades. The name probably originated from the fact that it bears some resemblance to the manner in which a bit slips into the horse's mouth and is fastened to the bridle. Like Mortise and Tenon, but easier to make as it is open on three ends. Butt - The end of a piece of wood is butted against another piece of wood. This is the simplest and weakest joint. Of those, there is the a) T-butt, b) end-to-end butt, c) Miter butt and d) edge-to-edge butt. C D Dovetail - See various types of Dovetail joinery below: Through - A Through joint is where the end grain is visible from both boards. Through dovetail joints are most commonly used on box construction and carcass (framework of the piece). This joint is also called a plain dovetail by many in the woodworking community. In the past the ends showing through would have been masked by a veneer. Today they are a sign of exceptional quality and are left showing with pride. Half-blind - A half-blind dovetail joint also known as the single-lap dovetail joint is exactly opposite of a through joint because the end grain is not visible on the boards. Sockets house the tails at the end of the boards so the dovetail ends are invisible. Half-blind dovetail joints are commonly used for attaching drawer fronts. Secret mitered - A secret mitered joint is also know as a full-blind mitered dovetail and full-blind dovetail joint. Secret mitered joints are used in box work and cabinet construction and offers the best strength out of all of the dovetail joints. These joints are used for box work or fine cabinet construction where strength is needed without a joint you can see. Secret double-lapped - The secret double-lapped dovetail joint is kind of the like the mitered joint but has a visible section of end grain on a single edge of the joint. similar to the secret mitered dovetail, but presents a very thin section of end grain on one edge of the joint. Secret double-lapped joints are used for box construction and carcass construction to hid the dovetails. Sliding - The sliding dovetail joint is created by joining two wood boards at 90 degree angles, where the they intersect different than other types of dovetail joints. They intersect by sliding the tail of one board into the middle socket of the other. Sliding dovetail joints are commonly referred to French Dovetail joints. Sliding joints are commonly used to joint cabinet sides to shelves, sides to cabinet bottoms, shelves to horizontal partitions, table frames to adjacent sections, sides to drawer fronts, cabinet sides to front rails, body and neck in guitars and violins. Doweling - Doweling is the term generally given to the method of jointing timber and other materials by wooden or metal pegs, which are called dowels. For cabinet-making and similar work straight-grained beechwood dowels are mostly used; these may be bought by the gross, in lengths of about 36 ins., and of any desired diameter. Draw bore - The draw bore joint method of joinery is typically used in a mortise and tenon joint. Some times in order to add additional strength to a mortise and tenon joint the crafts-person will bore through the joint and add a pegs or dowels to secure the tenon to the mortise, going a step further, one would also bore a hole(s) in the mortised part, then bore a hole(s) in the tenoned part that are offset slightly, then insert and ram home a trenail or trunnel pin, the tenoned part will draw tightly into the mortise. Doweling Joint E Edge Joint - Used to connect 2 boards along their length. Edge joints are usually glued, and are made stronger with complementary interlocking protrusions. The profile expands the edge-to-edge glue surface, but more importantly, produces the precise surface alignment that’s essential for fast glueups. F Finger Joint - (also known as a comb joint) A woodworking joint made by cutting a set of complementary rectangular cuts in two pieces of wood, which are then glued. To visualize a finger joint simply interlock the fingers of your hands at a ninety degree angle; hence the name "finger joint." It is stronger than a butt or lap joint, and often forms part of the overall look of the piece. G Glued - The glued joint is made by planing two pieces of timber so that when placed together they are in contact with each other at every point; they are then usually united with glue. Alternative names under which it is known are the butt joint, the rubbed joint, the slipped joint, whilst in certain localities it is known as the slaped (pronounced slayped) joint. Glued Joint H Halved - The halved joint is frequently known as half-lapping, and sometimes as checking and half-checking. In the majority of cases it is made by halving the two pieces, i.e., by cutting half the depth of the wood away. There are, however, exceptions to this rule, as in the case of "three-piece halving" (or, as it is sometimes called, "third lapping") and in the halving of timber with rebated or moulded edges. Halving is one of the simplest methods of connecting two pieces of timber, especially where it is desired to make frames and bracket supports for either inside or outside use. Halved Joint L Lap - or Halfing Joint - The end of a piece of wood is laid over and connected to another piece of wood. Due to a large surface area of long-grain to long-grain wood and glue surface coverage, this is a very strong joint. There are many versions of the lap joint but they all involve removing half of the wood from each piece using a saw, chisel, or router. 1/2 of the wood material on both pieces is removed, weakening the joint somewhat, but the two boards are aligned flush and stable. M Mitering - The term mitering is generally used to denote the type of joint used at the corner of a picture frame; or where two pieces of wood are beveled away so as to fit each other, as the skirting or plinth mould. In these cases the timber is cut so that the joint is at 45 degrees to the face, and the two pieces, when placed together, form an angle of 90 degrees (a right angle). Mortise and Tenon - A mortise (or mortice) and tenon joint is a type of joint that connects two pieces of wood or other material. Woodworkers around the world have used it for thousands of years to join pieces of wood, mainly when the adjoining pieces connect at an angle of 90°. In its basic form, it is both simple and strong. Mortise Corner Stub - Foxtail - Haunch - Tenon Bare Faced - Feather - Pinned - Stubbed or Stump - P Pocket-hole - Simple to make and often seen on manufactured items as it is easy to reproduce using a jig. Drill holes at an angle to both pieces for a stronger joint. For very best results, use a Forstner bit, which are well known for their ability to drill clean and chip-free holes in wood. S Saddle - The "saddle joint" is used for connecting upright posts to heads or sills of framing, and undoubtedly takes its name from its similarity to the way in which the saddle fits the horse. It does not weaken the framing as does a mortise and tenon joint, and shrinkage has little effect upon the joint. Saddle Joint Scarf - The method known as "scarfing" is used for the joining of timber in the direction of its length, enabling the workman to produce a joint with a smooth or flush appearance on all its faces. One of the simplest forms of scarfed joint is known as the half lap, in which a portion is cut out at the end of each beam or joist, equal in depth to half the full depth of the beam, and of equal length to the required scarf. Plated Sarf Joint T Tongued and Grooved - The tongued and grooved joint is used in one form or another throughout the whole of the woodworking trades, covering, as it does, a great variety of work from the laying of flooring boards to the construction of dressers, bookcases and other cabinet work. As the name of the joint implies, one one board a groove is created, on the joining board a tongue is created, and the two are married or matched together. Tongue and Grooved Joint Tambour Joint - A tambour joint is made with a ball and socket for joinery that allows movement between wood pieces, such as a roll-top desk or breadbox door. This joinery does not require glue or fasteners. The interlocking joint allows the joined pieces to move, flex, and move along a track.
 -
Got lucky. Was turning a bowling ball and the tenon broke off. First time that has happened. I was able to hollow it out with my vacuum Chuck and then turn it around and fix the bottom. The bottom got a little thin but I was able to avoid the funnel. I have to do a demo at the club on turning bowling balls in June. Wanted to practice one. Will have to be more careful.
- 5 replies
-
- 11
-

-

-
- bowling ball
- tenon
- (and 1 more)
-
I have not been turning that long, not much experience of years as such I kind of make up stuff as I go. I have been frustrated when turning a mortise, tenon, sacrificial piece etc trying to get the "right bite" for the bowl or vase I am ruining at the moment . Taking measurements of 3 sets of chuck jaws, I made a chart and compared to measurements of the work to see if I have the right "bite" on the work. To me this was a PITA and for some reason counterintuitive . Out of the frustration came the "GO / NO GO" gauges shown here. the picture here shows 3 gauges I made, ( one for each set of chuck jaws) that I can now simply hold up the correct gauge to a mortise or tenon I am trying to create and instantly know if I have a good fit for the chuck. For me this greatly simplifies the process and instantly shows how much "bite" I can expect without ever taking an actual measurement. calabrese55
- 6 replies
-
- 6
-
-

-
- lathe chuck
- gauge
- (and 4 more)
-
I had built some cabinets last fall and finally started the doors this week. They are a simple flat panel/shaker style but the M&T is a first go for me. It's all done with a dado setup on the table saw. There are a total of 20 doors, with 1/2" overlay. I wanted to share this to let others know that no special jigs are needed to make doors using this method. After ripping the stiles and rails, I made the 1/4" dado groove for the recessed panel and the tenons. Then clamped the stiles to the work table at the proper width. The stiles are not cut to length yet. I measured the length for the rails plus the total 1/2" for the tenon depth. Several trials and small adjustments at the saw to get a decent fit. Cutting the panels to fit and the stiles to length tomorrow and ready for glue up.
-
I purchased this saw a bit back from a local flea market. It was labeled as a small tenon saw. When I bought it, it was filed crosscut. I am heavily influenced by Paul Sellers. I will be forever grateful to him, as I have always wanted to work wood with hand tools, but he was the first person I ever saw who explained and demonstrated the techniques in a way in which my brain said, "Hey, I can do that". Most of what I know I learned from him, and the rest, where i differ is ways I have learned that suit the way I think better. Sellers is an advocate of rip saws when it comes to joinery saws, however, i have seen him use a carcass saw that I'm pretty sure is filed cross, I can't prove that, though. I think he advocates rip because it is easy to resharpen for a beginner, but I think in practice he diverges a bit. I said all of that because it is relevant to the topic at hand. Up until now, all of my joinery saws have been rip, and they have worked well for me, so i filed this one rip as well. But in daily use i began to wonder, "Why in the heck do I need three separate joinery saws filed rip?" I'm a voracious consumer of any media involving hand tool woodworking I can find, so i know that traditionally joinery saws were both ripcut and crosscut, So i decided to convert this saw to crosscut, and so far I'm glad i did. It wasn't easy, though. If you look at the saw sharpening videos on Youtube you will usually see these guys demonstrate passing a file through the teeth about twice and calling them good. Okay, Billy Bob. I literally had to sharpen this saw about 5 times until I got it where it was cutting to my satisfaction. The conclusion I've come to is that they are sharpening saws whose teeth are already in good condition; this one needed much more work. The handle is a bit blocky and does not fit my hand all that well, so in future I will most likely alter it a bit. The saw as far as I know holds no value as a collector or a piece of history. There are no maker's marks, branding, nor anything else. It's just an average saw for the average man, so I'm not worried that this average woodworker is going to ruin anything by altering it to fit my hand better. All in all, I'm glad i hung in there and got it right.
-
So I'm working on a project that has many firsts for me. First time creating mortise and tenon joints, first time using my mortise attachment for my drill press, first time using my table saw tenon jig. Creating the mortises went fairly well once I got the attachment set up properly. The tenon jig, not so much. I think I need to do finite adjustments with my gauge to make sure it's perfectly square to the miter slot. I used the table saw to cut part of the tenons and the band saw for the rest. My tenons ended up as trapezoid shapes instead of rectangles! See pictures below. This particular project doesn't require perfection, hence why I'm starting with it, but I'd like to learn how to do better for the next time around. Can anyone offer suggestions on what I did wrong and how to correct it for next time? Thanks!
-
A couple of weeks ago I was asked how I cut the angles on my flag cases. Well, today I cut 3 out for my online store so I grabbed a few pictures. Keep in mind that I”m a big advocate of using a digital protractor so that my 45 degree angles at the top are truly 45 degrees and my 22 1/2 degree cuts on the lower corners are truly 22 1/2 degrees. I cut these angles with a tenoning jig. The last picture shows how I join the angled corners. Filament tape is strong enough to let me pull the joint together.
-
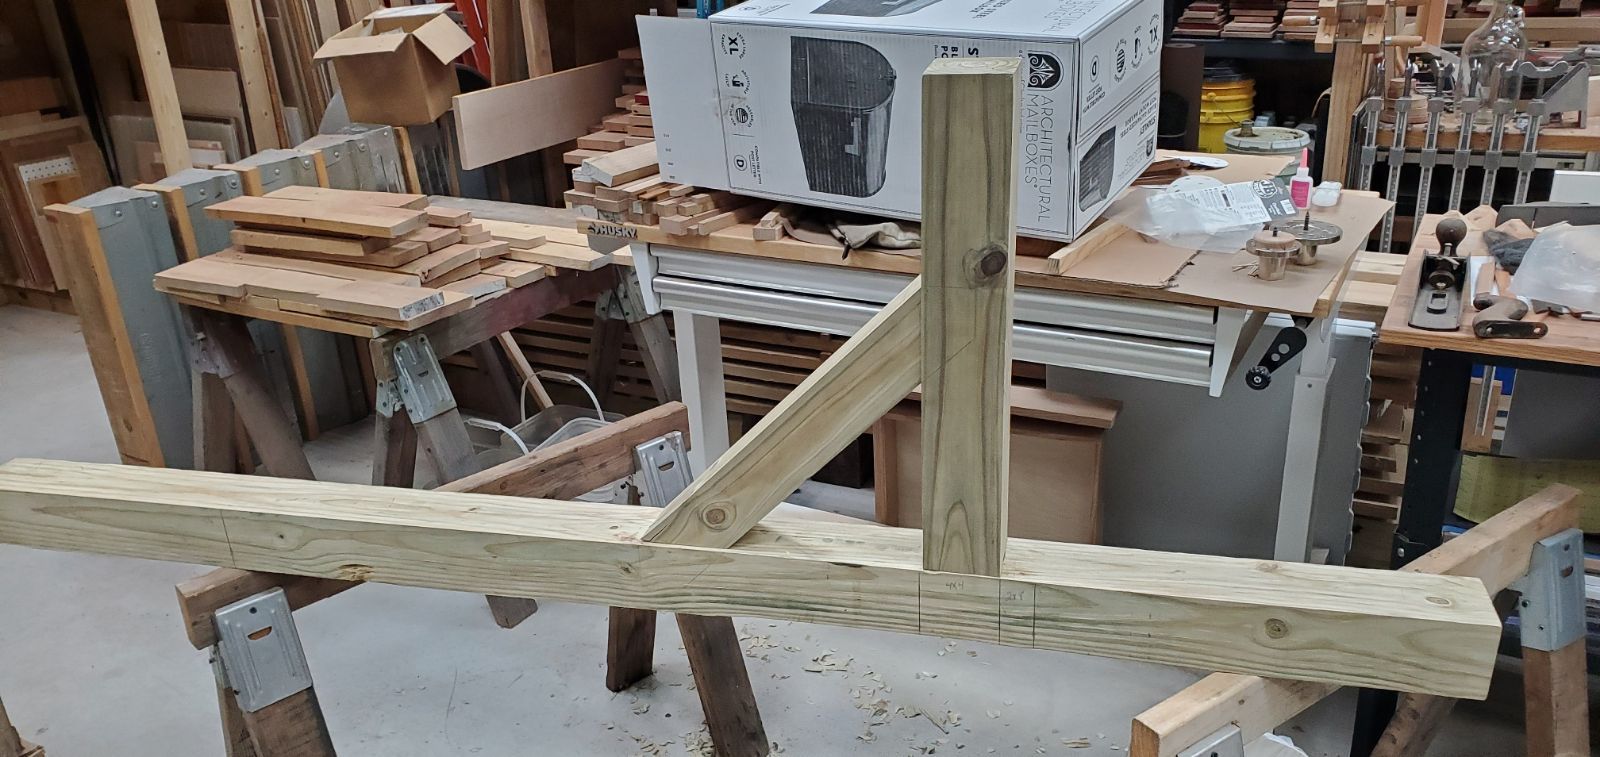
I got side tracked making a new mailbox post for a larger mail box. A test tenon Fixed it with some polyurethane glue as the wood was pretty wet... I split it out while fitting the tenon to the mortise using a crow bar to jack it out... I hope to get it planted Sunday but I'm feeling kinda poorly right now... it's been raining so digging should be easy. JT
- 12 replies
-
- 13
-
-
-
I'm reading a Fine Woodworking book on "Boxes, Carcases, and Drawers." It's just a collection of articles from the early days of FWW. One of them is by Tage Frid, one of the major authors of the day. He writes, "Furniture construction is broken into two main categories: frame and carcase. In frame construction, relatively narrow boards are joined -- usually with a mortise and tenon joint -- as in a chair or table base, or a frame and panel door. In carcase construction boards are joined end to end using dovetails, tongue and groove joints and the like, as in a drawer or hutch." Seems simple enough, huh?
- 5 replies
-
- 5
-
-
- tongue and groove
- dovetail
- (and 11 more)
-

From the album: Glenn Davis
Cherry display cabinet with curly maple raised panel back and bulletin board, mortise and tenon doors, pegged construction -
Only ONE week left in our summer fund raiser. Please consider donating to help keep our site alive- Our Patriot Turners- @forty_caliber hasn't used up all of that pecan stash. Check out this beauty- He tells us a bit more in this post- @Gerald was turning a tenon and uncovered this unusual shape. He asked what we thought it could be. Check out more images and the thoughts of our members- Boy, did we get a bunch of neat turnings posted on our "What's On Your Lathe" topic! @Gerald, @calabrese55, and @RustyFN all were busy in their shops- You can catchup starting here- What’s Coming Up- Click on the images for links to more information and registration For The Newbies- Form Mike Peace. Some good tips about the size of a tenon vs. the diameter of the piece- Mike also has some thoughts on purchasing kits- A hint from Tim Yoder about retaining those beautiful colors in your turnings- Are there little ones in your family? Sam Angelo shows how to create some simple turnings that could become favorite toys. Expand Your Horizons- You pulled that bowl round off the shelf and discovered it had a nasty split, now what! Here's what Richard Raffan does- Got the outside turned and starting to hollow out the inside and then this! What would you do? Tenon or mortice?? How about neither! Mike Waldt's video short of turning a large platter illustrates the strength of hot glue! New Turning Items- Several of the vendor attendees to SWAT did a live video showing much of what was happening and is available for viewing. I did catch one unique item from Niles Stoppers. Audio is a little off. https://streamyard.com/watch/8dzBZqCXEzpu A couple of weeks ago, we posted a new item from Ron Brown- the lathe disk sander. Ron has since added a short video of its operation- Woodturners Wonders is now handling Crown Tools. Check out more at- https://woodturnerswonders.com/search?type=article%2Cpage%2Cproduct&q=crown* tools*&_kx=gV5SF2As_3IwtBi5TrpHVQM0F3UvGVbQKzhWGippDlk%3D.VJvU8R Everything Else- From Ron Brown's newsletter- I Meant To Do That! Show-and-tell is an important element at any gathering of craft people, turners included. I implemented a guideline at the Gwinnett Woodworker’s regular Saturday morning meetings: "Don’t point out flaws.” If it isn’t blatantly obvious, don’t talk about it. Stay positive and share what you enjoyed about making this piece and possibly what you might have learned. In an attempt to appear humble, we sometimes point out our shortcomings or mistakes so we won’t appear to brag about what we’ve accomplished. You put in the time, energy, and effort to create something you are proud of. Don’t diminish it by pointing out the smallest of mistakes. One of our members was describing his piece which was very impressive by the way, he mentioned what became known as “the hanging hole.” None of us could see it, folks asked him to show us what he meant because it was so minor that even if you saw his mistake, you wouldn’t think anything of it. Most of the pieces woodturners make are unique because the wood's character can vary dramatically. Often there is no standard for comparison. If your piece didn’t turn out exactly like you intended, don’t be disappointed, be proud of what you did accomplish. Mistakes Can Be An Opportunity For An Object Lesson! A famous highly skilled local woodturner was demonstrating hollow forms when he suddenly pierced the vessel's side. Rather than giving up, he brilliantly used this turn of events as an object lesson on what to do with the remaining material. If you have never come through the bottom of a bowl or through the side of a hollow form, just wait, you will sooner or later. It’s a little more difficult when you do it in front of 30 other turners! Things are rarely perfect and yet most are still beautiful. Only someone lacking wisdom would criticize your work and point out small flaws. Don’t be easily offended and don’t do it yourself; that can lead to false humility. You’ve put in the work and practiced for untold hours, sometimes years, to gain your specific skill set. In other words, you’ve earned it Safe turning
- 3 replies
-
- 5
-
-

-
- vendor show case
- hot glue
- (and 28 more)
-
Putting tenons on some sweet gum blanks today. I put this on lathe and notice the rotten spot is squared. Then looked at the end and looks like there was a dowel there. Kinda strange.
-
Managed to get some forward progress on the wife’s entry table this weekend.
-
Just in case we forget sometimes, picture association can help, Mortise and Tenon theory 101 class
-
May favorite magazine/book of which I am a subscriber, has produced yet another wonderful class, this class "Skills Over Jigs" leads the student to cut the umbilical cord with hand tool jigs, sharpening jigs, dovetail jigs, etc. I have purchased a few of the M&T video classes on DVD, and loved them, this class is on video and the price is right. Link to the class page is: Skills Over Jigs If you do purchase the class please report back to us how it went! From my previous experience with their other courses, I don't think you'll be disappointed Here is the trailer that just dropped.
-
Last Wednesday in September! Where did the month go?!?!? Our Patriot Turners- @forty_caliber Started turning a bowl from a piece of wood we don't often get to see- He tells us about the wood and his plan for drying, in his post- Forty also had a bit of a problem with a tenon on a bowl blank. He explained what he did to remedy the situation- @Ron Altier continues to experiment with new ways to embellish his Christmas ornaments- Ron tells us what he used and where to purchase it, in this post- @HandyDan continues his tradition of making sure new babies have at least on gift. Dan makes some really nice rattles that surely will please any new parent and baby alike- Check out Dan's post for more information- What’s Coming Up- Click on images for links to more information and registration- For The Newbies- Last week we posted a video from Mike Peace on using a tenon for bowl turning. This video, from Mike, explores using the mortice to accomplish the same thing. Expand Your Horizons- Turning a pen is a quick and easy way to make nice gift. If you do craft shows, maybe pens can expand your inventory. A video from the AAW- Alan Stratton added another video on turning a scoop. This one demonstrates an easier method than the others we have posted- Richard Raffan turns a natural, bark rimmed bowl- New Turning Items- I didn't see anything new here but Woodturners Wonders is offering site wide free shipping this week https://woodturnerswonders.com/ Everything Else- It's always a treat to see what Tim Yoder comes up with next. This one is out of this world- Safe turning
- 4 replies
-
- 1
-
-
- pen turning
- mortice
- (and 21 more)
-
Over the past several weeks I have been slowly working on a new workbench for hand tool woodworking. This is a learning project for me and I am learning a lot. At the heart of things I am finding that I really enjoy hand tool woodworking. I am also finding out that I am not particularly good at it which doesn’t surprise me much as I have never really dedicated any time to it or learned the proper ways to do things with hand tools. My saw skills definitely need work as I have never done anything with hand saws but rough carpentry and this is a whole new ball of wax. That said, progress is being made and I was able to dry fit the left and right leg assemblies today. They are square and the hand cut mortises and tenons are well fit for the most part. I discovered that i NEED a shoulder plane to really finish these up properly. That said, the little gaps from my lousy saw skills won’t impact the functionality of this workbench in the slightest. Especially after everything is drawbored, pinned, and glued in place. As I work my way through this build I will continue to post updates on the overall progress.
- 97 replies
-
- 11
-
-
Last day of August! Where did the summer go?!?!? Our Patriot Turners- Our turners have been busy this week! @Gerald posted about a novel idea for embellishing a turning. He describes the materials he used and how he obtained the neat colorization in his post- @Gunny posted this in the "What's on tour weekend agenda"- Gunny has these down to an art! @forty_caliber finished up a bowl he started a while back. The grain and color in this one is incredible! He explains the name in his post- @RustyFN posted his beautiful Calabash bowl. He received lots of positive comments and @Gerald was kind enough to post a couple of his bowls for comparison. What’s Coming Up- Hold onto your hats- lots coming up in the near future! A bunch from the AAW. Click on the images for links and information. For The Newbies- Jim Rodgers continues his instruction on how/why catches happen. In this one, Jim discusses the scraper- Expand Your Horizons- Mike Waldt turns and embellishes an ash hollow form- ...and a Yew lidded box Seems we have been really concentrating on making scoops. Another idea but quite different than the previous designs- New Turning Items- SWAT was this past weekend. Cindy Drozda took the opportunity to video many of the vendors and their products. She was live on several occasions. She has posted some of the material on her YouTube Channel. The link to her channel- https://www.youtube.com/user/cindydrozda Craft Supplies USA is having a closeout on a bunch of their products. Some good prices! https://www.woodturnerscatalog.com/Sales/20/Closeout?utm_source=csusa&utm_medium=email&utm_content=closeout&utm_campaign=22-08-closeout Woodturners Wonders Weekly sale: https://woodturnerswonders.com/collections/weekly-sale A couple of weeks ago we mentioned the 3M Xtract sand paper. Taylor Toolworks is currently having a sale on the product- https://taytools.com/collections/3m-xtract?afmc=17p&utm_campaign=17p&utm_source=leaddyno&utm_medium=affiliate Everything Else- Rick Morris must be on vacation this week- He didn't post his usual list of turning videos. Tim Yoder is always a lot of fun to watch- I've been kicking this idea around for a while. Usually, when I make a lidded container, I will use contrasting species for the lid and body. Some things like pepper mills are made from a single piece of the same species. Cutting the blank in half and then creating a tenon can cause a noticeable grain mismatch where the cut/tenon is created. I was watching one of Cindy Drozda's live tool talks and she described a technique that minimizes the material loss and grain mismatch. After cutting the blank, it is glued back together with a sacrificial piece between the halves. This sacrificial piece becomes the tenon. My first attempt at this was a miserable failure. The cuts were not clean enough to create a good glue joint. I'm thinking I need a way to ensure the pieces will look seamless when mated together. My next try was a little better. The first thing was to create a sharp cut with no tear out. I forgot to take a picture in my haste but I used a skew chisel to start the separation cut. Then used my freshly sharpened, shop made, thin parting tool. Also cranked the lathe speed way up to part off the pieces- I did not create a tenon. Instead, I decided to turn tight fitting plug that would be used as the lid tenon. Mortice in one end- Fitting the plug Glue the plug into one of the mortices- the lid on this one. Trim the plug so the two halves fit together- Carefully hollow out the insides making certain not to touch the plug mating surfaces. I did not spend a lot of time sanding the inside. My main goal was to see if the plug idea would work. Some sanding on the outside and testing the grain match- Had to play a little to fancy up the very plain shape- I think this will have a much great effect when used on highly figured wood. This was from a very old piece of air dried walnut. Quite brittle. Safe turning
-
.thumb.jpg.573d1497d0675219908c85aabefd797a.jpg)
(Furnishings)Woodcraft Magazine Issue 81 (Classic Shaker Counter)
John Morris posted a topic in Plans and Software
View File Woodcraft Magazine Issue 81 (Classic Shaker Counter) A wonderful plan by our sponsors "Woodcraft Magazine". Woodcraft has given us permission to share any items from their online catalog, thank you Woodcraft! Submitter John Morris Submitted 08/14/2022 Category Furnishings- 1 reply
-
- 3
-
-
-
- mortise
- tiger maple
- (and 9 more)
-

Version 1.0.0
20 downloads
A wonderful plan by our sponsors "Woodcraft Magazine". Woodcraft has given us permission to share any items from their online catalog, thank you Woodcraft!-
- 2
-
-
- tiger maple
- curly maple
- (and 9 more)
-
I was wanting a shop built tenoning jig and because I have a Delta Unifence rip fence on my table saw, I had to build a fence and a shoe. The fence is 18” long and the shoe is 12” long. When building the shoe, I used a paper shim (0.004”) to allow the shoe to slide freely along the jig fence. The jig fence references off the top of the Unifence and the shoe references off the jig's top surface. The mating sliding surfaces are cherry hardwood. I painted the shoe red to help remind me to be safe. I am getting reliable results. I used a 3/8” dia. router bit to make my mortises and a flat ground TS blade to cut the tenons. Through trial-n-error, a 0.508 shim results in a perfect mortise/tenon fit. The advantages of using this TS-tenoning jig over using the stack dado blade method are this jig will allow me to have one reference surface throughout the build, I do not have to have all the mating materials milled at the same time to allow having at least one flush mating surface, and results in producing smooth consistent tenon surfaces. I believe I will be able to use the jig fence with other shop-made accessories if the need arises. Thanks for looking. Danl
-
Recently did some mortise and tenon work and found my basic chisel set in need of an upgrade. Having my eye on Narex chisels for awhile I am asking for some advice on what type of chisel or chisel sets would suite my needs. These would be a nice upgrade: Narex chisel set BUT, what else would I need to do more work?
-
Hand Painted Oak Foot Stool by Glenn Davis and Darlene Davis
OC3 posted a gallery image in Furniture

From the album: Glenn Davis
Mortise and Tenon Pegged construction -
Here's a good video on the subject. Note you could also just mortise both sides and cut some floating tenons, too. Or you could go to PopWood's site and pay $4 for the video. http://mycrafts.com/diy/mortise-tenon-joinery-with-a-router/


.png.f027dbfbe7577f8e38a86ffae6f03997.png)


.jpg.6429008e6e2a432797daa026e1786125.jpg.dcf5b3196af12bb3d55bc2df323e9cdd.jpg)


.jpeg.785907a797f045c2e178a09f641399a9.jpeg.b0603801e6a56eba513f1fb07f08c45e.jpeg)


.jpg.55571c228526335fedd4afad674ab54a.jpg)