Search the Community
Showing results for tags 'seat'.
Found 13 results
-
Pouring resin on mesquite can be a real PITA. This was no exception. One can never predict which holes/cavities have a bottom and which ones need a dam. To fill with colored resin, the entire bottom if the piece was taped. I still had leaks. Probably more got away than filled the holes. At any rate, the holes were filled. Then two coats of clear finished it. A messy and time eating process. Here's how it came out.

- 10 replies
-
- 10
-

-

-

-

From the album: Walnut Rocking Chair
Before the finish is applied the chair is sanded to 800 then buffed to 1200 Abralon. The chair is already shining before the first finish goes on. -

From the album: Dane Franco
-
I was perusing websites for Green Woodworking tonight, and through links and resources I came across this wonderful short film about chair-maker Lawrence Neal. I have been becoming familiar with the woodworker's of the U.K and Europe over the last year or so, through research and contacts and a couple hand tool purchases shipped to me from "over there". The woodworking skill and art in that part of the world is wonderful, the Green Woodworking culture has taken off like a firestorm over there in the last decade among the youth and middle aged, and of course bodgering in the U.K is where it all started. The craft has come back in a big way, and it's really nice to see folks just working the wood, simply, and with just a few tools. Although chair-maker Lawrence Neal has more than just a "few tools, he does have quite the simple shop. So, hope you like this lil film, it's relaxing, and interesting I feel.
-
I had a nice day last weekend, I was in my shop for most of it, just tooling around and getting reacquainted with my clean shop! So I started back in on my claro walnut rocker. I had some issues with the legs to the seat joint so I spent some time truing up the joint's (different post later tonight) and after wards I still had some considerable shaping to do with my right angle grinder. So I put a 60 grit disk on the grinder and went to town on the rear portion of the seat, I had some dishing out to do that I started last year but got side tracked away from it. It took me about 15 minutes to get it to where it was evened out, and ground out past the depth gauge holes I drilled in at the beginning of the project. Grinding these seats out is fun, you get to see a shape take shape quickly, but you really have to watch it, don't get over zealous, there is a point of no return that will trash this seat in a millisecond. There is a pucker factor when you get to a certain point. But the end result is rewarding. I sanded the seat out to 80 grit with my new USA ROS Sanding disks and the seat is looking good, more pics later. The seat is really rough right now, we are just starting to create the chiseled lines around the front edge and sides that we'll hold too throughout the project, once established you cannot hit them with anything, they need to stay sharp and crisp. You can see how lines need to be held once established in this image of the last walnut rocker I built. Those lines are established very early on, and sometimes it's easy to sand through them if you are not alert. Don't ask me how I know!
-

From the album: Walnut Rocking Chair
The joints in these chair is known as the "money shot". They are really pleasing to the eye, but in the manufacturing process of the leg to seat joints, the process can go from great to disaster in milliseconds, and the project could be ruined. I am happy when the seat joint operations are completed! In this image, the first coat of finish is not applied yet, the sheen you see is purely from sanding through the grits, up to a 1000 abralon pad.- 6 comments
-
- 3
-
-
- black walnut
- joint
- (and 3 more)
-
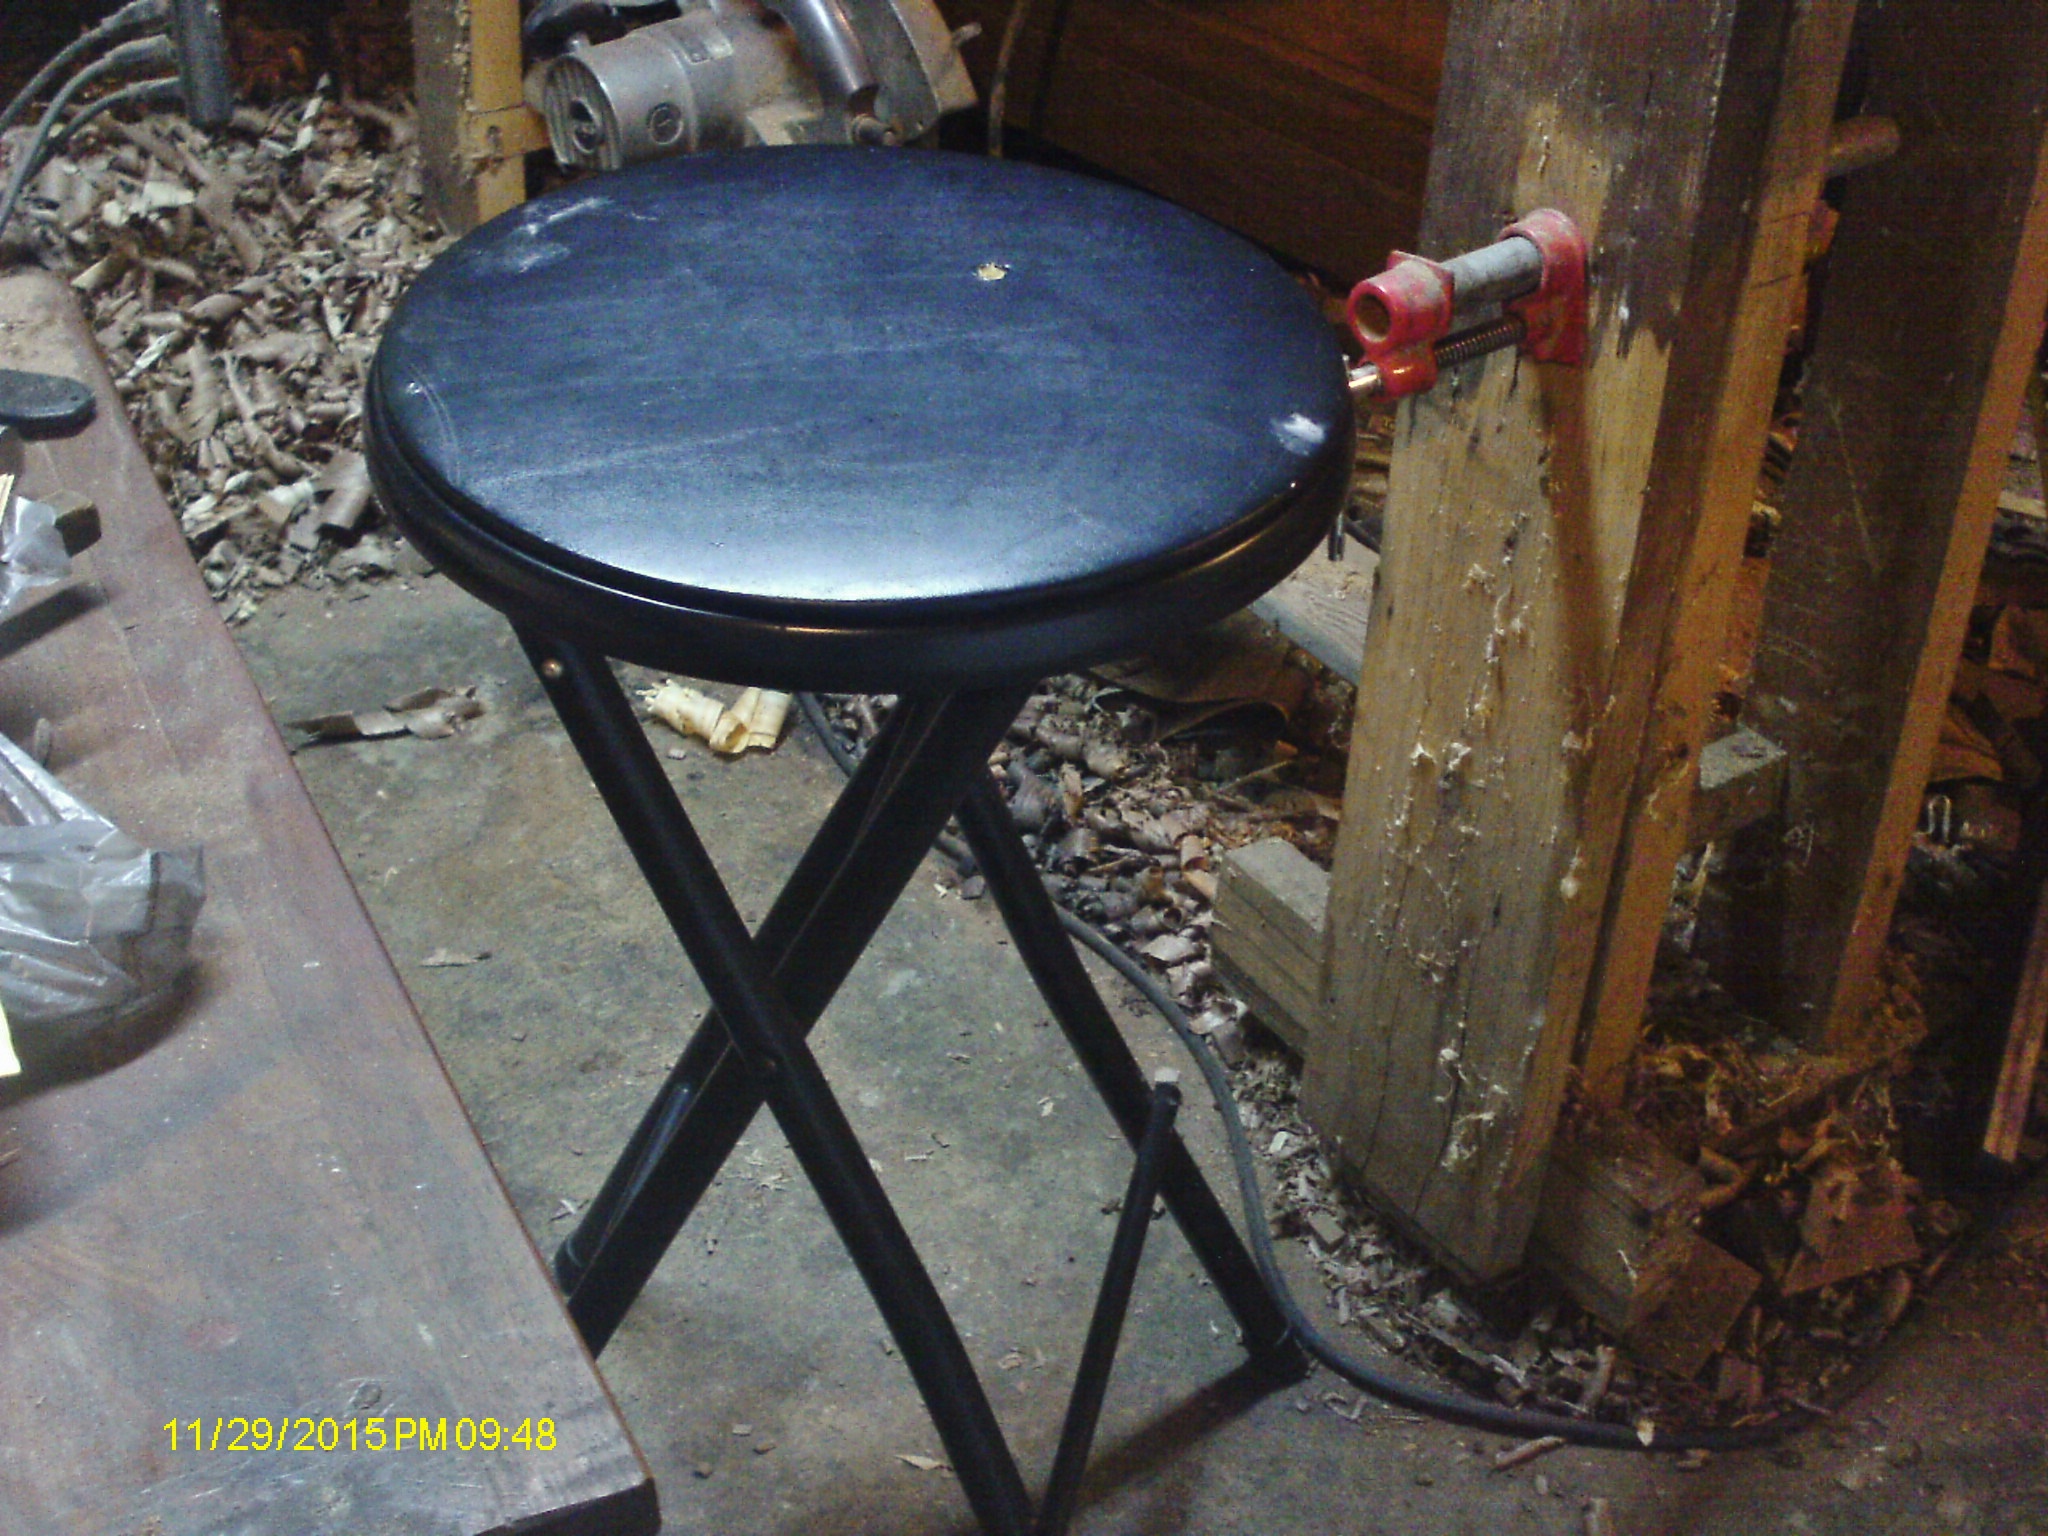
When I lowered my my mini so I could sit and turn, I found that I had to move my stool and that was annoying. I thought I'd build a bench style seat that I could slide on. Lew suggested a stool with wheels.......Duh. Simple and effective. I found one on Amazon with 5 wheels and a pneumatic height adjustment for $30. My wife had enough points that it was free. Price was just right
-
.thumb.jpg.573d1497d0675219908c85aabefd797a.jpg)
Woodworker's Journal Video (Weaving a Shaker Seat)
John Morris posted a topic in General Woodworking
As I ramp up for my shaker chair building, I am getting excited over some of the processes of this project. Weaving the seat is one of them. I am going to weave a few of them, then I'll pass that duty on to my younger daughter, she loves this type of craft. Anyway, I just thought it a fun video to watch, either that or I'm getting old and boring Keep an eye out for the cool shaker chair vise! Here is a plan for it. http://www.woodworkersjournal.com/wp-content/uploads/Shaker-Weaving-Vice-Drawings.pdf- 4 replies
-
- 1
-
-
- woodworkers journal
- seat
- (and 2 more)
-
This post came across my Facebook feed yesterday. I don't know if you need to be a Facebook user to see it or not. I made a "Make a Chair from a Tree" chair a long time ago and used this technique to weave its seat. Susan is Ernie Conover's wife and an artisan in her own right. Ernie teaches, writes, and does consulting work in woodworking. Susan is a "fiber artist." Coincidentally, their shop & school is right across the road from the Boy Scout Camp I went to as a kid. No longer a camp.
-
Workbench Magazine January-Feburary 1966 Child's Table and Chair Set
John Morris posted a file in Furnishings

Version 1.0.0
17 downloads
This is a scanned document of the now defunct Workbench Magazine of this era. Permission was granted by the new Workbench Publication for The Patriot Woodworker community to copy and use the old Workbench Magazine at our pleasure, and for free distribution and re-use. This is a classic design for the kids, back in the day this plan was marketed as a "for the girls serving tea" set, but our boys would love this for their use as well. A crafts table, model building, you name it, all the kids can benefit from this piece of furniture in their room. -
Workbench Magazine January-Feburary 1966 Child's Table and Chair Set
John Morris posted a topic in Plans and Software
View File Workbench Magazine January-Feburary 1966 Child's Table and Chair Set This is a scanned document of the now defunct Workbench Magazine of this era. Permission was granted by the new Workbench Publication for The Patriot Woodworker community to copy and use the old Workbench Magazine at our pleasure, and for free distribution and re-use. This is a classic design for the kids, back in the day this plan was marketed as a "for the girls serving tea" set, but our boys would love this for their use as well. A crafts table, model building, you name it, all the kids can benefit from this piece of furniture in their room. Submitter John Morris Submitted 09/17/2016 Category Furnishings -
Well, latest of my son Craig is that, depending on how the treatments go, he MAY get to go home Sunday, or Monday.... As for this rocker,.....redid the seat slats... Now have 7 slats. Will need to sand a few down to level the seating areas. That board across the back is a Lumbar Support. It will help me aching back. Armrests have been motirsed to fit the post's tenon... It will get a wedge after awhile. On the underside of the armrest, I used a large Forstner bit to help settle the rest down better ( yep, cut the tenon about 1/8" too short) There is also a mortise into the back post.. I can drill through the post, add a long screw, and plug the hole in the back of the post...... This will need a LOT of sanding before I can start to add the finish.. Need to sand away the flat spots on the rockers, too......first things first, need to get Craig back home..
-
Maybe it will give my back a rest? When not in use, I can slide it under the bench. A wee bit taller than the Tool Chest #1, and a bit more PADDED for my rearend. Seemed to work.