Search the Community
Showing results for tags 'coffee scoop'.
-
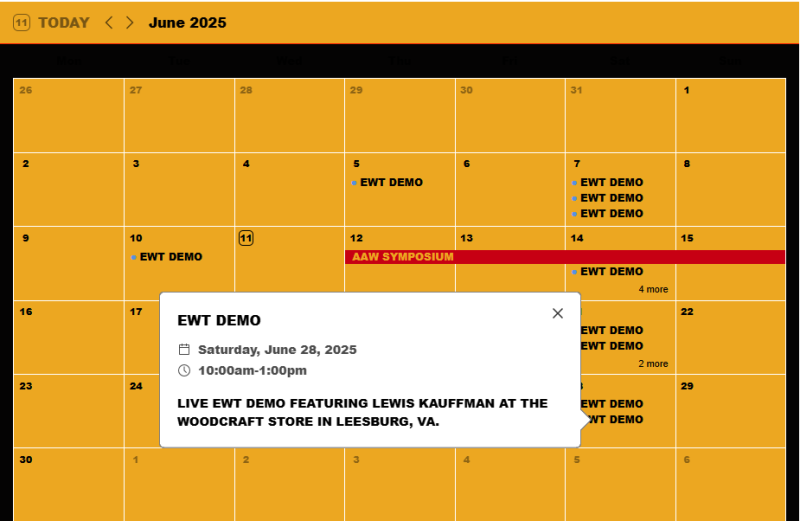
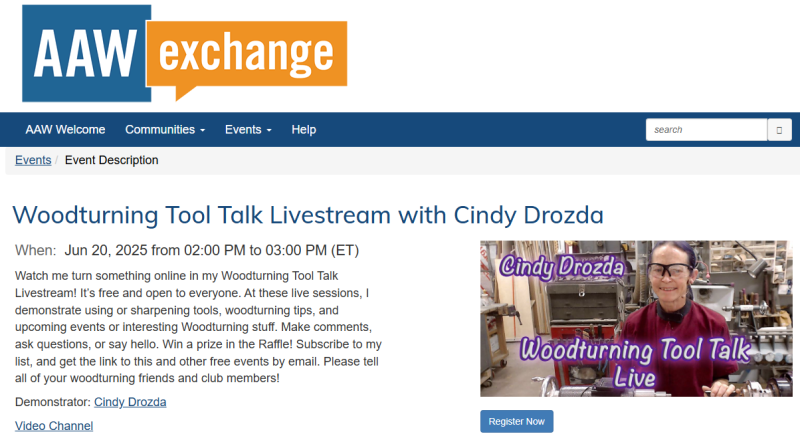
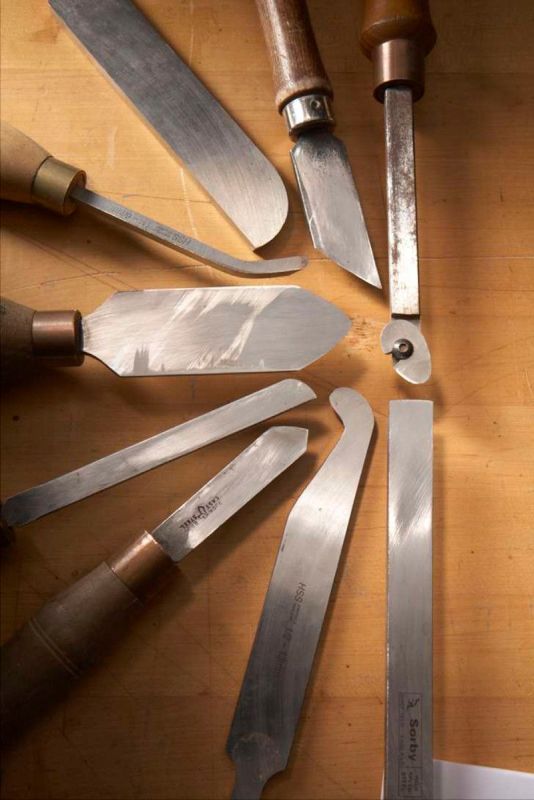
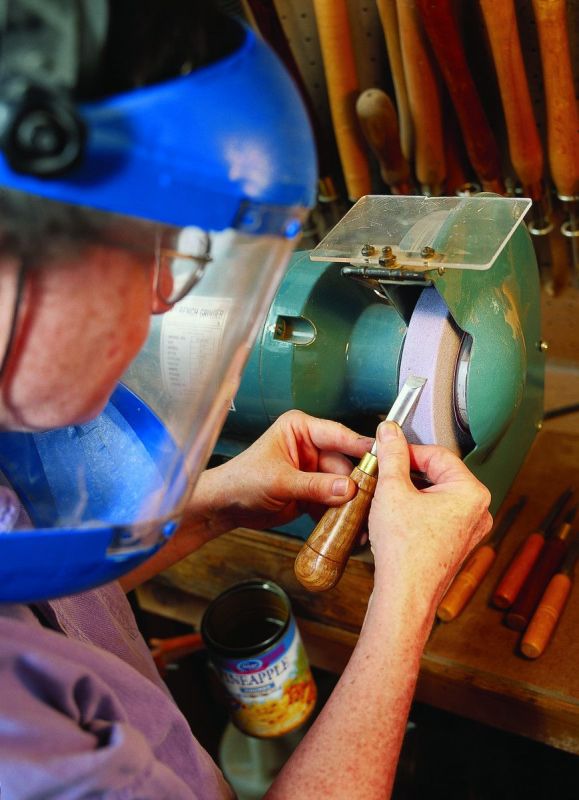
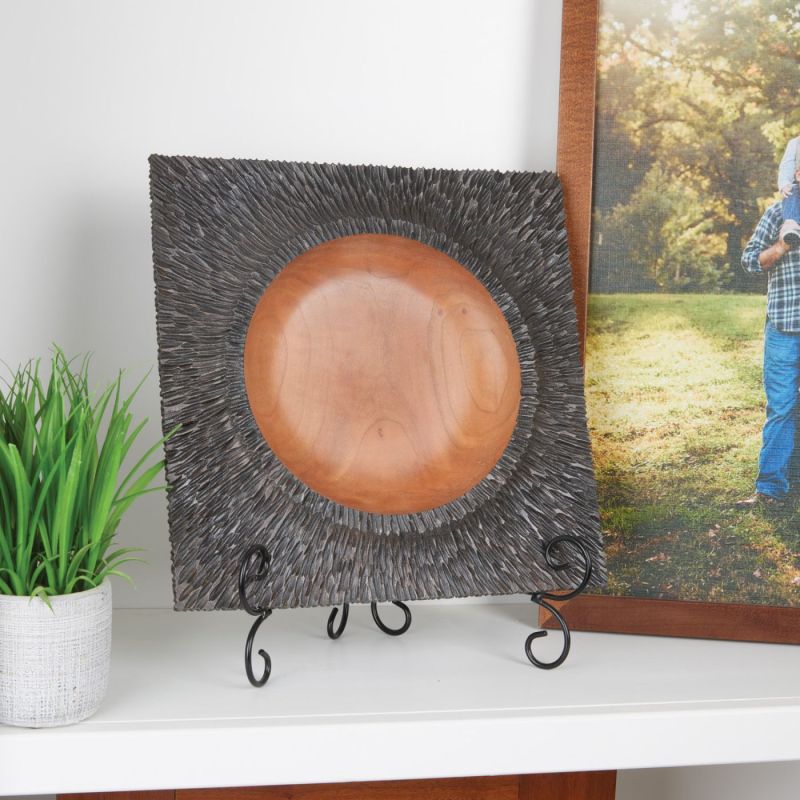
We only have about 3 weeks left to get your raffle tickets for the Summer Fund Raiser. This fund raiser will help keep our site alive and allow us to help veterans. Please Donate! Our Patriot Turners- @Turn n Learn posted some more items he scored with his lathe and wondered what some were used for. New comments and items begin here- @Gordon made a cool jam chuck using some neoprene rubber- He posted more images and the source for the rubber in his post- @Fred W. Hargis Jr gave us a heads up for an awesome sale price on new Jet and Powermatic lathes- Check his post for the link to Craft Supplies USA If you aren't sure what to look for in that new lathe, this video from Popular Woodworking may help- From our "What's On" posts, @BuckeyeHomestead posted a picture of his NEW Jet lathe and its first project That's an awesome lathe! @RustyFN had some difficulty with buffing out a finish. He explains the problem in this post- Check out what Rusty said and maybe you have some tips that will help him. What’s Coming Up- Click on the images for links to more information and registration. For The Newbies- Sam Angelo posted a nice spindle gouge tutorial Tomislav Tomasic created a great video on tips for turning. His videos have excellent closeup of gouge positions. From Popular Woodworking, a written tutorial on lathe tool sharpening- https://www.popularwoodworking.com/techniques/sharpening-for-woodturners/ And another on scrapers https://www.popularwoodworking.com/tools/the-woodturning-scraper/ Expand Your Horizons- The theme for this week is embellishing- Mike Peace bleaches and burns turning to add neat effects- From Popular Woodworking- https://www.popularwoodworking.com/projects/square-platter-with-textured-rim/ If you are looking for a nice gift project, Jimmy Clewes' coffee scoop tutorial might just be what you want- https://www.popularwoodworking.com/projects/turned-scoop-with-pewter-finial/ Turning Time With Easy Wood Tools- Over the past several weeks, we have been showcasing the individual Easy Wood Tools. One thing that should be noted is that all Easy Wood products are made right here in the good ol' U. S. of A. Fascinating video of the manufacturing processes- All of the Easy Wood products are available directly from their home base in Lexington, KY and on Amazon. However, some of the best prices can be found by cruising their social media pages for special sales from woodworking retailers i.e. Woodcraft etc. For the month of June, a few - If you are thinking about attending the St. Paul, MN symposium, Easy Wood Tools will be well represented- And another shameless self promotion- @Jordan Martindale New Turning Items- Everything Else- From Ron Brown's Newsletter: Good Enough Perfection is often unattainable, and just as frequently, unnecessary. I hear from turners all the time who proudly sand salad bowls to 4,000 grit. Anything above 320 grit is just a waste of time and effort for most wood projects. However, acrylic and resin projects may well benefit from using abrasives up to 12,000 grit. The caution here is not to get bogged down in the last 2 percent trying to make something perfect when 98 percent of the work is very close to perfection and Good Enough. When I used to build custom furniture from cherry, walnut, oak, and hardwood plywood, I quickly discovered that stopping at 220 grit produced excellent results. Especially when covered by sanding sealer and pre-catalyzed lacquer as finishes. It’s true, sometimes less is more. The secret was to be careful with each finer sanding grit, ensuring that all scratches from the coarser grit were entirely removed. That is where patience really pays off, as I deliberately go over the entire surface, then examine my work with a raking light source before moving up to the next finer grit. Most folks don’t realize that excessive sanding with fine-grit paper creates heat that releases and then hardens the lignin in wood, often resulting in a splotchy finish. The finishing material will not be able to penetrate the surface evenly, and it looks awful. If you’ve ever blown up a bowl, it usually comes from making one last cut to get the finish just right and the walls as thin as possible. You forgot that wood moves and bowls can go out of round as you turn, even if they’ve been drying for months. As wood is removed, the moisture content can change, causing the thin walls to warp, or harmonic vibration to set in. That final cut produces an unexpected catch and bang! Fresh bowl pieces are lying around the shop once again. The problem with patience is that it takes so long. My projects rarely turn out exactly like I see them in my mind. My hope is to bring them close to my idea of perfection and bring them to the “Good Enough” stage of completion. I know some of you think I’m smarter than I actually am. What you see are the results of persistence, patience, and starting over many times before I was able to show you a finished version. You will never see the eight failures that came before. Remember how WD-40 got its name. I would rather have you do something slowly and well than do it quickly and poorly, sometimes referred to as Half-Fast. Many years ago, I got tired of hearing myself say “Oops! I didn’t see that before, and now it’s too late to fix it.” I am deliberate in my inspections before proceeding to the next step. It is always easier to fix it then, rather than several steps later. Safe turning
- 5 replies
-
- wednesday
- wisdom
-
(and 32 more)
Tagged with:
- wednesday
- wisdom
- woodturners
- raffle
- fund raiser
- questions
- jam chuck
- neoprene
- lathe sale
- lathe selection
- buffing
- aaw symposium
- st.paul mn
- cindy drozda
- tool talk
- zoom
- threads
- sam angelo
- spindle gouge
- tomislav tomisec
- tips
- popular woodworking
- sharpening
- scrapers
- mike peace
- embellish
- bleach
- burn
- jimmy clewes
- coffee scoop
- easy wood tools
- ron brown
- newsletter
- sales
-
October is almost in the books! Our Patriot Turners- @Gerald was busy turning out some really neat projects- He posted these in "Friday's Weekend" thread. See his post for some other colorful items- He even managed to score some beautiful cherry over the weekend- There are more pictures at- And he managed to get at least one piece underway- Our resident Christmas ornament professional, @Ron Altier, posted some beautiful maple items. I think he used his patented epoxy finish on them. Check out his post for more about where he got the wood- What’s Coming Up- Click on the images for links to more information and registration- For The Newbies- New turners typically have difficulty getting proficient with the skew. I still haven't mastered it! Watch Richard Raffan make it look easy- Mike Peace demonstrated how to do some tool "makeovers" Woodturning Monthly was published by the Woodworker's Journal. Some nice projects and articles- https://www.woodworkersjournal.com/woodturning-monthly/?utm_medium=email Expand Your Horizons- Alan Stratton is always coming up with unusual turning ideas and this one is no exception- Wish you had a Genie? Well Carl Jacobson has turned a Genie Bottle in case you ever find one New Turning Items- Niles Bottle Stoppers has added a couple of new items- https://nilesbottlestoppers.com/product/artisan-coffee-scoop-kit/ https://nilesbottlestoppers.com/product/artisan-rasp-grater-kit/ Woodturners Wonders is having a sale on their lathe "Track System". Check their website at- https://woodturnerswonders.com/collections/lathe-track?_kx=gV5SF2As_3IwtBi5TrpHVQM0F3UvGVbQKzhWGippDlk%3D.VJvU8R Everything Else- From Ron Brown's newsletter- Side Gig – Sage Advice I had a long visit with a friend who will be retiring in 5-6 years and is thinking about starting a woodworking business to keep busy and generate some extra income. I have been hearing from more folks than usual about generating a little cash from a side hustle in view of the current economic situation with a dollar buying less every day. I’ve made extra income from my side hustle for the last 55 years. Even when I was in the corporate world, I still made and sold wooden items on the side. Sometimes for pocket change, sometimes as a second income when the first one wasn’t enough. I’ve picked up a few things along the way that you might be interested in or passing along to a friend. 1) Demand – don’t just make and try to sell what you love, make and sell what they want to buy (even if you don’t particularly like it). I tell my family that I would sell dried cow patties if that was what the demand called for. a. In general woodworking the good sellers might be cutting boards, stove top covers, 2x4 basic bunk beds, etc. b. For woodturners it could be pens, tops, pepper mills, salad bowls, etc. I’ve learned from experience that just because I’m wild about something, doesn’t mean it will sell. 2) If an item is in high demand and everyone else is doing it, don’t be afraid to make them also. a. A prime example of this is metal tumblers like the Yeti. In the laser engraving world, there are thousands of people making laser engraved tumblers, wrapped tumblers, or personalized tumblers. I know, my kids have given me several every Christmas for the past bunch of years. My church even gave me a pair. b. Hamburgers are another great example. If people were afraid of making something someone else made, there would only be one place to get a hamburger instead of a hamburger joint on every corner. 3) Don’t be the cheapest guy on the block. Find out what the market price is and be somewhere around there. You might have to be creative to make a profit. 4) If no one is doing it, there is probably a good reason. No demand, impossible to make a decent profit due to the material cost or excessive labor. Before you bring something totally new to the market, get half a dozen regular items well established and selling consistently before you attempt to blaze a totally new trail. 5) You might be a perfectionist, but your customers won’t pay for perfection. They will pay for great or even good, but perfect is in the eye of the beholder. You can be perfect if you don’t mind making $2/hr. But that is not how you make a profit in the real world. 6) Listen to your wife. She loves you and wants you to succeed. She will tell you things your friends won’t. There are many more tidbits of advice, based on years of experience, but these are some of the important ones. Safe turning
- 3 replies
-
- kitchen rasp
- coffee scoop
-
(and 27 more)
Tagged with:
- kitchen rasp
- coffee scoop
- niles stoppers
- genie bottle
- carl jacobson
- eight piont star
- alan stratton
- woodturning monthly
- tool make over
- mike peace
- skew
- richard raffan
- tool talk
- cindy drozda
- pat carroll
- symposium
- aaw
- totally turning
- women in turning
- bowl
- barrel
- small turnings
- ornaments
- woodturning
- wisdom
- wednesday
- woodturners wonders
- track system
- ron brown newsletter
-
Please don't forget about the fund raiser that our very generous sponsor- Easy Wood Tools- is currently having. Head on over to the EWT site and order yours today- https://www.easywoodtools.com/ Our Patriot Turners- @RustyFN Is making a fabulous lidded box for his Mrs. In his post, Rusty tells us about the material he used for the "metal" bands. What’s Coming Up- Click on the images for the links to more information and registration. These are from the AAW. If you catch this post in time, Cindy Drozda is having another live bottle stopper video. You can watch it on her YouTube channel- https://www.youtube.com/watch?v=5AR8MzQJOBs I picked this information from social media. Jeff Hornung, who does fantastic embellishment work, also does IRDs and demonstrations for clubs. For more information, contact him through his site, The Walnut Log. https://www.thewalnutlog.com/ For The Newbies- Jim Rodgers continues his video series on catches- Lyle Jamieson has made his "Tuesday's Tips" available on his YouTube channel- https://www.youtube.com/user/JamiesonLyle/videos Search his channel for "Tuesdays Tips" IF you use your worm screw, here is a useful addon that you can make to improve stability. If you are thinking about getting into turning but not sure what tools you might need, Richard Raffan discusses some traditional choices. Don't overlook the possibility of using carbide tipped tools as well. Expand Your Horizons- Scroll chucks hold your work firmly but can mar the piece and sometime be less that ideal for odd shaped pieces. In this video, Alan Stratton discusses creating soft, custom replacement jaws. Mike Waldt turns an earring stand from English Yew- Carl Jacobson turns a gorgeous maple burl lidded box- And yet another two piece scoop. This one from Mike Peace- New Turning Items- Save your lunch money! With SWAT happening in about a week, thee may be some new toys presented. Everything Else- Rick Turns list of YouTube woodturning videos from last week- I've been finding it really hard to get to the lathe lately. Life is funny that way. My lighting equipment for turning has been cobbled together from old desk lamps. They work but can sometimes be difficult to position and still be able to see what's happening. I saw a neat idea for a small LED light that helped overcome some of the disadvantages I was experiencing. Being a cheap scape frugal, I decided to build one. The parts If you have an old cell phone charger and cord, that's the perfect power supply. The other parts are a magnet- this ones is from an old computer hard drive. The LED light board- available from https://www.aliexpress.com/item/3256804164219166.html?spm=a2g0o.order_detail.0.0.2856f19c9S68hd . They were 6 boards for $1.00 plus $3.00 shipping and came all the way from China in 4 weeks!! Epoxy. Miscellaneous Harbor Freight stuff. Started by preparing the wire. Cut off the end that wasn't the standard charger USB connector. Removed the green and white wires. Added the shrink sleeving because I had a box from Harbor Freight. Stripped, tinned and knotted the wires on the board Soldered the wires to the LED board. The board has a miniature USB connector but I figured the solder would be more robust. Added a zip tie- because I had a bag from Harbor Freight- as a strain relief. Turned the board over and epoxied the magnet to the metal heatsink. I had to add a couple of washers between the magnet and heatsink to allow space where the wire passed thru the board. This allowed the LED board to sit flat. On the small tool rest- With the LED lamp off- LED lamp on- I'm happy but I think I'll build another one. I failed to take into consideration that the "chuck side" of the tool rests are not vertical. The light board angles "down" slightly. I think that can be fixed by adding a shim between the LED board back and the magnet before applying the epoxy. Also, if you have ever played with hard drive magnets, they are incredibly strong for their size. It is almost a struggle to get the lamp off of the tool rest. Regular rare earth magnets would probably work just as good. Safe turning
- 4 replies
-
- led light board
- videos
-
(and 31 more)
Tagged with:
- led light board
- videos
- rick turns
- mike peace
- coffee scoop
- tips
- lyle jamieson
- carl jacobson
- burl box
- mike waldt
- earring stand
- alan stratton
- soft jaws
- essential tools
- richard raffan
- chuck collar
- jim rodgers
- catches
- ird
- jeff hornug
- bottle stoppers
- swat
- cindy drozda
- lidded chalice
- scott hampton
- kitchen series
- veterans
- barrel vessel
- t-shirt
- ewt
- woodturners
- wisdom
- wednesday


Facebook.png.cdc5e2c2860f83c187a9139a64039d09.png)
Facebook.png.8f44fde502e62ffe5afb41f53f5cdad9.png)






CindyDrozda_Facebook.png.f1a671025667a8c80bbb211fad2dc9a9.png)

