Search the Community
Showing results for tags 'alignment'.
Found 7 results
-
The latest chapter. (BTW, I had spinal surgery yesterday and "avoid strenuous activity for 6-8 weeks. All my Xmas projects are done, so you might see more of my posts here). Why do people think dowels, dominos, or biscuits are necessary for edge-to-edge glue ups. I can understand some assistance in alignment when needed but there are other ways. Dowels, in particular are fussy with alignment and don't add strength. Dowel joints are not very strong. I read a FWW article years ago about why. Boiled down to two reasons: minimal glue surface, most of which is end grain and differential expansion of wood. I have reglued dozens of chairs where once I removed the corner blocks, the pieces just pull apart. Why is a miter saw on the top list of things for a newbie? Unless you are doing construction or on site work, you can do most anything with a table saw. And it has limited types of cuts it will make. Unless you do a lot with sheet goods or live edge planks, ditto for a track saw. Why do people put so much glue on that there are puddles of it running out once clamped.
- 28 replies
-
- 10
-

-

-
- glue up
- edge to edge
- (and 11 more)
-
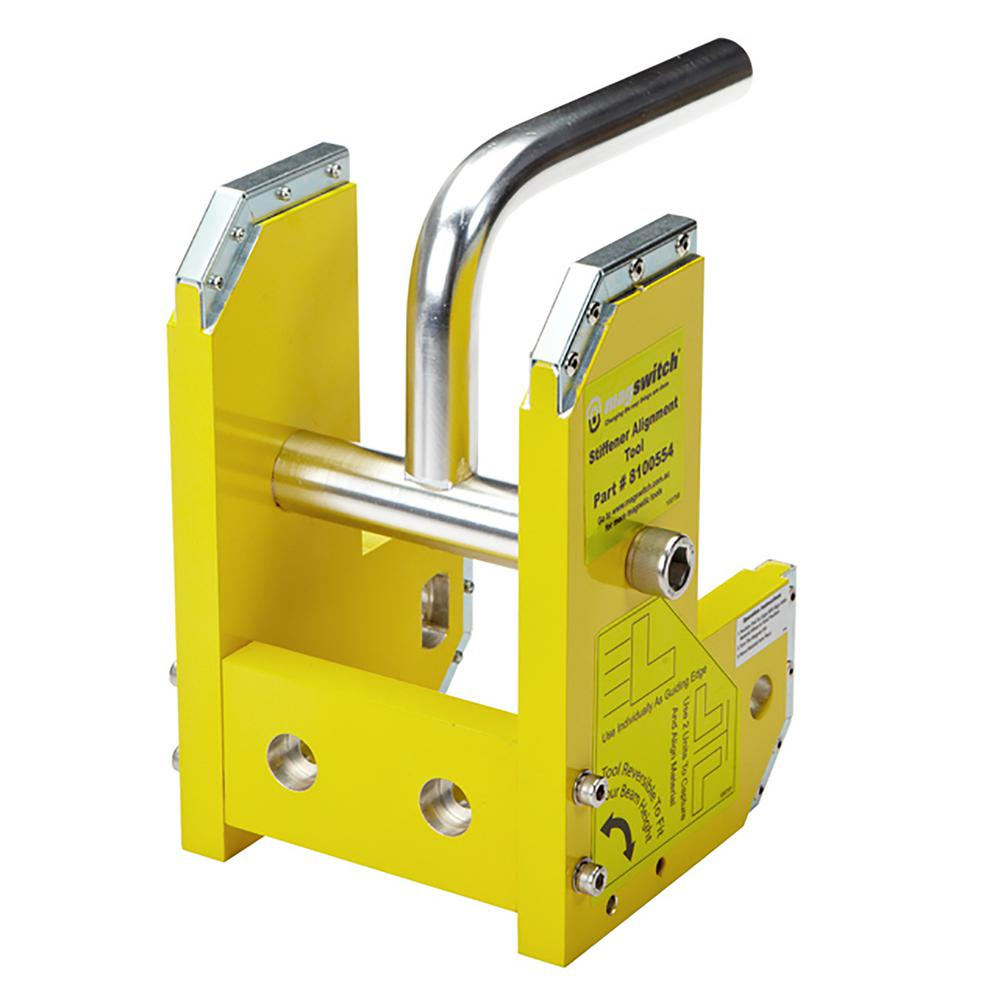
Home Depot wants me to buy this for $150. What is it? Scroll down to see. The Magswitch Stiffener Alignment Tool is a reversible tool that gives 130 mm and 190 mm H. This tool is designed to help in shipbuilding and heavy fabrication. Combine this tool with the needed Magswitch Heavy Lifter, not included, to be able to stack and align sheet metal. Accurately aligns the material you are working with Sturdy and solid Keeps work firmly in place Lightweight and easy to use Precise for all your welding needs Features a handle for easy transportation Requires that you also order MLAY 1000x2 - 8100484, sold separately

-
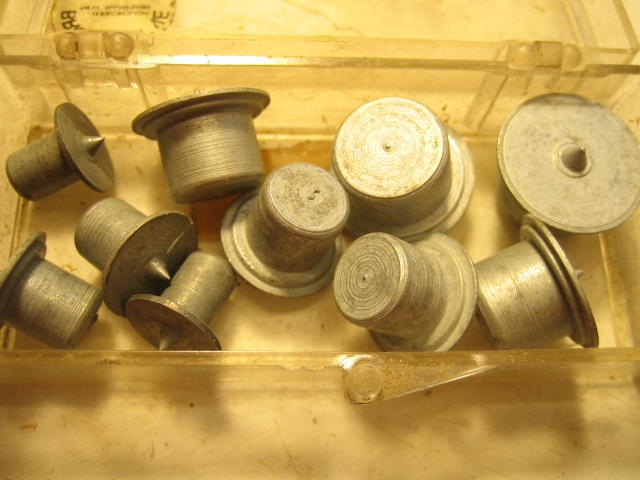
Not everyone does what I do so you might not ever need something like these. Had them forever and the company with their name on the box is still in business but changed their sales items and no wood working tools. Brookstone out of NH. Miles craft now has them. Seems like my caving needs stacked wood before I carve things and lining up the dowel holes helps so I can still take things apart for staining and finishing.
-
To start the "Tips and Tricks" off on a good note, I thought of what basics we should all be aware of and some tips to make the best cuttings we can. Remember, guys and gals, there is NO right or wrong answer to any of our topics. What best works for you is the way it should be. That being said, I think we can always learn a little from our fellow scrollers. Please chime in with your suggestions of your ways of doing things. It will always be appreciated by all. BLADE ALIGNMENT We all realize that the blade should be perpendicular to the table unless we are doing angle cuts. Great blade alignment is "required" in stack cutting (which we discuss later). What we don't normally check is front to back alignment, "fore/aft" movement of the blade, and "wobble". Â Let's take them one at a time and see what we can come up with. LEFT/RIGHT ALIGNMENT I have seen several ways, over the years. Â Most of them work pretty well. I use a machinest's right angle to set my blades. Â However, for some reason, this doesn't always work on my machine. Cut into a block of wood, back it out of the kerf, move the cut to the back of the blade and see it lines up. Using a scrap piece of 3/4" stock, cut a piece out, then move the cut side to the opposite side of the blade and see if it is aligned. Cut a small circle out of 3/4" stock and see if the bottom and the top of the hole are the same size. FORE AND AFT ALIGNMENT I generally use the machinest square for this one. BLADE WOBBLE This is when the blade moves either left or right from the top to the bottom of the cut. Problem could be either rails bent, misalignment of machine, or as simple as alignment in the blade holders. Need much more help on this one. YOUR IDEAS ? ? ? ? ? ?? The Eclipse scroll saw is the only saw that I know of that has solved the above problems. This saw design has gone back to some "ole timey" machines. Belt driven, with a "perfectly aligned" plunger system.
-
Couldn't come up with a great topic title but you will get the idea when you read the post. Today I was working on an eagle pattern using 3/4" walnut. When cutting the feathers, it dawned on me that the "non cut area" around most of the feathers was really slim. Hmmmmm, 3/4" material and only a 1/16" left between feathers - could be in a real mess when looking at it from the other side. AND, this eagle is a free-stander - both sides will be viewed. Got me to thinking: Is my blade perfectly perpendicular to the table? Is the tension ok? Do I have the right blade so it won't bend in the middle? Am I pushing too hard? Am I pushing absolutely straight into the blade? Bunch of questions I couldn't really come up with an accurate answer. How else could I solve the problem of the cut looking the same from the front AND the back? "Turn on the bulb, mister ", I said to myself. "I think we just might have come up with an answer. Well, at least it's an answer." PLAN THE CUTS - Planning the cuts so that I will be cutting in the same direction on both sides (left and right) of the narrow part. Same angle on the blade ! ! ! ! Then ease up on the pressure. I'm sure the the blade and tension are right. Then, as old men tend to do, I got myself cornfuzed with which direction was shich. I then got out my trused pencil with a sharp blade and started marking the directions I would be cutting. VOILA - it worked perfectly for me. Both sides look good, no messy spiders on the back side. Maybe this trick will work for you.......................... If you have another idea for this dilema, let us know..................... Thanks for taking the time to read this little tid bit. Fred
- 7 replies
-
- 3
-
-
- scroll saw
- blades
- (and 2 more)
-

-