Search the Community
Showing results for tags 'cowboy hat'.
Found 2 results
-
There is a first time for everything they say. Today, for me, that "first time thing" was turning a cowboy hat. About six hours from mounting the blank to putting it in the bending jig. I could never have turned this without the guidance, the encouragement, the tutelage, and did I mention the encouragement? Of my good friend and mentor, Bob Lipp, who is Vice President of our local wood turning club. We started with a bradford pear blank, about 20" diameter and 8" thick or so. The first thing he told me to do was to true it up for a tenon and then he showed me how to shape the outside. I did all the cuts but it was his express instructions that allowed me to do them. After the shaping is all done on the outside it's time to form the brim. The red dots are led lights shining through from the other side. The brim is about as thick as a credit card. After the brim is completed the hollowing is done for the rest of the hat. It also ends up being about the thickness of a credit card, although I think mine may be a little thicker. After the turning is done the hat is put in a bending jig. I'm excited to see how this bends and looking forward to trying on my own.

- 48 replies
-
- 11
-

-

-
- hat
- cowboy hat
- (and 5 more)
-
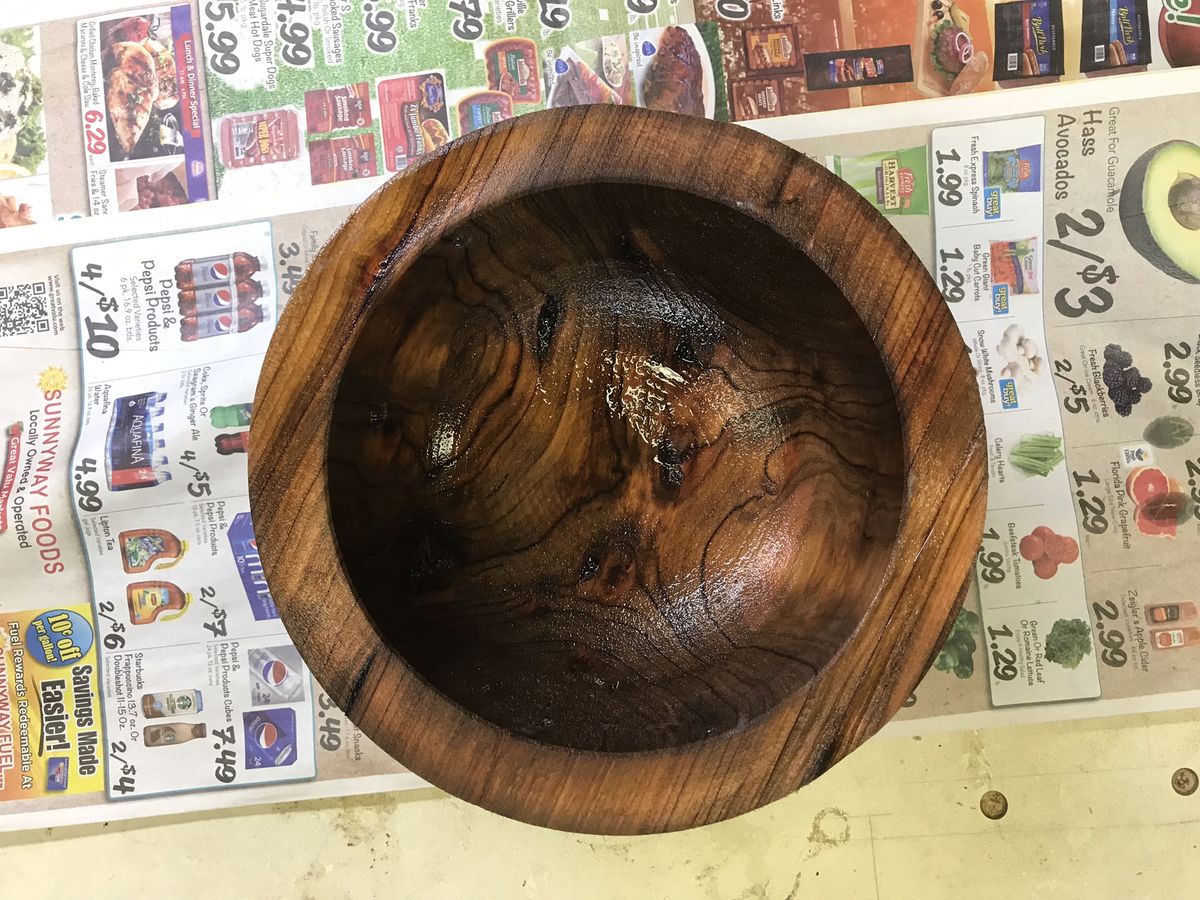
Some interesting stuff happening this past week here with the Patriot turners! Our Patriot Turners- @Steve Krumanaker turned a cowboy hat!!!!!!!!!!! He showed us some pictures and explained the process in his post. You gotta see this!!!!!!! @Mijohnson1984 showed us some really sweet mallet handles he turned. Lots of great comments were provided by our members. Read how he got the finish these- Matthew also asked for advice on storage of spalted wood. Several members provided him with their experiences and even a link to a video on the subject- @Artie asked a question concerning Easy Wood Tools. He is new to turning and inquired about where to purchase these them. Our members had lots of advice and information. As the discussion continued, it branched off to the area of safety equipment and this garnered even more comments from the group. What’s Coming Up- Click on the above image for the link to the registration/information page. Thanks to our friends at Easy Wood Tools for the heads up on this event. For The Newbies- Well, turning spindles can get old pretty fast (unless you try the Skew chisel and then it's always exciting). Here's a site that has lots of ideas for the new turner. Simple projects that make great gifts and will help develop your turning skills/experiences. http://www.stevefreemanonline.com/2017/01/wood-turning-projects-for-beginners/ Expand Your Horizons- I think @Steve Krumanaker has this one covered this week. Let's keep watching his post as he finishes up his cowboy hat! New Turning Items- Ruth Niles has introduced a new style bottle stopper. The "Cosmopolitan" series is available in both FDA grade stainless steel and brass. This product line has stoppers that fit both wine or whiskey bottles. Check out Ruth's site for these and all her great products- https://nilesbottlestoppers.com/ Everything Else- A while back I mentioned reading about a procedure for preventing bowl blanks from warping/splitting/checking during the turning and drying process. Although it seems to fly in the face of common sense, part of the drying process in to soak the blank in a soap and water mixture. An acquaintance gave me two locust log pieces that had been recently harvested. Having had little success turning locust in the past, this seemed like an excellent opportunity to experiment. Within a day or two of picking up the logs, I converted them into round bowl blanks about 5" thick and a little over 10" in diameter. I coated the circumferences with TiteBond II. I got that idea from a Mike Peace video. It has been more successful in preventing cracks and splits that using latex paint. A couple of weeks went by before I had a chance to turn the blanks into bowls. In the meantime I scored a small dried cherry log section. So now I had two species to test. I turned the green locust blanks a couple of days apart. Turned each to the typical first turning dimensions with wall thickness of about 1/10 of the diameter. After turning, I put the rough blank in a solution of Dawn dishwashing liquid and water (1:6 ratio). The submerged blanks soaked for 3 days. At the end of the 3 days, I pulled the blanks and transferred them to paper bags of shavings where they stayed for 3 weeks. While I was waiting for the locust to hangout in the shavings, I started in on the cherry log. I turned it to a rough blank, put it in the solution for 3 days, pulled it and went straight back to the lathe. I was a little worried about the color change but very happy about the shape and absolutely no cracks. Mounting it on the lathe and starting the finish turning the true color of the cherry came back out- Completed the turning and sanded. Notice the shape. Virtually no warping! This piece is currently waiting a finish. Back to the locust. I pulled the first blank, from the shavings, on Saturday. I couldn't believe how much weight it had lost in only 21 days. Typically, 3 to 6 months are required to get to this point! The dark color, from the soak, had completely disappeared, too, and no warping!!! Bottom view of the recess for the chuck jaws. I stopped here but thought the walls could be a little thinner. This is about 1/4". Eventually the walls are turned to about 3/16". Bottom foot. Inside (with thinner walls). Here's where I messed up. When I turned the walls to the 1/4" thickness, I was called away and didn't get back to the lathe for a couple of days. During that time the bowl warped slightly so that during the final turning/sanding, the walls do not have a consistent thickness. I need to do the turning and sanding all at one then if there is any warping, it will not change the wall thicknesses. Beeswax and mineral oil finish. Safe turning