Jump to content

Search the Community

Showing results for tags 'coping saw'.

  • Search By Tags

    Type tags separated by commas.
  • Search By Author

Content Type


Forums

  • The Woodworking Discussion Forum
    • Introduce Yourself
    • General Woodworking
    • Wood Turners
    • Finishing
    • Wood Carving
    • Hand Tools
    • Scroll Sawing
    • CNC
    • Shopsmith
    • Show Us Your Woodworking Shops
    • Machinery, Tools, Research, Reviews and Safety
    • Plans and Software
    • The Veterans Corner and Causes Forum
  • The Old Machinery Discussion Forum
    • Old Woodworking Machinery
    • Old Metalworking Machinery
    • Old Machinery Operating and Restoration Tips
    • Old Machinery Badges and Decals
    • Old Machinery Swap and Sale, Classifieds
    • Old Machinery Hitching Post
    • Old Woodworking Machinery Archive
  • The Home Improvement Forum
    • Home Improvement
    • Patio and Outdoors
  • The Scrap Bin
    • Free for All
    • The Patriot's Pulse
    • Announcements
    • Bugs and Issues

Categories

  • Honoring the Fallen
  • Warrior's Christmas

Categories

  • The American Woods
    • The Softwoods (Conifers)
    • The Hardwoods (Broadleafs)

Categories

  • Book and Literature
  • CNC Files
    • CAD Files
    • CAM Files
    • CNC Reference and Tutorials
  • General Woodworking
    • Shop Charts
    • Shop Jigs
    • Shop Furniture
    • Arts and Crafts
    • Furnishings
    • Musical Instruments
    • Wooden Toys
    • Yard and Outdoors
  • Home Improvement
  • Old Machinery Manuals
  • Old Machinery Badge & Decal Images
    • Beaver Power Tools-Callander Foundry
    • Delta Specialty Co.
    • Delta Mfg. Co.
    • Delta Milwaukee
    • Delta Rockwell
    • Walker Turner
    • Sears Companion
    • Sears Craftsman
    • Sears Dunlap
  • Sketchup Sharing Center
    • Furnishings
    • Shop Jigs
    • Arts and Crafts
    • Sketchup Tutorials
  • Scroll Saw Patterns

Blogs

  • Building A Walnut Shotgun Case
  • Military Challenge Coin Display Build
  • SJUSD Veterans Recieve Plaques from Patriot Tigers
  • The Pastor’s Table or I Think My Sister Is Trying To Buy My Way Into Heaven
  • Small Patch Musings and Such
  • Photography
  • Steve Krumanaker
  • Christmas 2016
  • Cherry Entertainment Center
  • Another Church Table
  • Inside Out Turning
  • Segmented Turning
  • Canon Ball Bed
  • Situation Normal, All Fired Up
  • DUST COLLECTORS 101
  • Workbench PIP
  • Republishing the French Rolling Pin blog
  • Thickness Sander
  • Shopsmith lathe setup
  • Drying Turned Wood
  • New Projects, shop stuff, new tools,
  • Bill Kappel
  • Bowl Drying Adventures
  • Chess set

Product Groups

There are no results to display.

Categories

  • Members
  • Sponsors
  • Administrators
  • Forum Hosts

Find results in...

Find results that contain...


Date Created

  • Start

    End


Last Updated

  • Start

    End


Filter by number of...

Found 3 results

  1. FrederickH

    The beauty of dovetails.

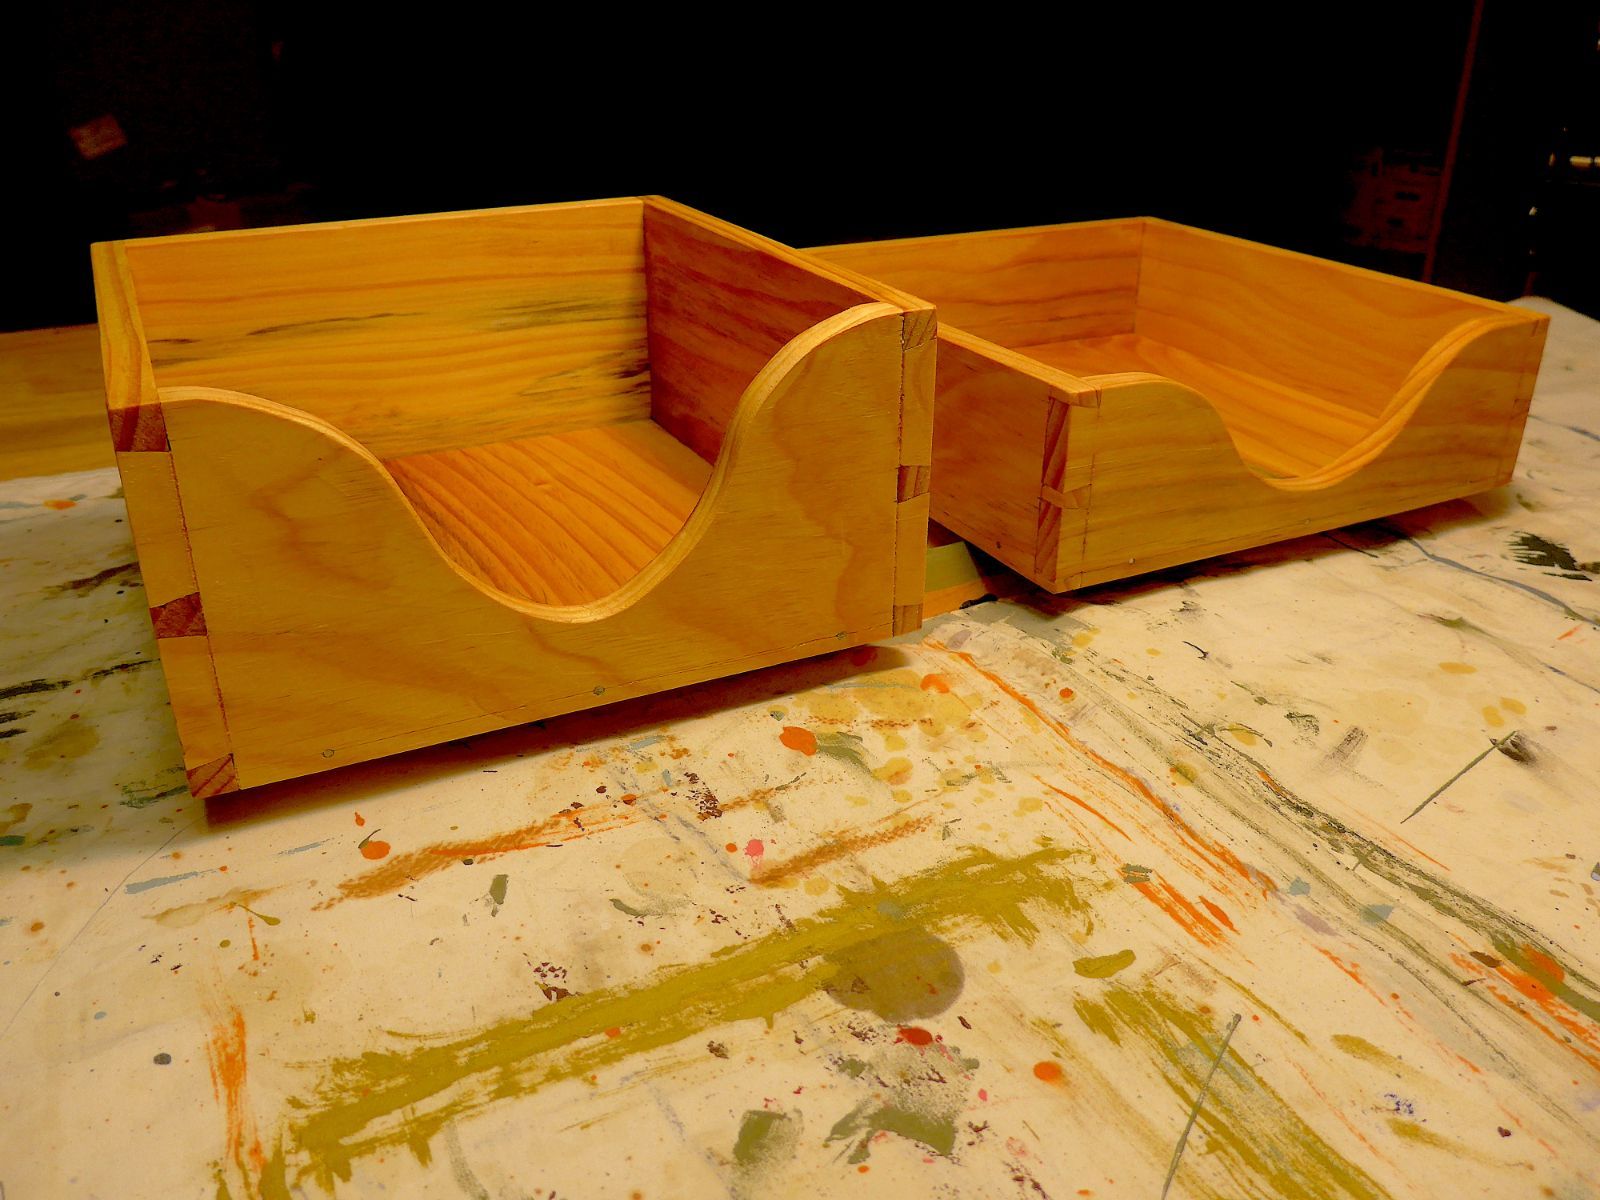
    There's nothing quite as pleasing as cutting through-dovetails for a box. Straight forward in execution and satisfying when done.
  2. PostalTom

    coping saw versus fret saw

    What is the difference between a coping saw and a fret saw? I was browsing the Blue Spruce Toolworks site and came across their coping saw and fret saw page. I couldn't see much difference, except for maybe a small size difference. I was also looking at their bench chisels. $994 for a set of chisels? Granted, they are good tools, and it was an 11 piece set, but still. $994? Maybe I was blinded by the price, and that's why I couldn't see any difference in the saws.
  3. Well I put on my big girl panties and did the inlay- using the suggestions you all provided. I saturated the fragile piece with three applications of thin CA after covering the back of the piece with tape. Instead of doing a typical inlay with a router inlay kit, I used double sided tape to fasten the sample shape to the front side of the "carpenter's mark". Then I cut around the sample shape using a coping saw- staying well proud of the sample. To complete the inlay, I sanded it down to the same size as the sample piece. For the lid, I covered the surface with tape. I scored around the sample piece with an exacto knife. Then, using my trim router, a template and the inlay kit bushing and bit routed to out the top of the lid. Did some final fitting with sand paper and this is the result- The inlay is not pushed all the way into the recess, I need to do some more sanding on the top. I know the fit would have been better if I had used the router/inlay kit on both pieces but I don't think the piece would have survived intact even with the glue and tape. Close but certainly not perfect- Also, I fixed up the unsightly nail hole- Some more sanding, a couple of "U" shaped supports for the pen, then on to the finish. Probably use some sort of clear coat. Although, a wiping oil would probably bring out the grain.
×
×
  • Create New...