
Part 1- The jigs

Entry posted by lew
1,588 views
This is a re-post on the Celtic Knot Rolling Pin. I am a fan of “Cook Book” style instructions so if I miss any details, please let me know and I will try to flesh them out. In addition, many of these photos/procedures have been refined over time and I will try to point them out by adding extra photos rather than rewriting the entire blog.
I thought it best to start with the jigs I used to prepare the turning blanks. Please note that I always over engineer everything and hardly ever see the obvious or the easy way to do something so if you see an easier way- go for it!
The first jig is one I made a while back, when I first started thinking about this project. I try to make jigs that have several uses. This one was also used to make the Cheese Knife Handles.
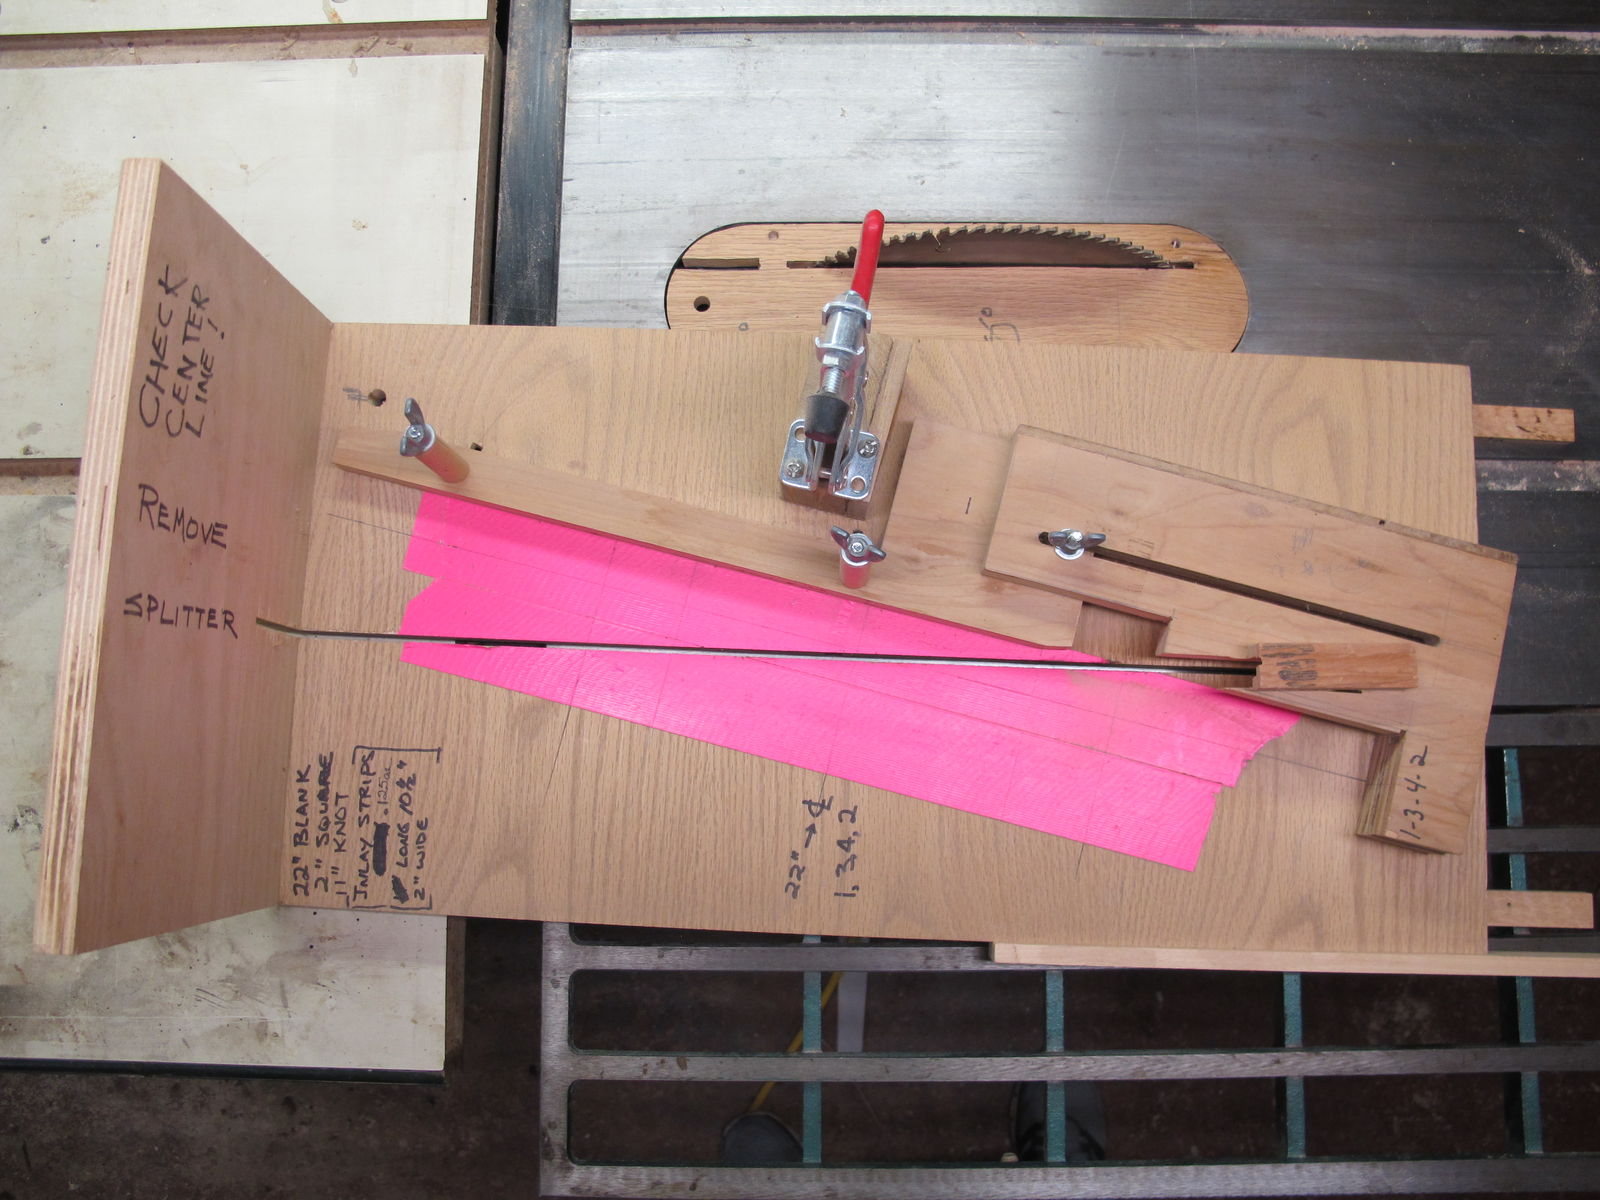
Special Diagonal Cutting Jig
Sled has 2 movable fences to change the angle of the cut and position of the blank. Toggle clamp holds blank during cutting operation
Top view-
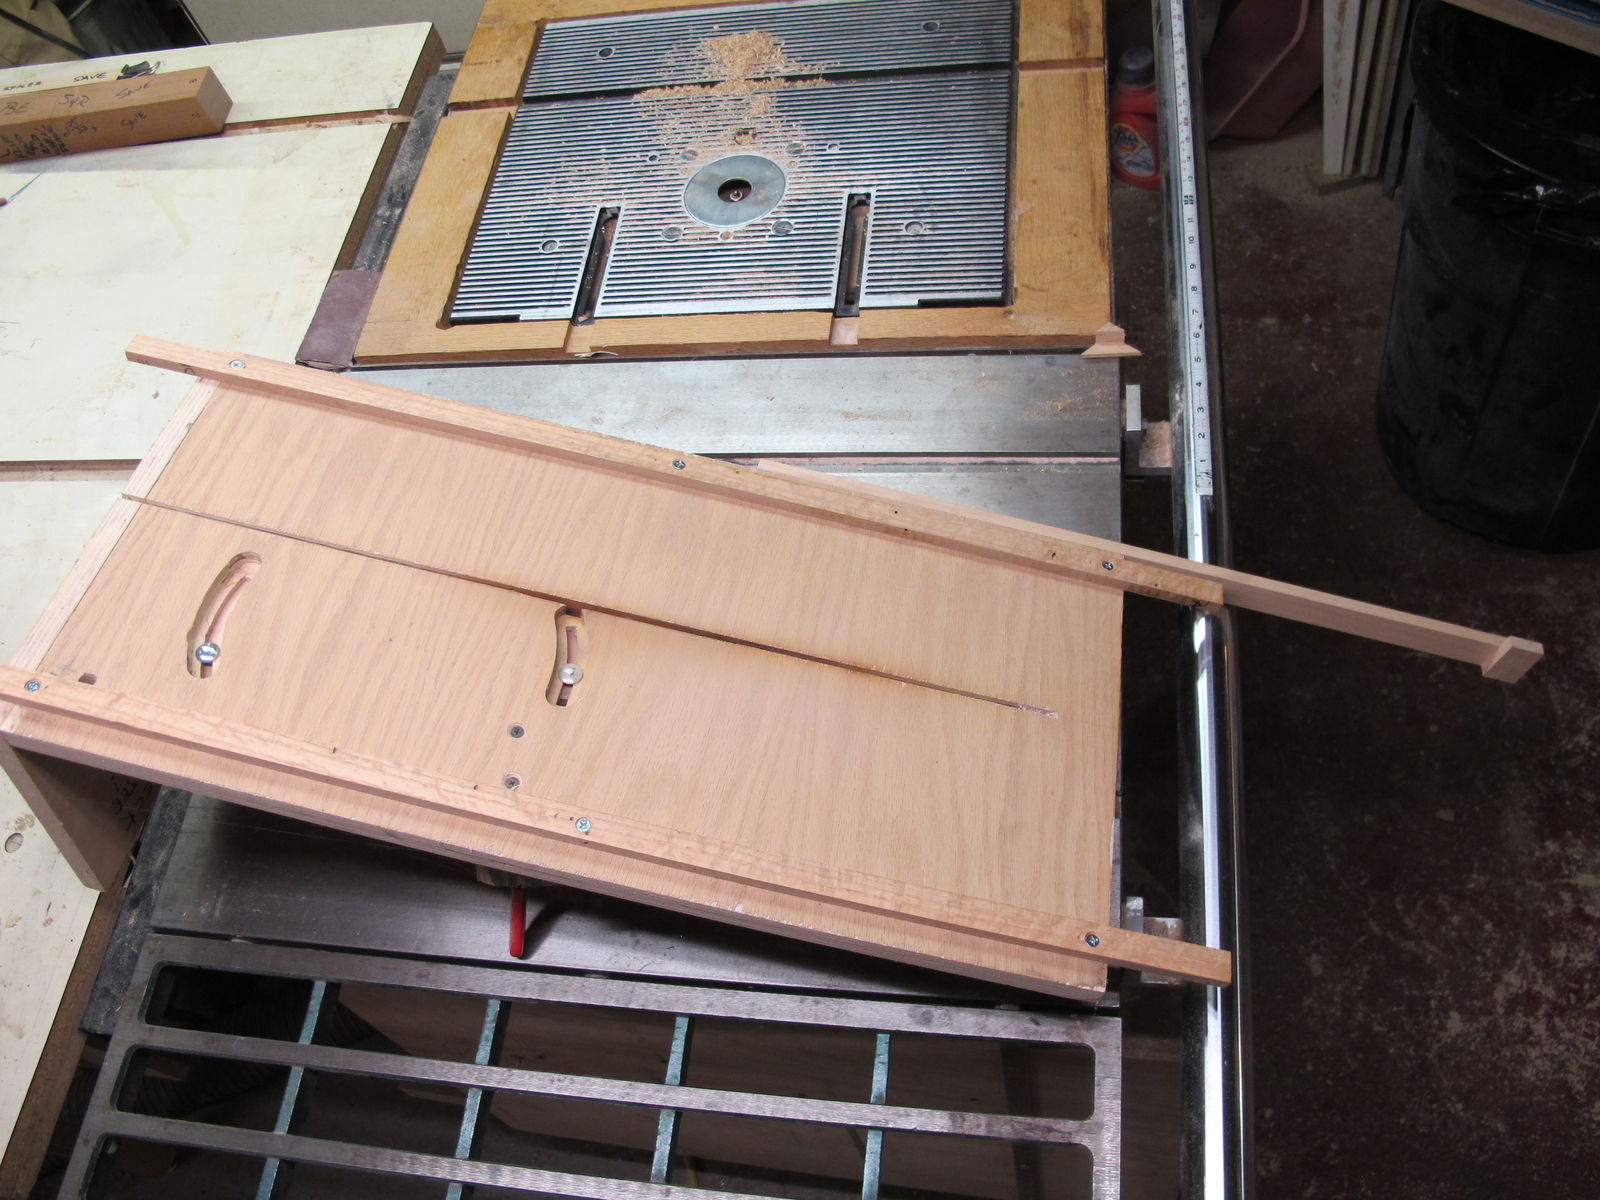
Bottom View-
The long extension is a stop to prevent the jig from being pushed too far. That’s because I wasn’t paying attention to what I was doing and pushed the jig too far thru the saw.
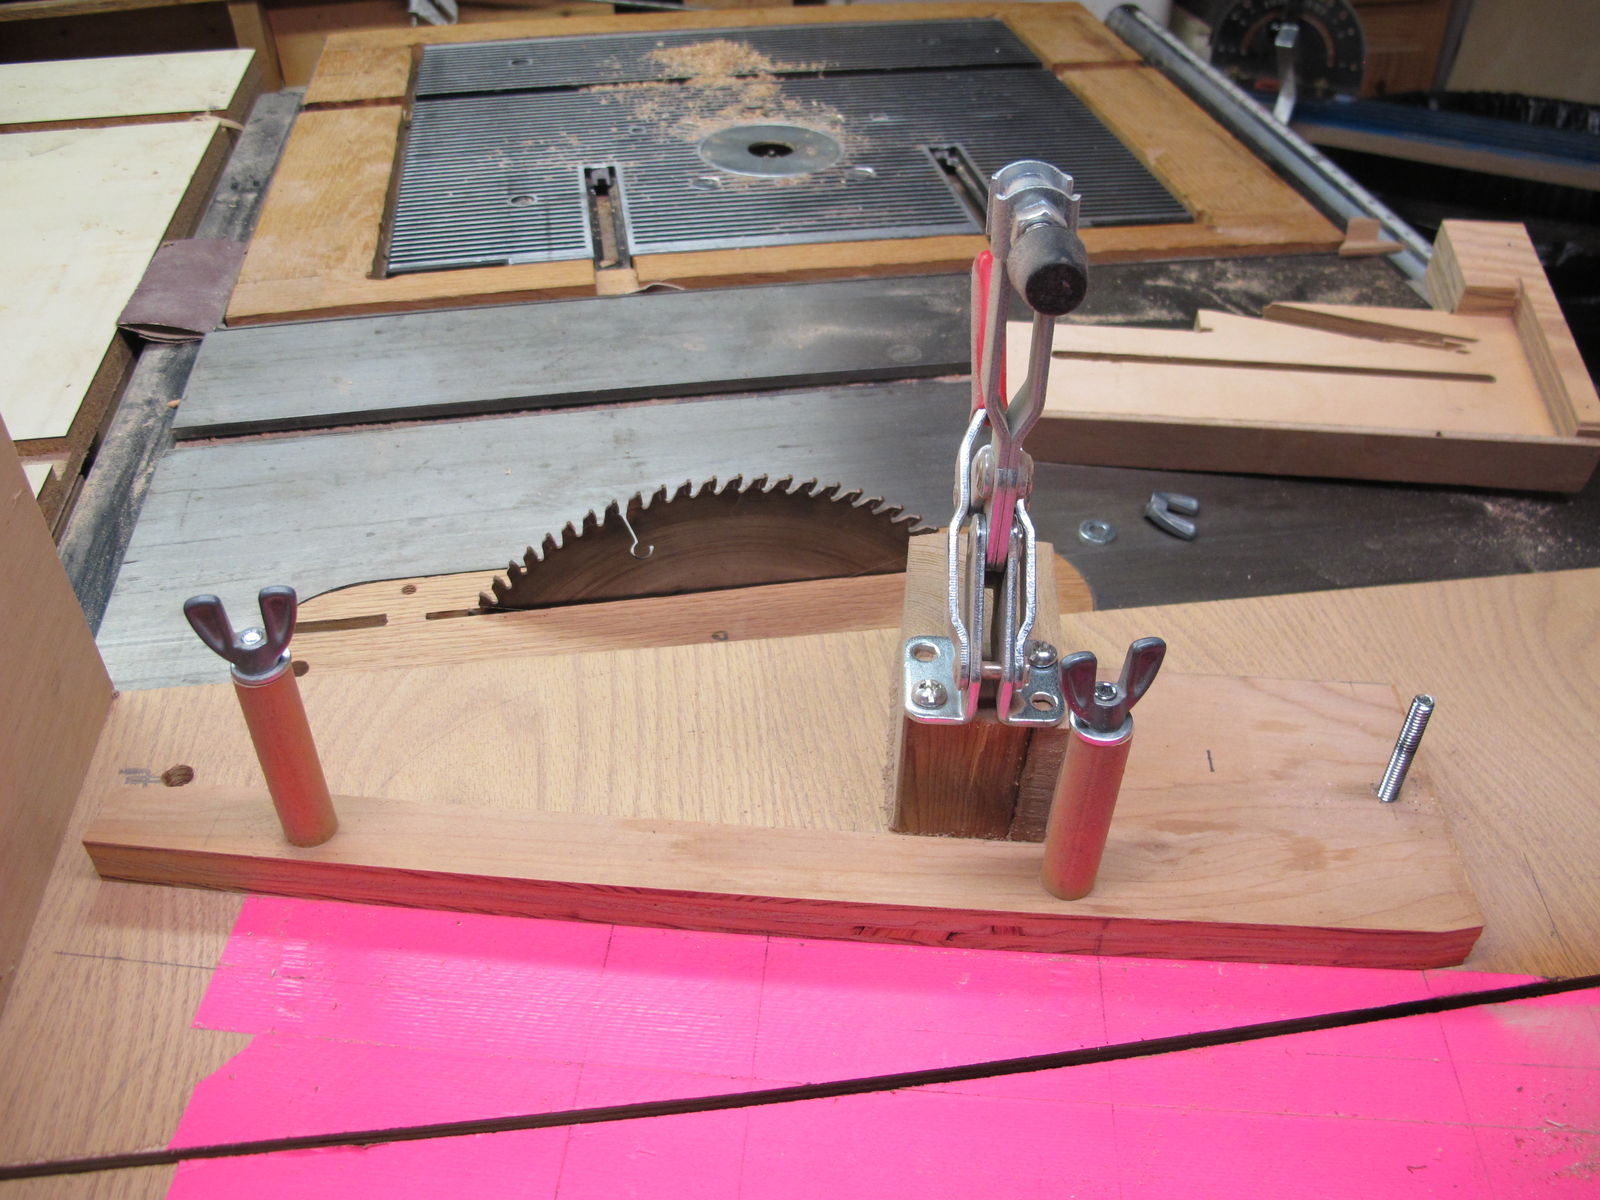
Disassembled Fences-
Top of the angle fence
Bottom of the angle fence-

Bottom of the length stop-

Top of the length stop, in place-

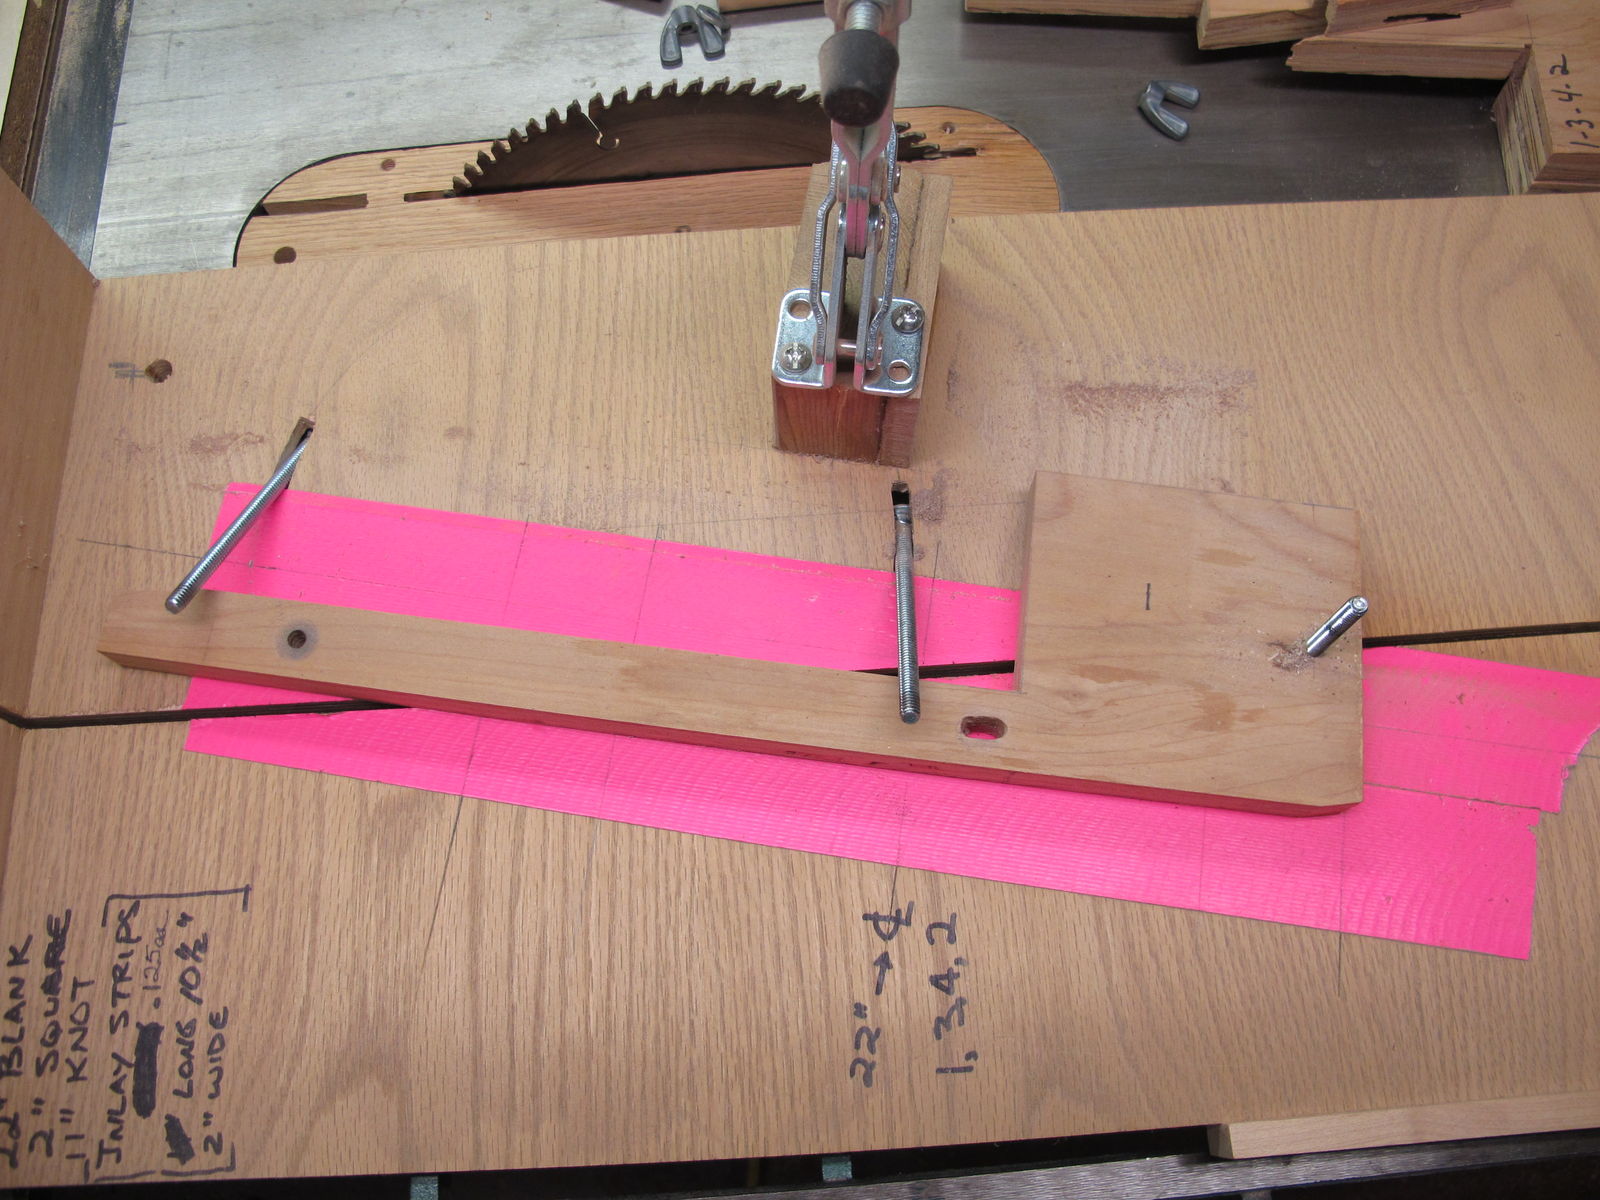
Partially Assembled Fences-

The spacers on the bolts elevate the wing nuts above the rolling pin blank to make adjustments easier.
The bright pink tape improves visibility as the blank is aligned to the layout marks on the tape.
Notice the single narrow saw kerf. The pin blank is cut with three passes thru the saw; using spacers to offset the pin blank on each pass. Several woodworkers suggested that using a dado blade would allow the cut to be made in one pass. My dado set isn't large enough in diameter to get the height needed to cut the slot. Also, the pattern of the Celtic Knot can be varied by making just two single passes. The spacers create a 3/8" slot at the fish of the third pass.

- Gunny and DuckSoup
-
 2
2
1 Comment
Recommended Comments
Join the conversation
You are posting as a guest. If you have an account, sign in now to post with your account.
Note: Your post will require moderator approval before it will be visible.