Skip to content
View in the app

A better way to browse. Learn more.

The Patriot Woodworker

A full-screen app on your home screen with push notifications, badges and more.

To install this app on iOS and iPadOS
  1. Tap the Share icon in Safari
  2. Scroll the menu and tap Add to Home Screen.
  3. Tap Add in the top-right corner.
To install this app on Android
  1. Tap the 3-dot menu (⋮) in the top-right corner of the browser.
  2. Tap Add to Home screen or Install app.
  3. Confirm by tapping Install.
Supporting Our Service Members
We proudly stand with all United States service members in Operation Epic Fury and those deployed around the world. Your sacrifice, courage, and dedication are deeply respected and never forgotten.
  • Entries

    5
  • Comments

    24
  • Views

    2,423

About this blog

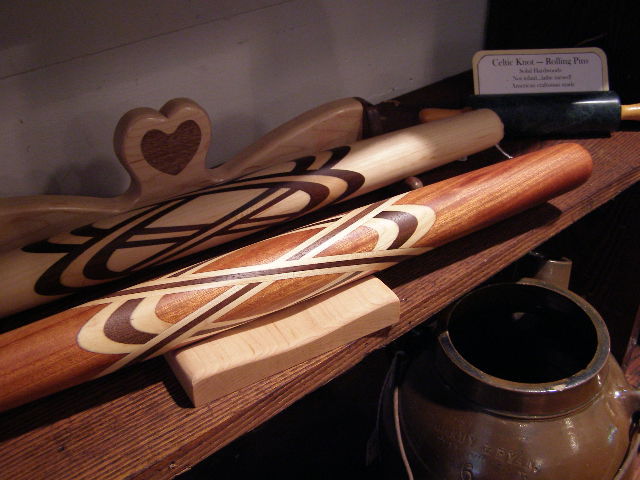
Multipart series on making a French rolling pin with oval inserts

Entries in this blog

In Part #1, I mentioned that the pattern of the Celtic knot can be varied by how much wood is removed during the creation of the slots. Typically, I plow out a 3/8" wide slot and fill it with three inserts. That technique results in a pattern of knots that overlap-       If the slot is cut, leaving a center slice of wood intact, and then placing an insert on each side; the pattern displays diamonds at the cross-over-         Another subtle
lew
  • lew
I found it easier to glue if I oriented the blank with the diagonal cut facing up. I use an old restaurant cutting board as a gluing work surface and pieces of the cutting board as culls and pads. In this picture, you can see the three strips to be glued into place. They measure 2” x 10 3/4” x 1/8”. Test fit the pieces first to make sure they will seat into the slot. (I now have a thick piece of Corian countertop for the gluing surface)     On my first attempt, I didn’t use
lew
  • lew
Once the blank has the layout lines drawn, it is time to cut the slots for the ellipses. The first step is to set the blade height. When the cut is made, there should be about 3/32" to 1/8” of material left holding the two sides together. This is necessary during the glue up by keeping the pieces aligned.   Set the blank on the jig and adjust the angle and the end stop so that the front SHORTER layout line is positioned to the LEFT side of the blade cut. Orientation is
lew
  • lew
The second part will concentrate on the layout of the rolling pin blank in preparation for cutting the slots. Create a blank that is 22” long and 2” square.    Locate the center of the length (11”) and carry a line around the blank.   The ellipses are 11” long and made of three pieces of 1/8” thick material Layout a mark 5 ½” on either side of the centerline and accurately carry the lines around the blank.   To assist in laying out the diagona
lew
  • lew
This is a re-post on the Celtic Knot Rolling Pin. I am a fan of “Cook Book” style instructions so if I miss any details, please let me know and I will try to flesh them out. In addition, many of these photos/procedures have been refined over time and I will try to point them out by adding extra photos rather than rewriting the entire blog. I thought it best to start with the jigs I used to prepare the turning blanks. Please note that I always over engineer everything and hardly ever see the
lew
  • lew

Account

Navigation

Search

Search

Configure browser push notifications

Chrome (Android)
  1. Tap the lock icon next to the address bar.
  2. Tap Permissions → Notifications.
  3. Adjust your preference.
Chrome (Desktop)
  1. Click the padlock icon in the address bar.
  2. Select Site settings.
  3. Find Notifications and adjust your preference.