


By lew
· 2,905 views
Part 2:
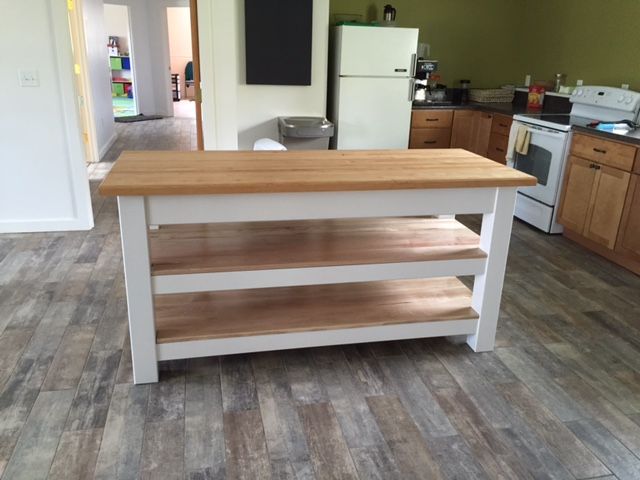
This build was not going to be particularly difficult. My biggest concern was the maple top. I’ve built smaller edge grain tops before so the process was not unfamiliar; however, the staggered shorter length field pieces had me scratching my head about clamping and gluing. Also, I needed to consider the size of the top versus the capabilities of my shop equipment. My Dewalt 735 planer maxes out at around 13” wide and my little shop made drum sander can only handle very small work.
John Moody suggested making the top in several sections and then assembling those sections into the final width. He also suggested using biscuits to aid in aligning the pieces during glue up. Sounded good to me so that’s what I did.
I started with 8/4 rough, hard maple. Milled it down into the strips I’d need to build the top. I was really worried about the amount of waste there might. Sometimes thick pieces have a lot of internal stress and can end up looking like a piper cub propeller after they are cut. I got really lucky and almost all of the pieces were nice and straight.

I spent several hours sorting, moving and labeling the pieces so there would be less of a chance of a mistake during glue up (not that completely eliminated snafus). I also marked all of the biscuit locations. As John suggested, the biscuits really helped align and keep the strips in place while clamping each section. I also used biscuits on the end joints where the shorter field pieces were joined.
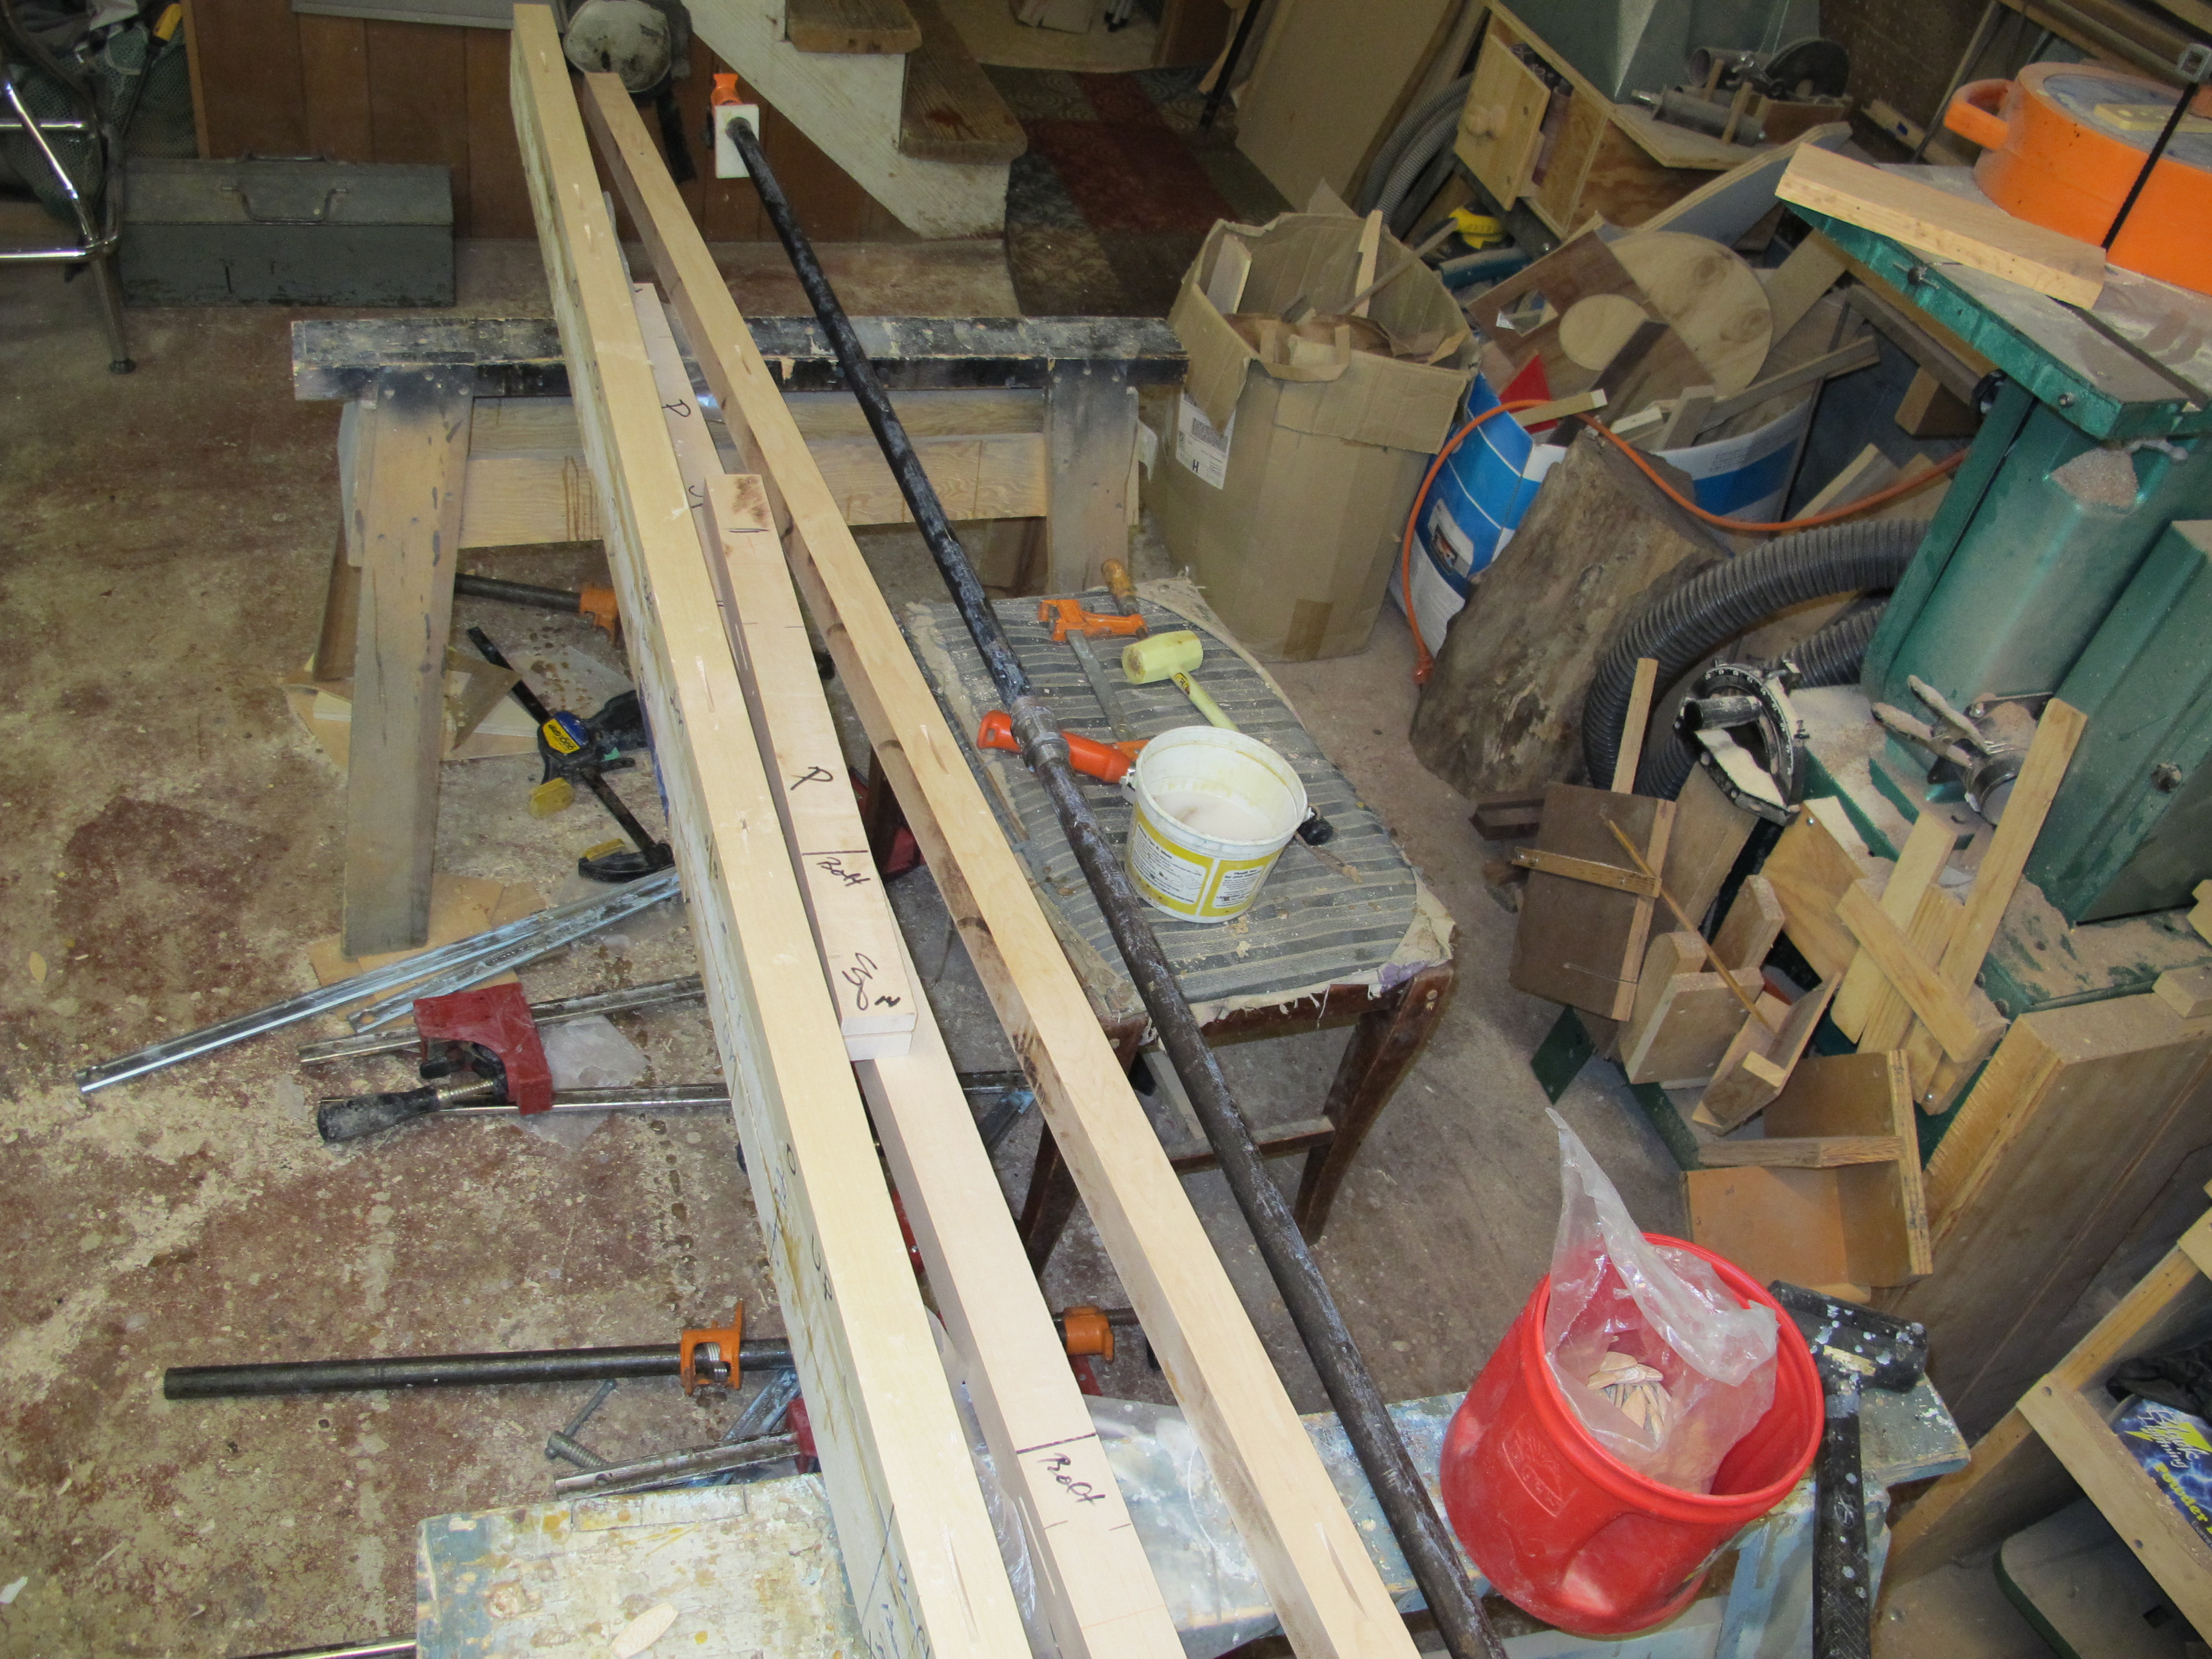

Maybe overkill on the clamps but I didn’t want to take any chances. For the field pieces that were made up from shorter lengths, I clamped the pieces end to end.

Instead of trying to completely assemble each section at once, I opted to glue on and clamp one strip at a time until the section was finished. It took longer but I had more time to make sure everything was lining up. Working by yourself forces you to think the entire assembly process through thoroughly and sometimes even do a “practice run”.

Eventually, I ended up here-


All the labels and notes are clearly visible and I transferred some of the markings to the edges/back for reference during the final glue up. It seems like every time I clamp up an assembly like, I end up with a little irregularity on the edges. A quick pass through the jointer trued the edges and then it was on to the planer.
 2
2
Next, the sections were glued together and sized for length. I used a straight edge and skill saw to trim the top to length. I guess I could have used the belt sander to smooth out the sections but I’ve really become a fan of the card scraper. One of our newer member- Todd Clippinger- has a really nice and quick procedure for sharpening card scrapers so you spend more time finishing then trying to produce that elusive “hook”.


Originally, the edges of the top were to be square. The minister thought a chamfered edge would look nicer. A simple design change. Router and chamfer bit took care of it.


A little more sanding (through 320 grit) and the top is done (except for the oil/wax). It weighed in at around 90 pounds.
-
 1
1
Recommended Comments
Join the conversation
You are posting as a guest. If you have an account, sign in now to post with your account.
Note: Your post will require moderator approval before it will be visible.