


Part#3 Making the cuts

By lew
· 1,944 views
Once the blank has the layout lines drawn, it is time to cut the slots for the ellipses.
The first step is to set the blade height. When the cut is made, there should be about 3/32" to 1/8” of material left holding the two sides together.
This is necessary during the glue up by keeping the pieces aligned.

Set the blank on the jig and adjust the angle and the end stop so that the front SHORTER layout line is positioned to the LEFT side of the blade cut. Orientation is when you are standing at the back of the saw looking forward. (These pictures are from the SIDES of the saw). On the latest jig, I drew positioning lines to locate the ends and center of the knot layout as well as the longitudinal center. These really help in positioning the blank.
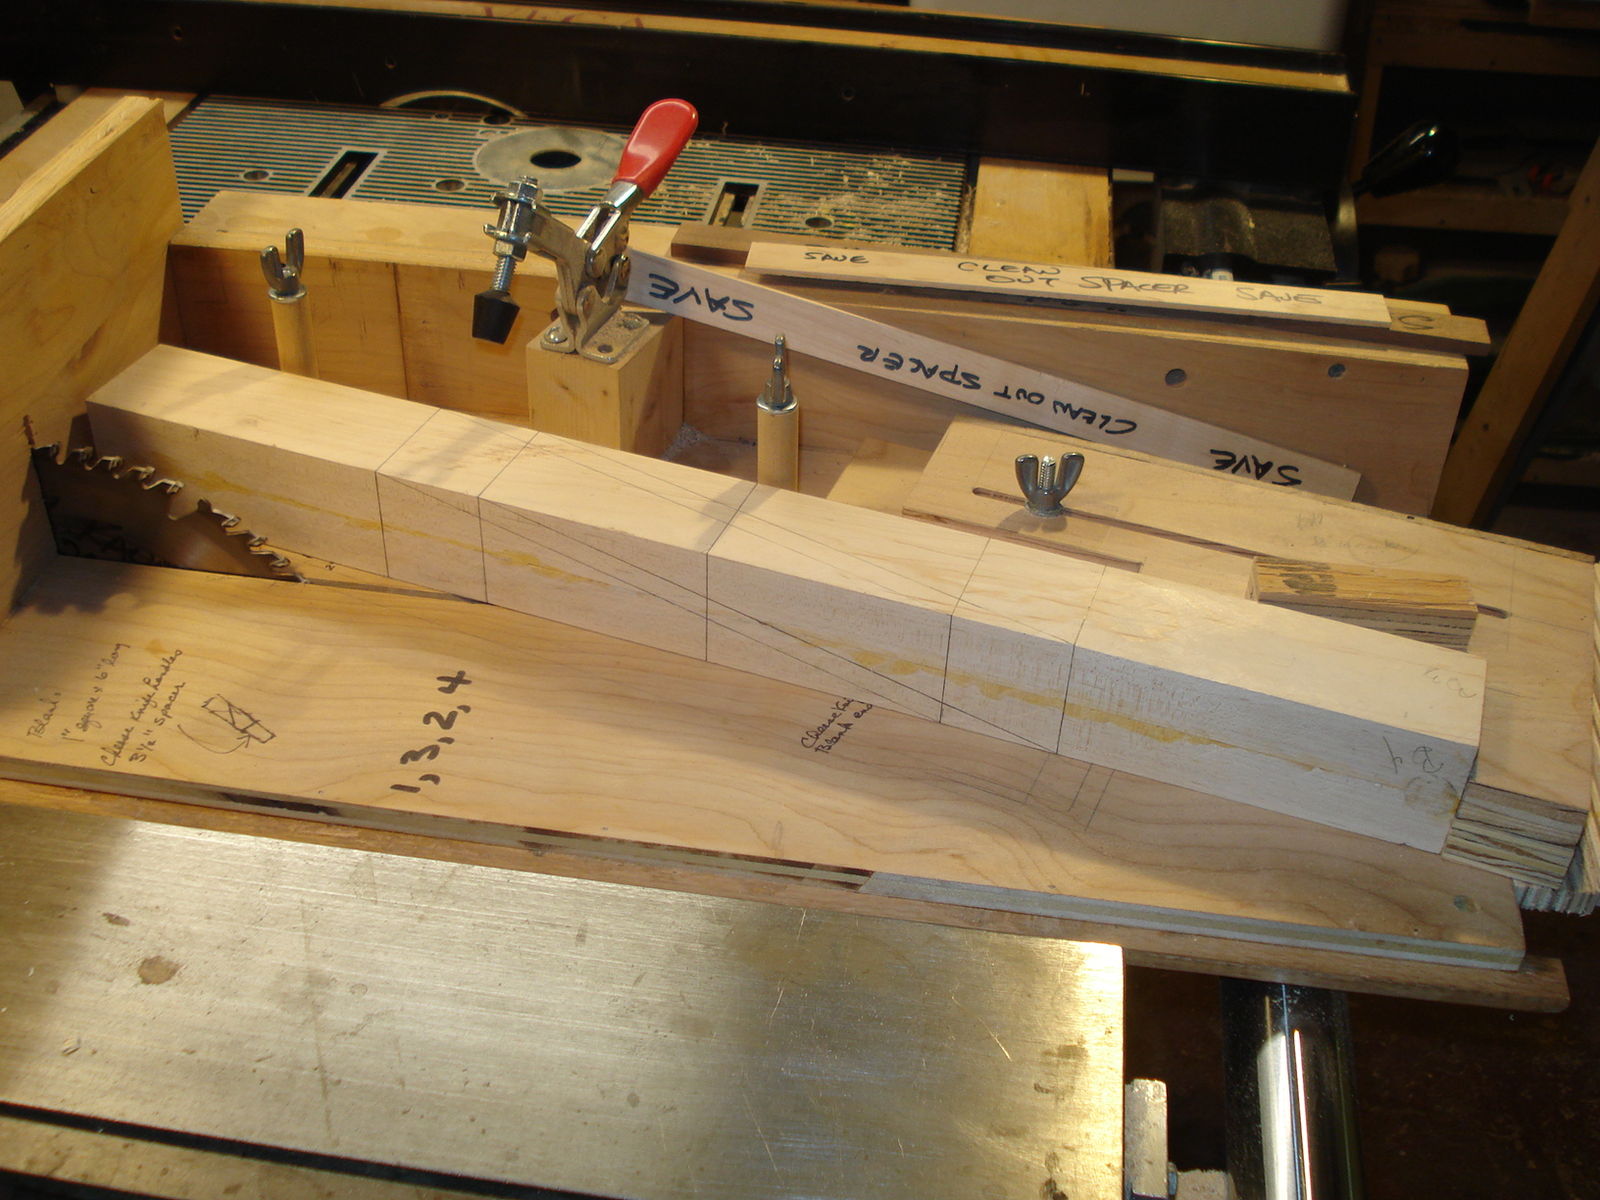
Make sure the length stop is adjusted against the end of the blank

Aligning the layout lines to the jig


Continue to adjust the angle and the end stop so that the rear LONGER layout line is positioned to the LEFT side of the blade cut.

Securely tighten all adjustments. Once these angles/lengths are set, they will not change for all of the remaining cuts.
Clamp the blank firmly in the jig. Double check the layout lines.
In order to keep the correct orientation of the blank, I labeled the end of the blank nearest me. This end must always be placed against the rear stop for all diagonal cuts.
With everything secure, make the first cut.

Unclamp the blank.
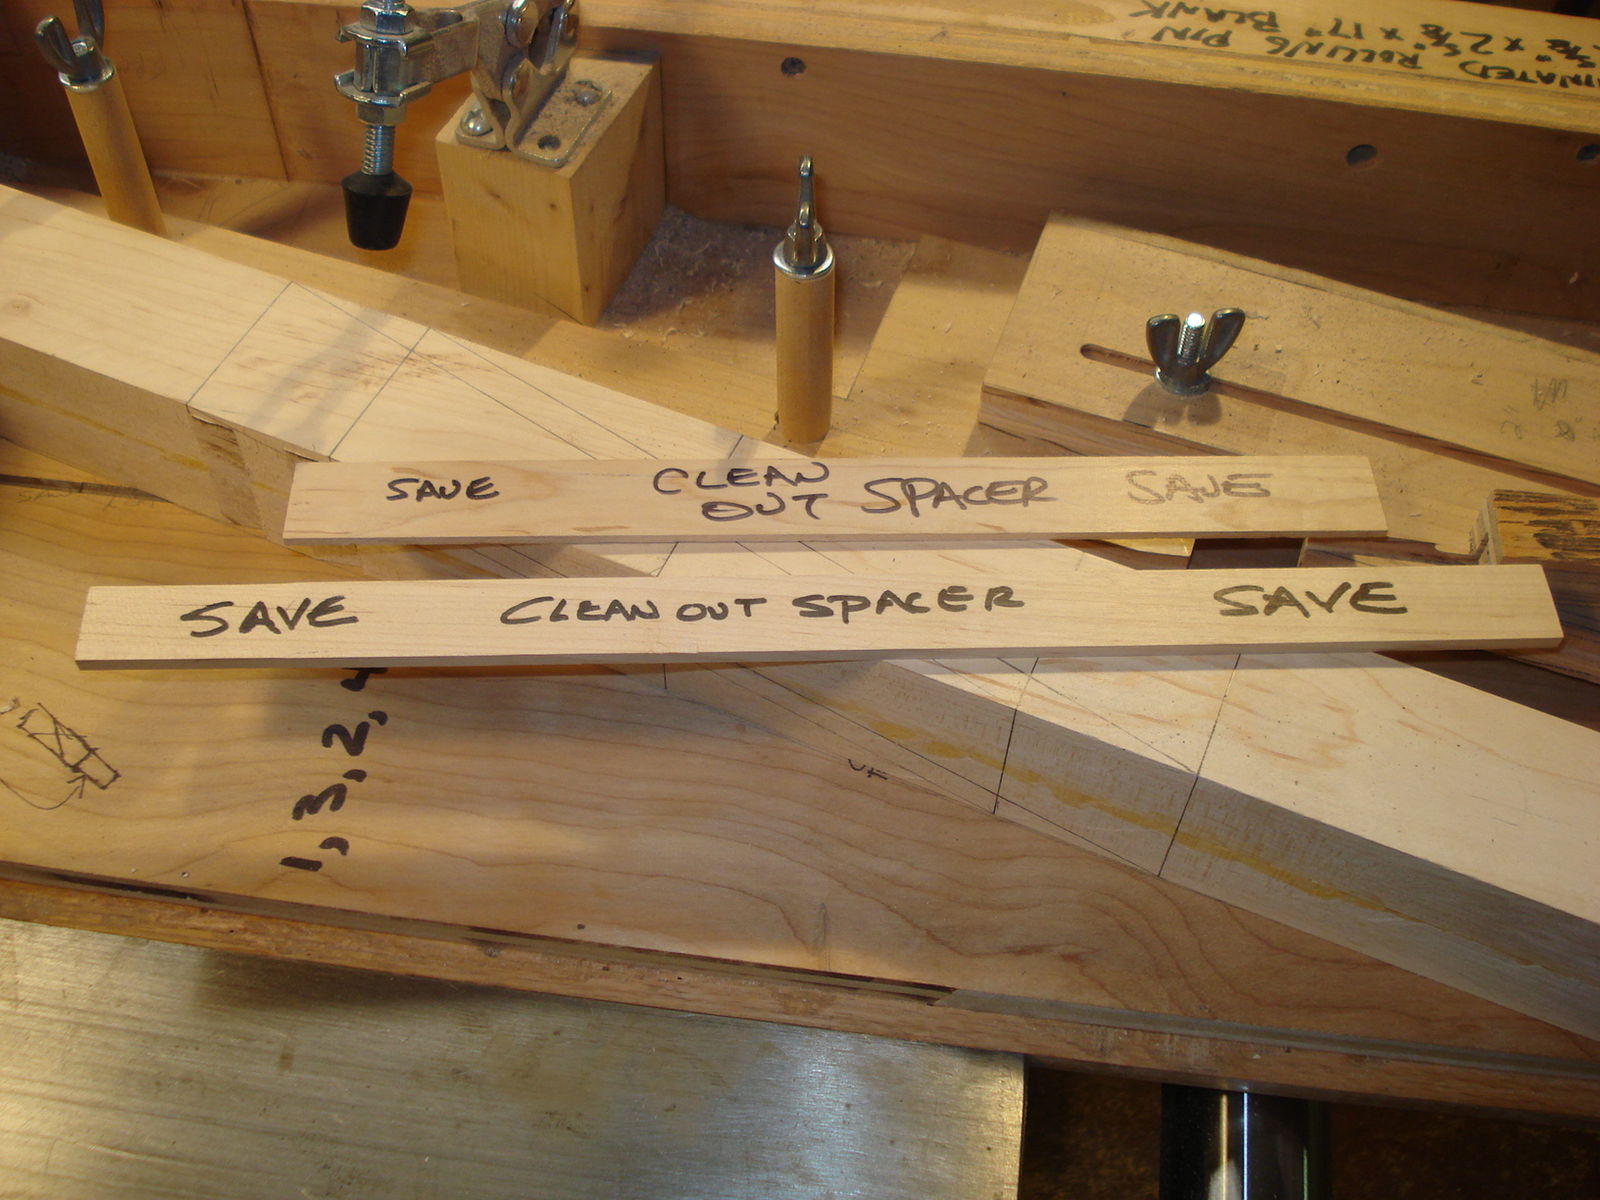
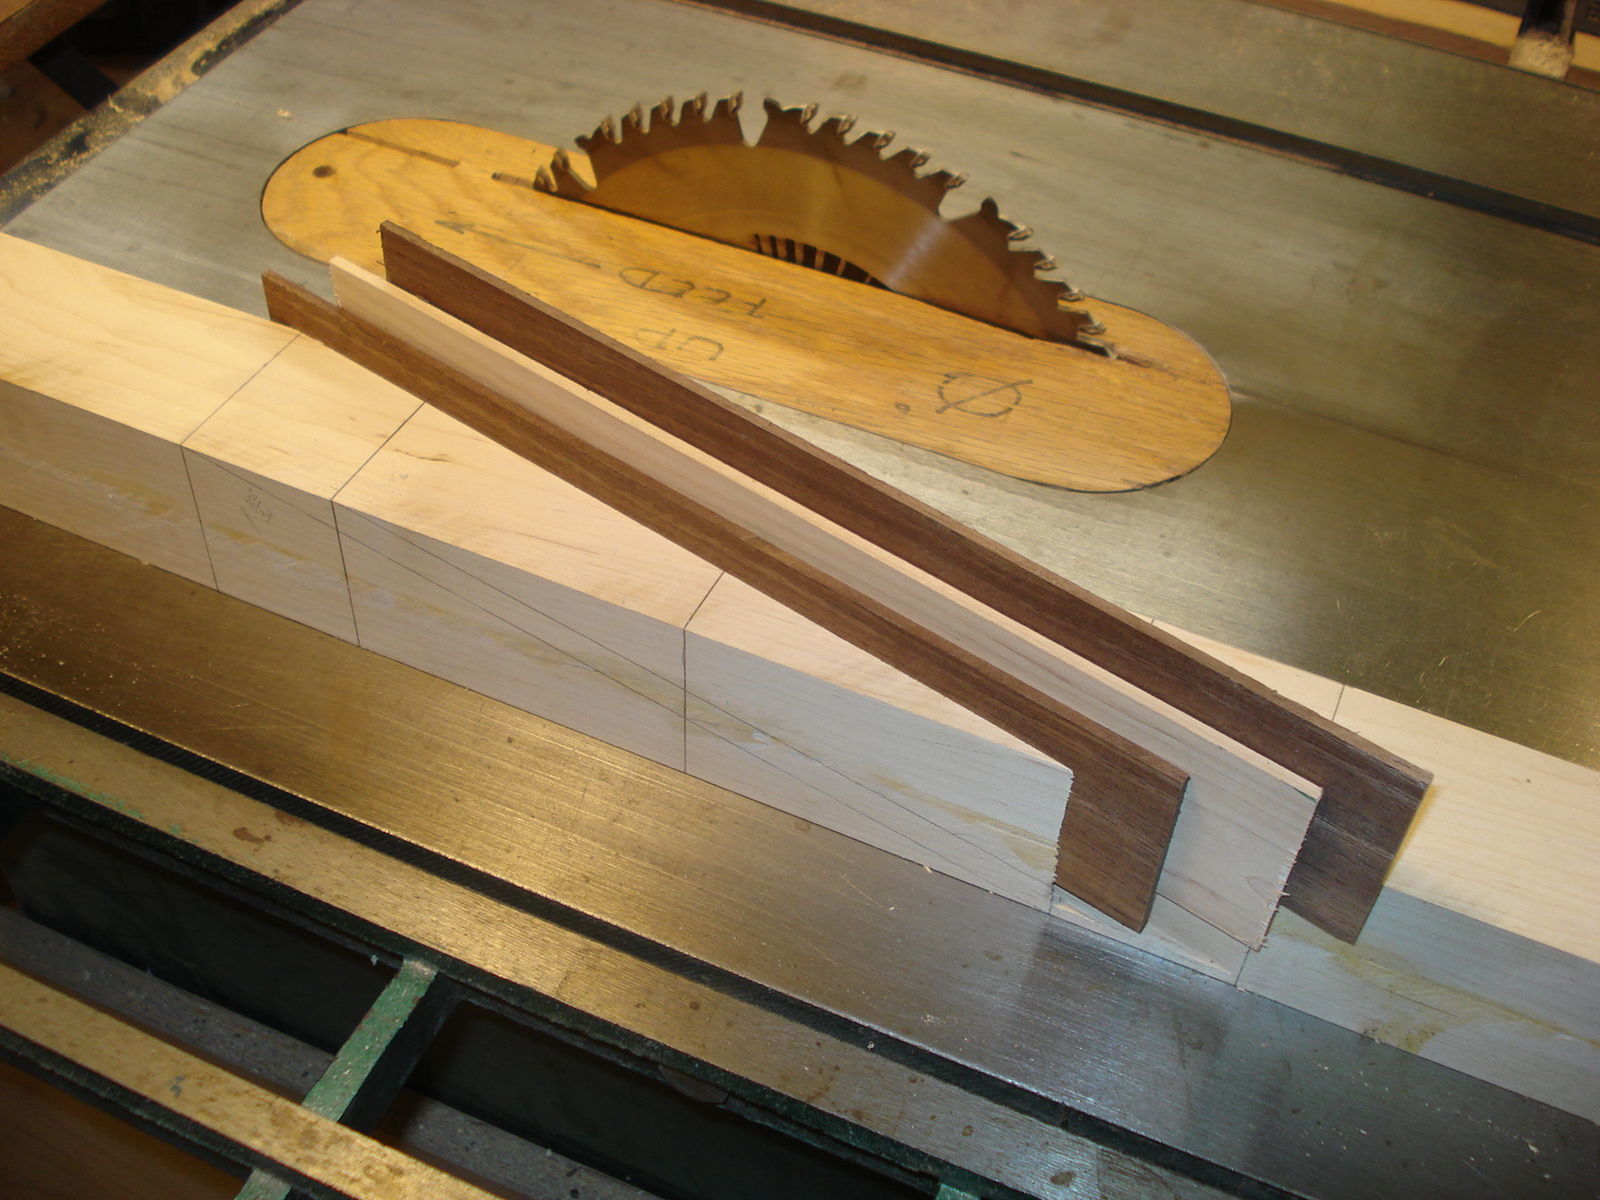
To make the second cut, I made a space strip to reposition the blank without having to change any of the jig setting. My first guess was that this spacer would be 3/8” thick- the same as the width of the finished cut. BUT that was too thick. I guess there is a way to calculate the thickness but trial and error won out. It came out closer to 1/4” (.265”). Later, someone told me that the reason was that I had failed to consider the width of the saw blade and on which side of the layout line the blade was cutting.
The second cut is made with the blank position so that the front LONGER layout line is on the RIGHT side of the saw cut.
The rear SHORTER layout line is on the RIGHT side of the saw cut.
The walnut spacer strip can be seen between the blank and the fence of the jig. The thickness of the spacer strip could be different for each person. So check the setup carefully. Also, Make sure the blank butts up against the end stop before each cut.

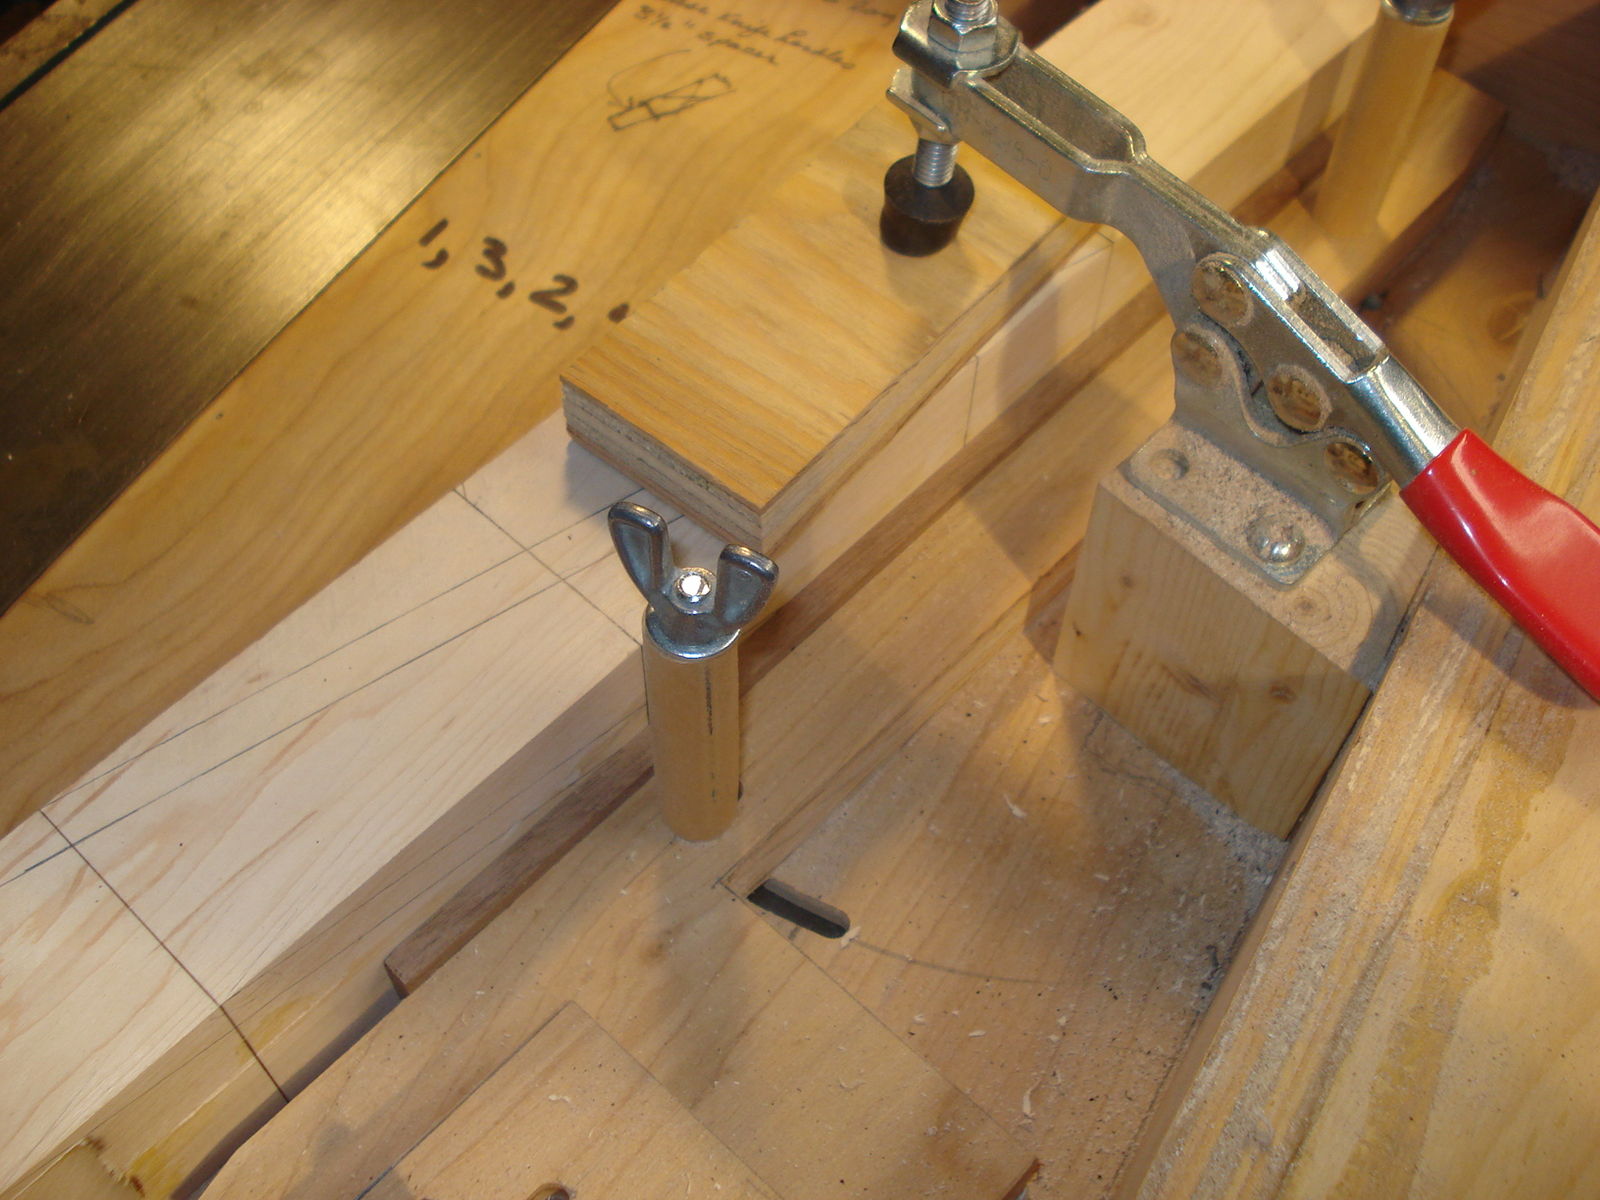
After the second cut has been made, there may be a thin piece of material left in the slot. I made another spacer- about 1/8”- replaced the first spacer and made a third “clean out” pass.

The finished cut should be 3/8” wide and almost through the blank.

Completed slot-
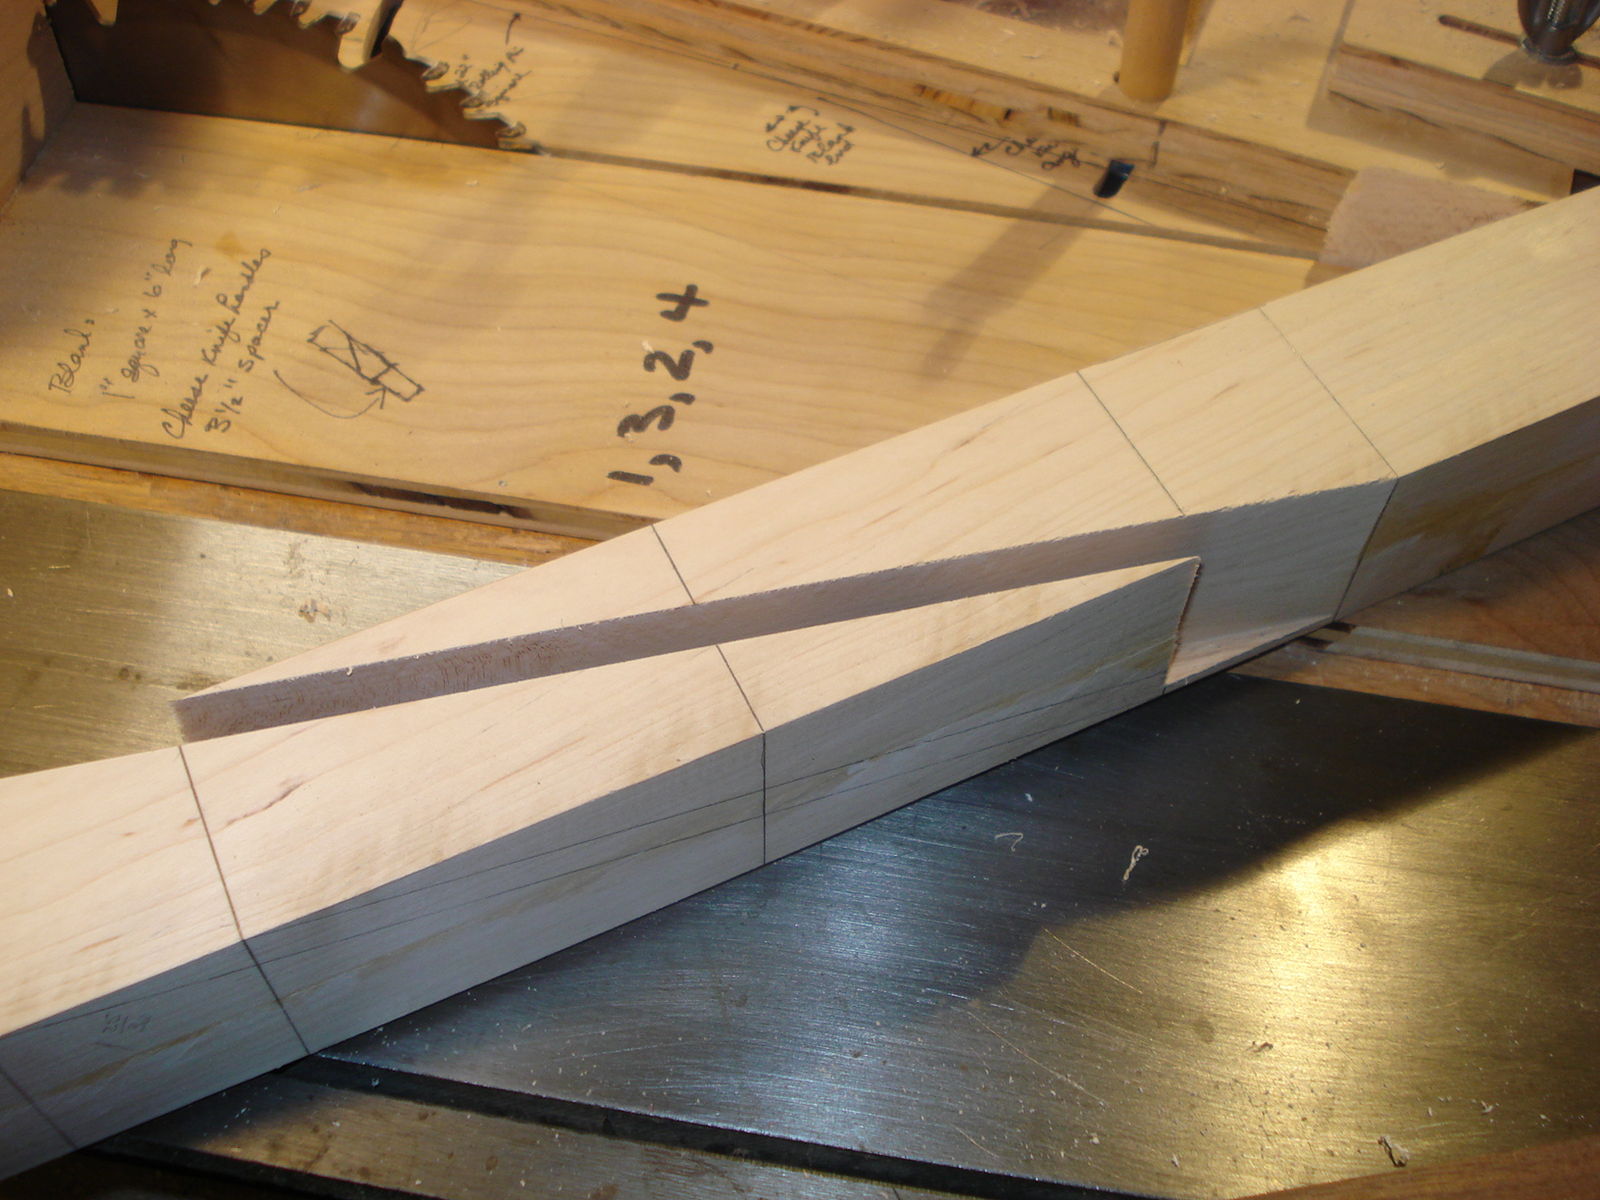
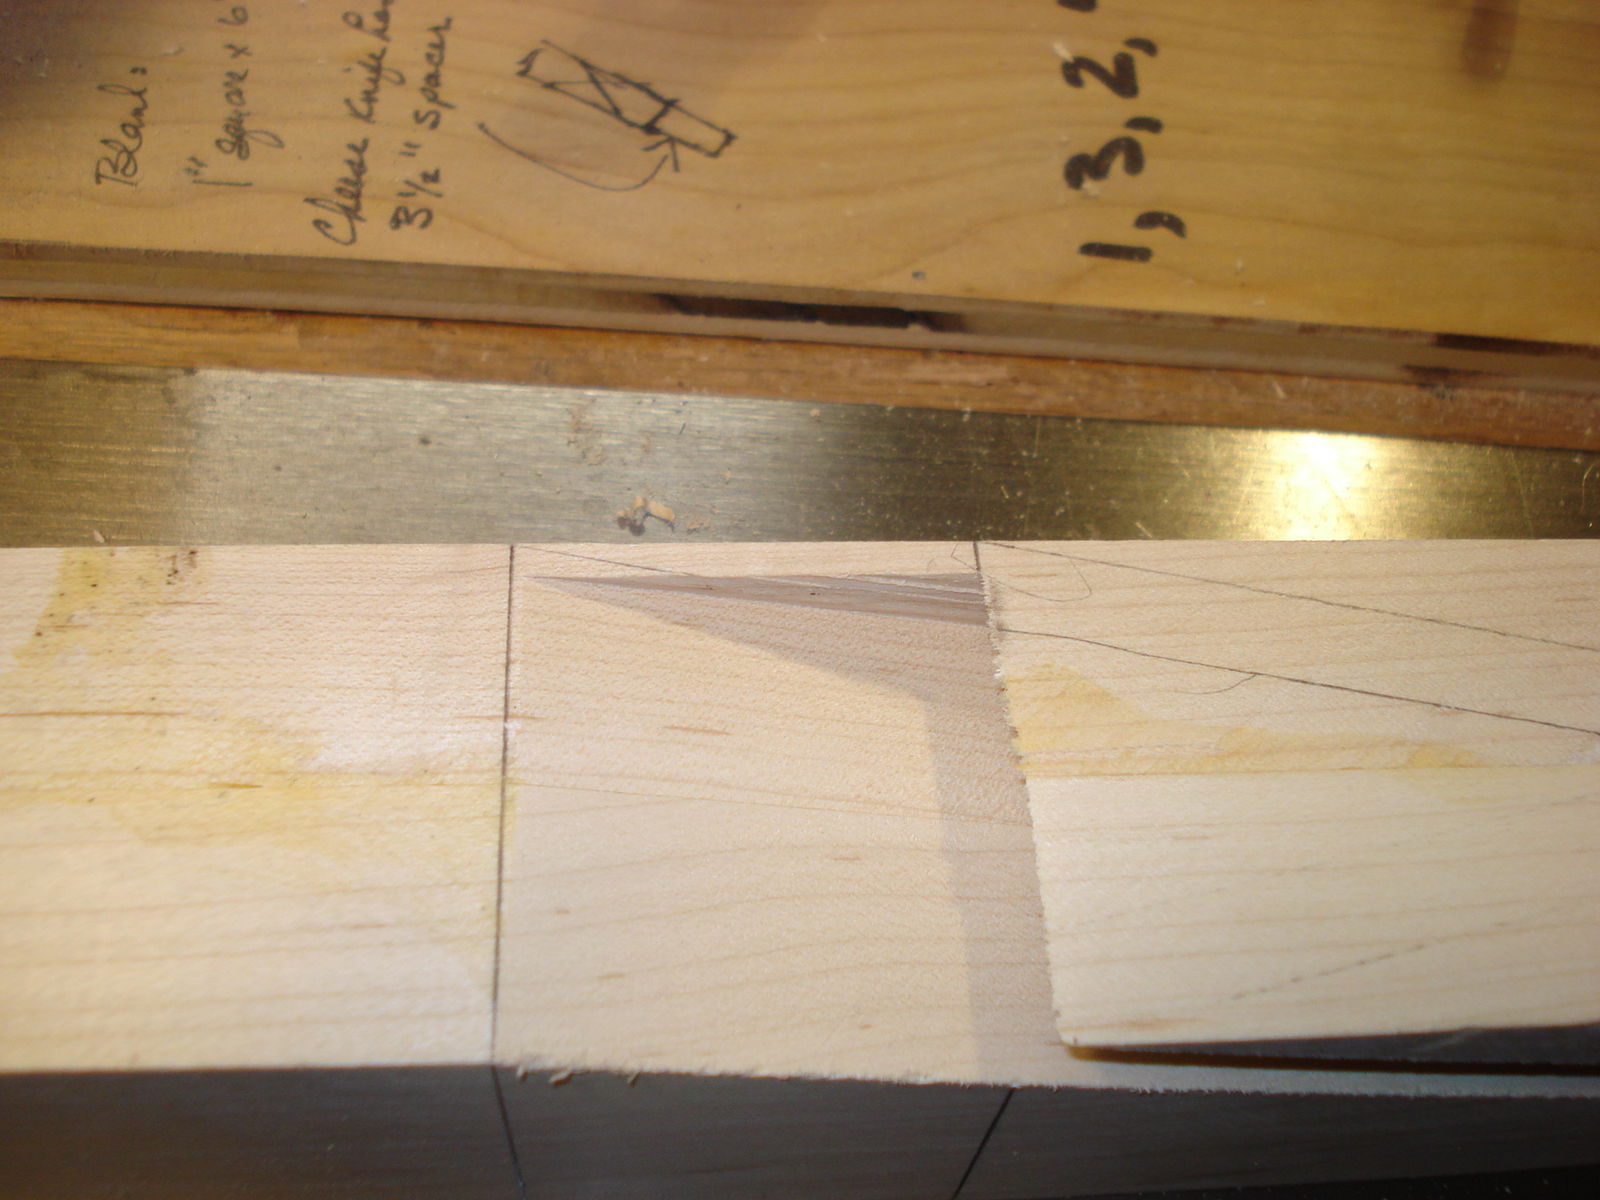
Checking the slot for the inserts
-
 1
1
Recommended Comments
Join the conversation
You are posting as a guest. If you have an account, sign in now to post with your account.
Note: Your post will require moderator approval before it will be visible.