Search the Community
Showing results for tags 'hope chest'.
Found 2 results
-
Just to put what I had so far on the Cherry Blanket chest in one post. The Picture below is the sytle I am building this chest like. The sides and ends of this chest will have the boards vertical instead of horizontal. In order to keep them as flat as possible and not have so much sanding to to at the end I have been putting them together in sections. First I laid them out on the table after they were cut and run across the jointer and and through the planer to get close to finish size. This let me look at the grain and try to match it so it looks like a seamless piece as much as possible. Then I biscuit jointed each of the sections. I put two boards together at a time, but first I ran them through the table saw with the glue edge blade to get a good square edge. The photo above shows the gaps before run through the table saw. Now they are glued into to two board sections. Then the two board sections were flattened in the planer and then two of the two board sections were glued. So now I only had to smooth out this joint but from here on it is done with the belt sander since they are too wide to run through the planer. There are nine pieces to make up the sides panels so I had to glue three in one of the sections. So then I put the sections together to check and see before the final two pieces got put together. So it was cut biscuit joints here and put them into the 50" Bessey Clamps. And let me just tell you I really like the Bessey Clamps for gluing these type of panels. They are expensive, but do a great job. So both the front and back panels glued and standing on my work bench in the 50" clamps. And here they are with the two end pieces standing in front of them. So I will start working on the skirt for the bottom and the trim around the top and I got in my stain samples so I will take some extra boards I cut out and get me color matches done. This has taken a good bit more time putting these panels together but I am liking the end results. Well I will post some more on it later. Let me know what you think.
- 19 replies
-
- 2
-

-
- blanket chest
- hope chest
- (and 2 more)
-
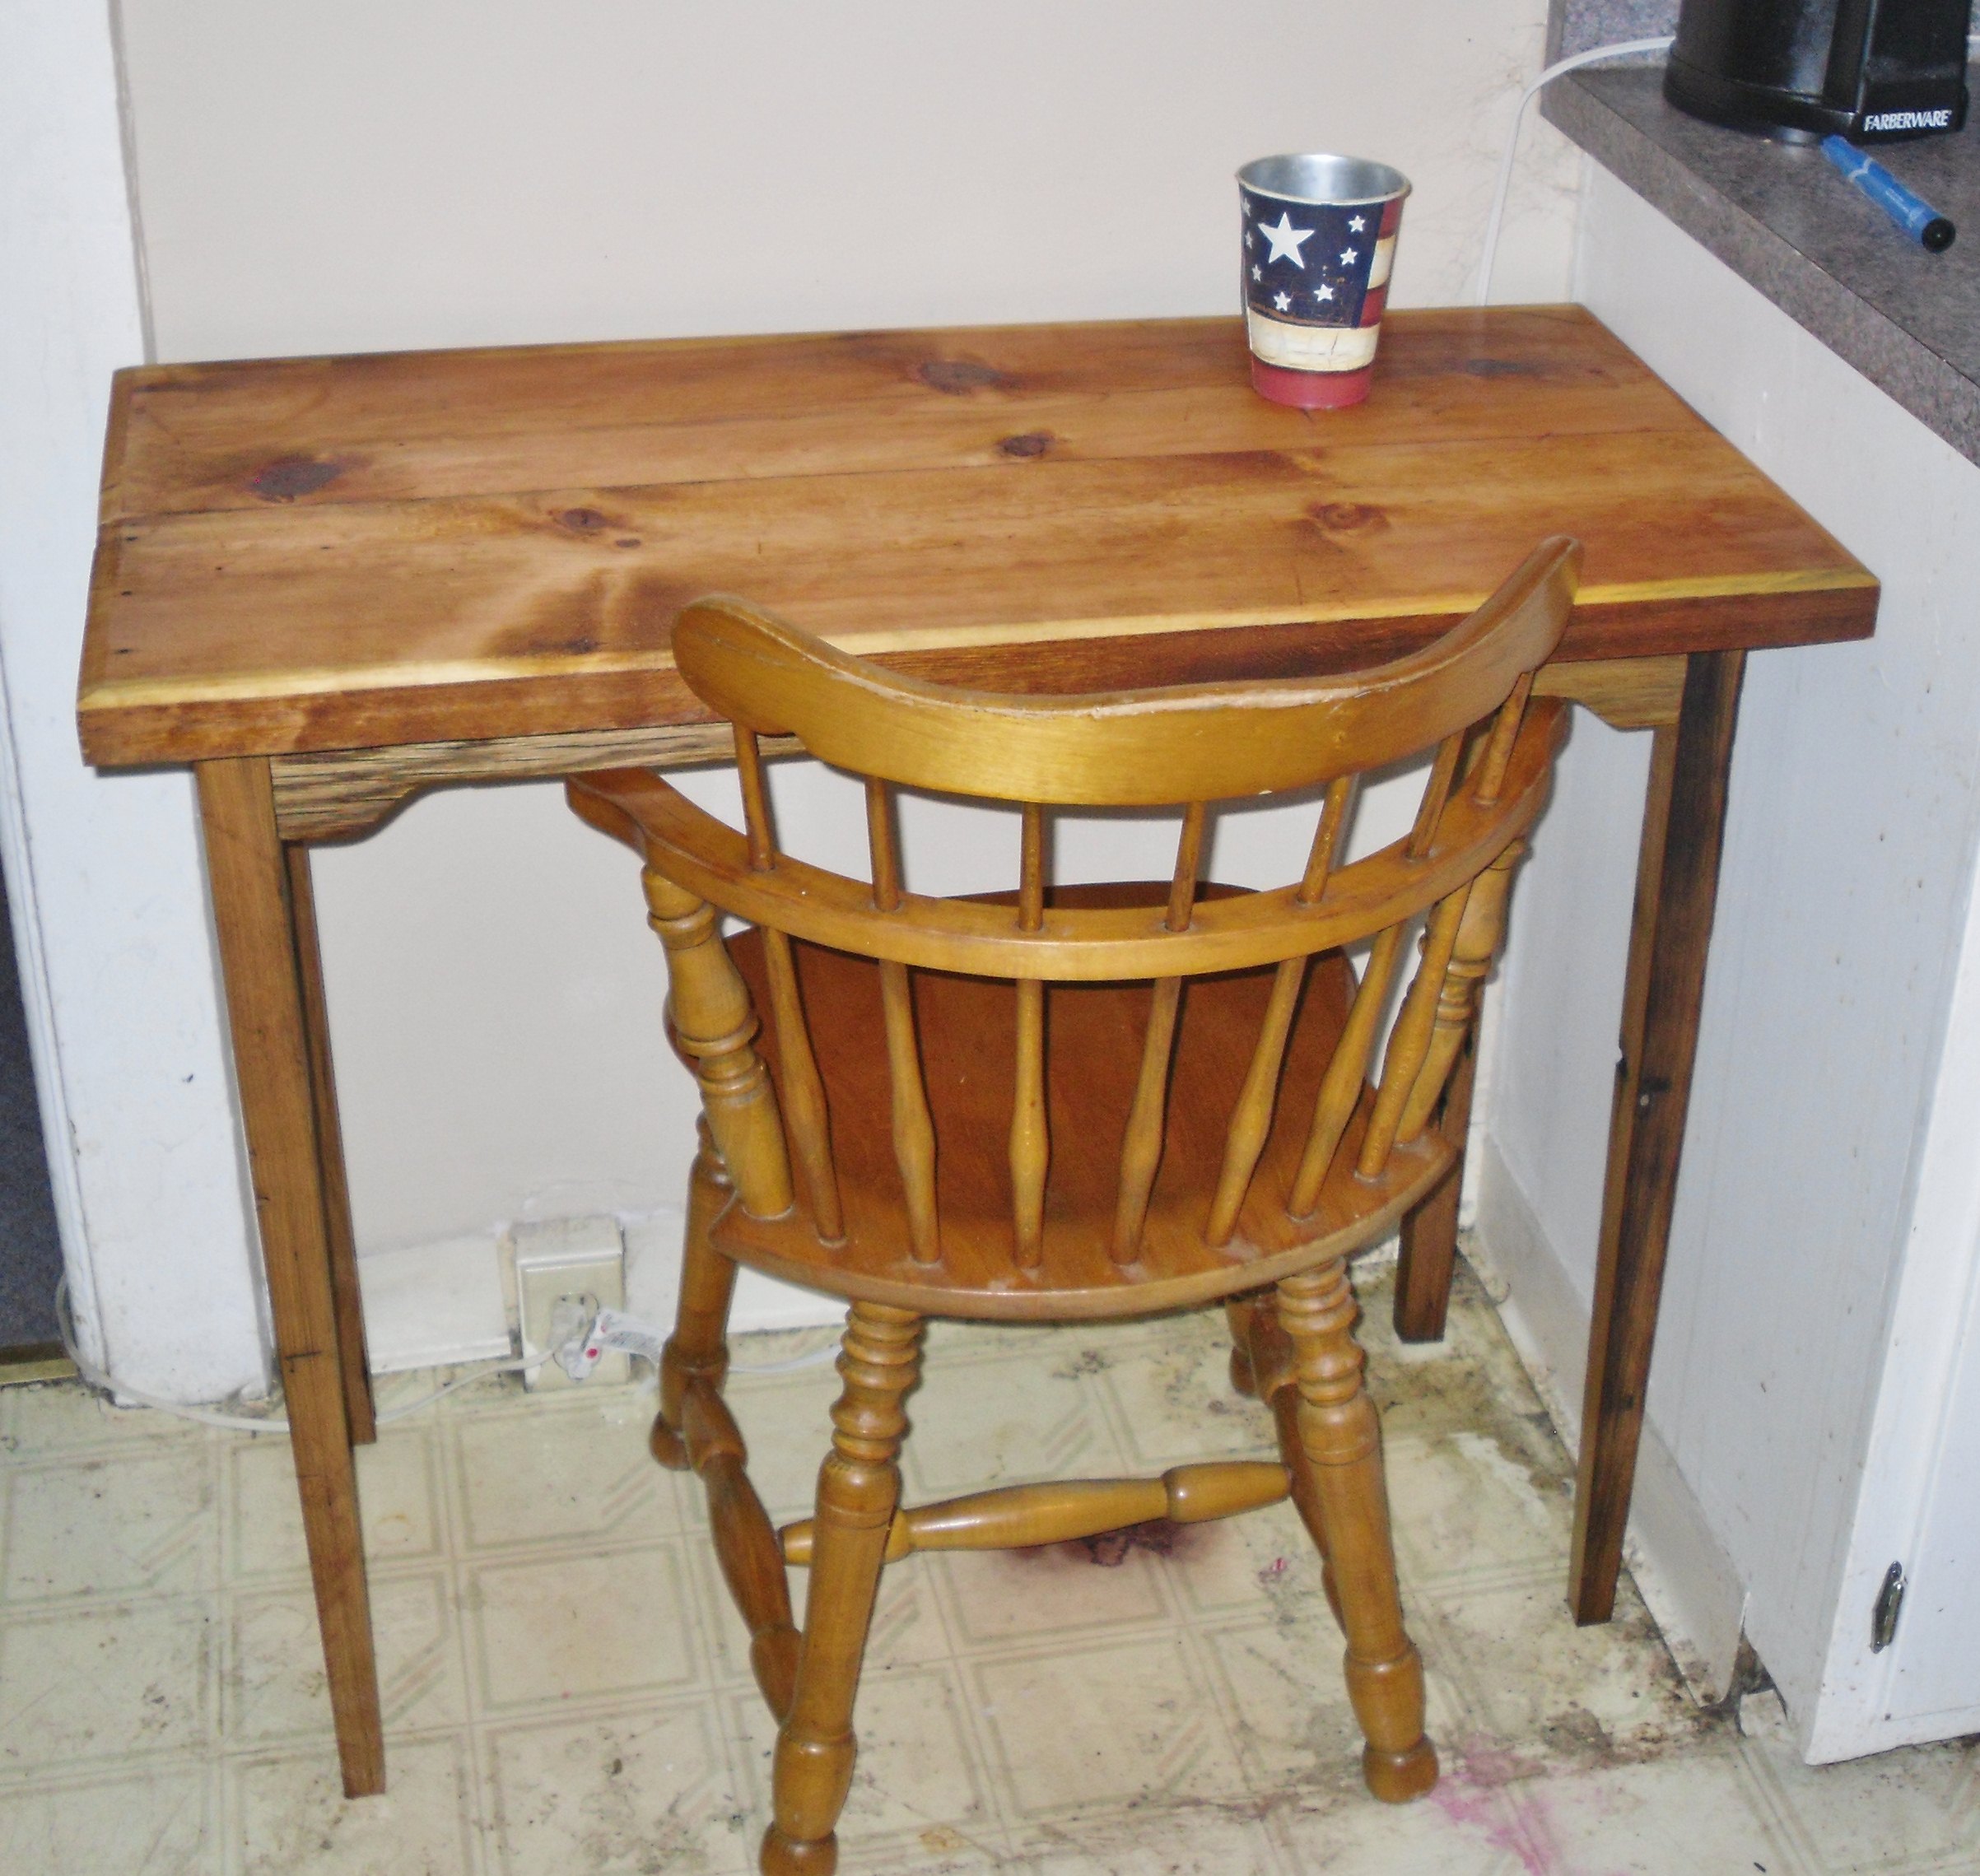
Just two older projects. The table started out as a "Kitchen Office" sort of thing. Daughter had a chair, and needed a small table to match. It also had to fit in a certain spot... Front legs were tapered on two sides ( hand planed) back legs were left square. Top is a glue up, of two pieces of waterbed frame. The rebate where the plywood base went? that is the glue joint, I merely cleaned it up. Frame work under the top? Ah yes, this is what the Dungeon Shop started out as. The slab in the background is the top for the table. Mortise & Tenon for the corners, with glue blocks to help out. Center slat was dovetailed in place, by hand. As for the edges of the top....router maybe? No... These things made a bevel on the edges.... Now, about the second item.....seems a long time past, an old carriage house/ garage decided to fall down. Rot and decay. I was able to scrounge a few planks and beams from it....LOTS of cut nails. Resaw a lot of oak "rafters" watching sparks fly as I found the nails I missed. Was that many. cheap Irwin 10" rip blade. Got enough boards out of it for a chest of sorts. Stained a dark walnut colour ( Daughter liked that shade) frame and raised panel chest. Top had breadboard edges.. Defects, nail holes and all. It has survived 1/2 a dozen moves, an apartment fire, and who knows what else. one panel has a cracked glue joint. Still going strong. Maybe 100 yr old Oak.