

Entry posted by lew
3,589 views
So I'm down to making gifts for the nurses at my doctor's office. I rarely visit the office for a "Sick Call" but I do take care of their computers. It's always an inconvenience for the nurses when I have to interrupt their routines, so I try and make up for it by making each of them a little something every year.
My sister gave me this idea a couple of years ago when she gifted me a turned scoop and I've been meaning to make some ever since. I had some walnut and maple boards left from previous projects so they got glued into turning blanks.

Some were all walnut and some were walnut and maple combinations. Mounted between lathe centers, I turned a chuck tenon on each blank.

Over the years, I got tired of measuring the calipers every time I turned a chuck tenon so I made this quick little helper jig to make the measurements. One side is for the tenon, the other side of the jig is for measuring for the outside of the chuck mounting.

Sizing the tenon

As I was making a bunch of these, I do each operation to all of the blanks before moving on to the next step.

Next, removed the drive center and replaced it with the chuck and prepared to drill out the bulk of the material for the scoops. The first hole was just under 2" in diameter (my largest Forstner bit)

this hole set the depth of the scoop. Because I wanted the "back" of the scoop to be more rounded, I needed to also set the depth limit of that portion as well. I used my shop made drilling gauge to finish out the settings.


Finished drilling

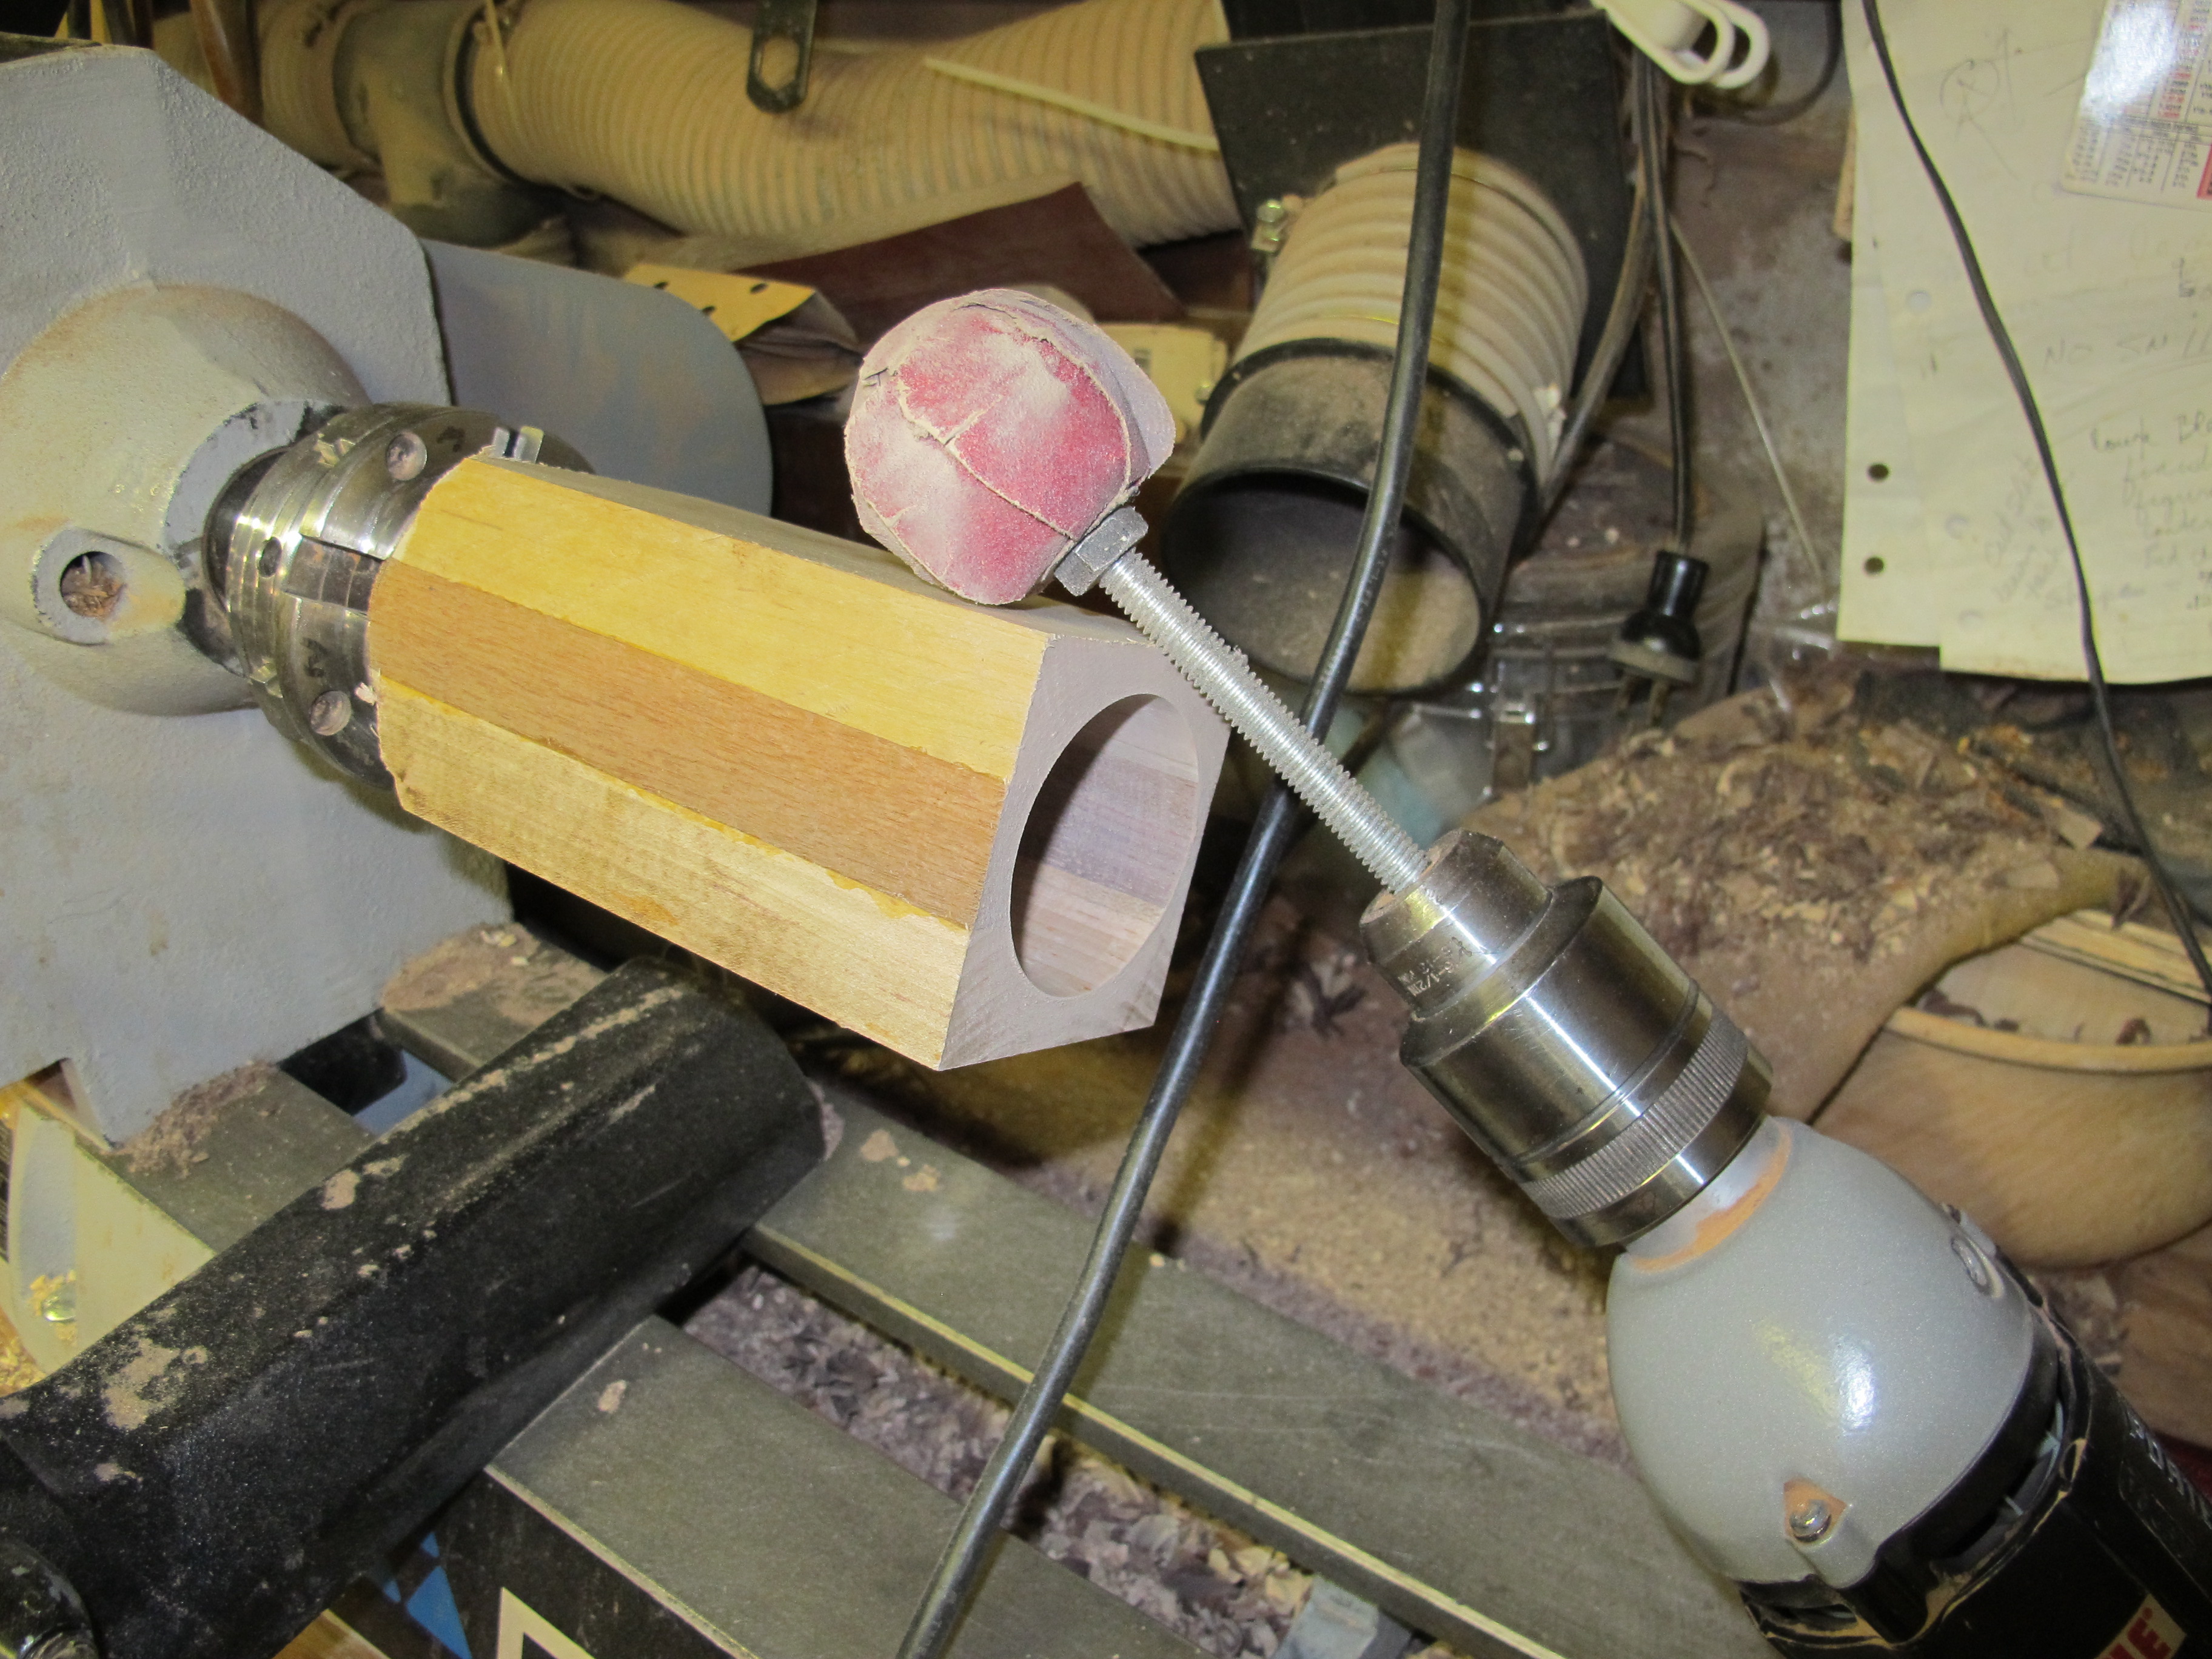
The blanks were then remounted in the chuck in preparation for completing the insides. To assure the blanks get centered properly, I made a cone adapter that fits over the tail stock live center
Once securely chucked, The cone is pulled out and work can begin enlarging and shaping the inside. Each of the square blanks were slightly different dimensions, so every scoop was unique.

I did sand the inside of each blank as it was shaped using my shop made ball sander. The ball sander is from Mr. David Reed Smith. You can read the free instructions here- http://www.davidreedsmith.com/articles/foamballsander/foamballsander.htm.
Once the inside was sanded, the outside of the blank was rounded, using the cone for support. I have several of these cones- of different sizes- and they really come in handy.

To be able to shape the outside of the scoops, I needed to reference to depth of the rounded "back". A simple depth indicator does the trick.

(Notice the black indicator mark near the chuck end of the blank. I have gotten into the habit of marking my blanks with a reference mark that aligns with a reference mark on the chuck. This assures the blanks are always remounted in the same orientation in the chuck.)
The depth of the recess is transferred to the outside of the rounded blank.

The blanks are all marked and read for shaping.

Set the overall length, and shape the scoops


When I finished the shaping and sanding, I had 9 "bells" of which I forgot to take a picture.
Anyway, To convert the "bells" into scoops, I needed to cut each one on the bandsaw. Problem here was trying to safely hold each one and to be sure the cut was vertical across the scoop opening. To accomplish this I made a jig to hold the scoop. The following pictures describe the process-


This hole was drilled almost through the blank and then enlarged to match the average diameter of the scoops.


A piece of 1/4" plywood in tacked to one of the jaws of the wooden screw clamp and one half of the drilled block is also attached to that jaw. The opposite jaw with attached half block is free to move.


The jig and its' base made it easy to cut the curved profile on the scoop opening.

All cut and ready for finish sanding

With the hot bee's wax/mineral oil finish

I think the presents are done for this year. A few extra scoops in case we need a quick present- or I forgot some one! Thanks for following along!
- DerBengel, Cal and Steve Krumanaker
-
 3
3
5 Comments
Recommended Comments
Join the conversation
You are posting as a guest. If you have an account, sign in now to post with your account.
Note: Your post will require moderator approval before it will be visible.