


By lew
· 4,078 views
Once everything was properly fitted, the case was disassembled and prepped for gluing. I had previously sanded all of the pieces to 150 grit- except the top and bottom. Those two were sanded to 220 grit due to the difficulty of sanding them in place. I taped the locations where the dovetails intersected- on the inside of the box- to help eliminate a lot of glue squeeze out cleanup. Assembled one end and two sides. Dropped in the top and bottom. Then glued in the last end piece. Some clamps, checked for square then set it aside for a day-


Next up, was fixing the dovetail error. I went back and forth between matching or contrasting dowel pins. Finally settled on walnut. My first idea was to create dowels, that when installed, had the flat grain exposed. This would make them almost invisible.

However, my goal was also to increase the strength of the joint. With the grain running across the dowel diameter, the dowel could be easily snapped in half. Back to the lathe-
.JPG.939c654e678d790fdc8878750f197851.JPG)
Grain running lengthwise.
Drilling the corner holes was done on the drill press.

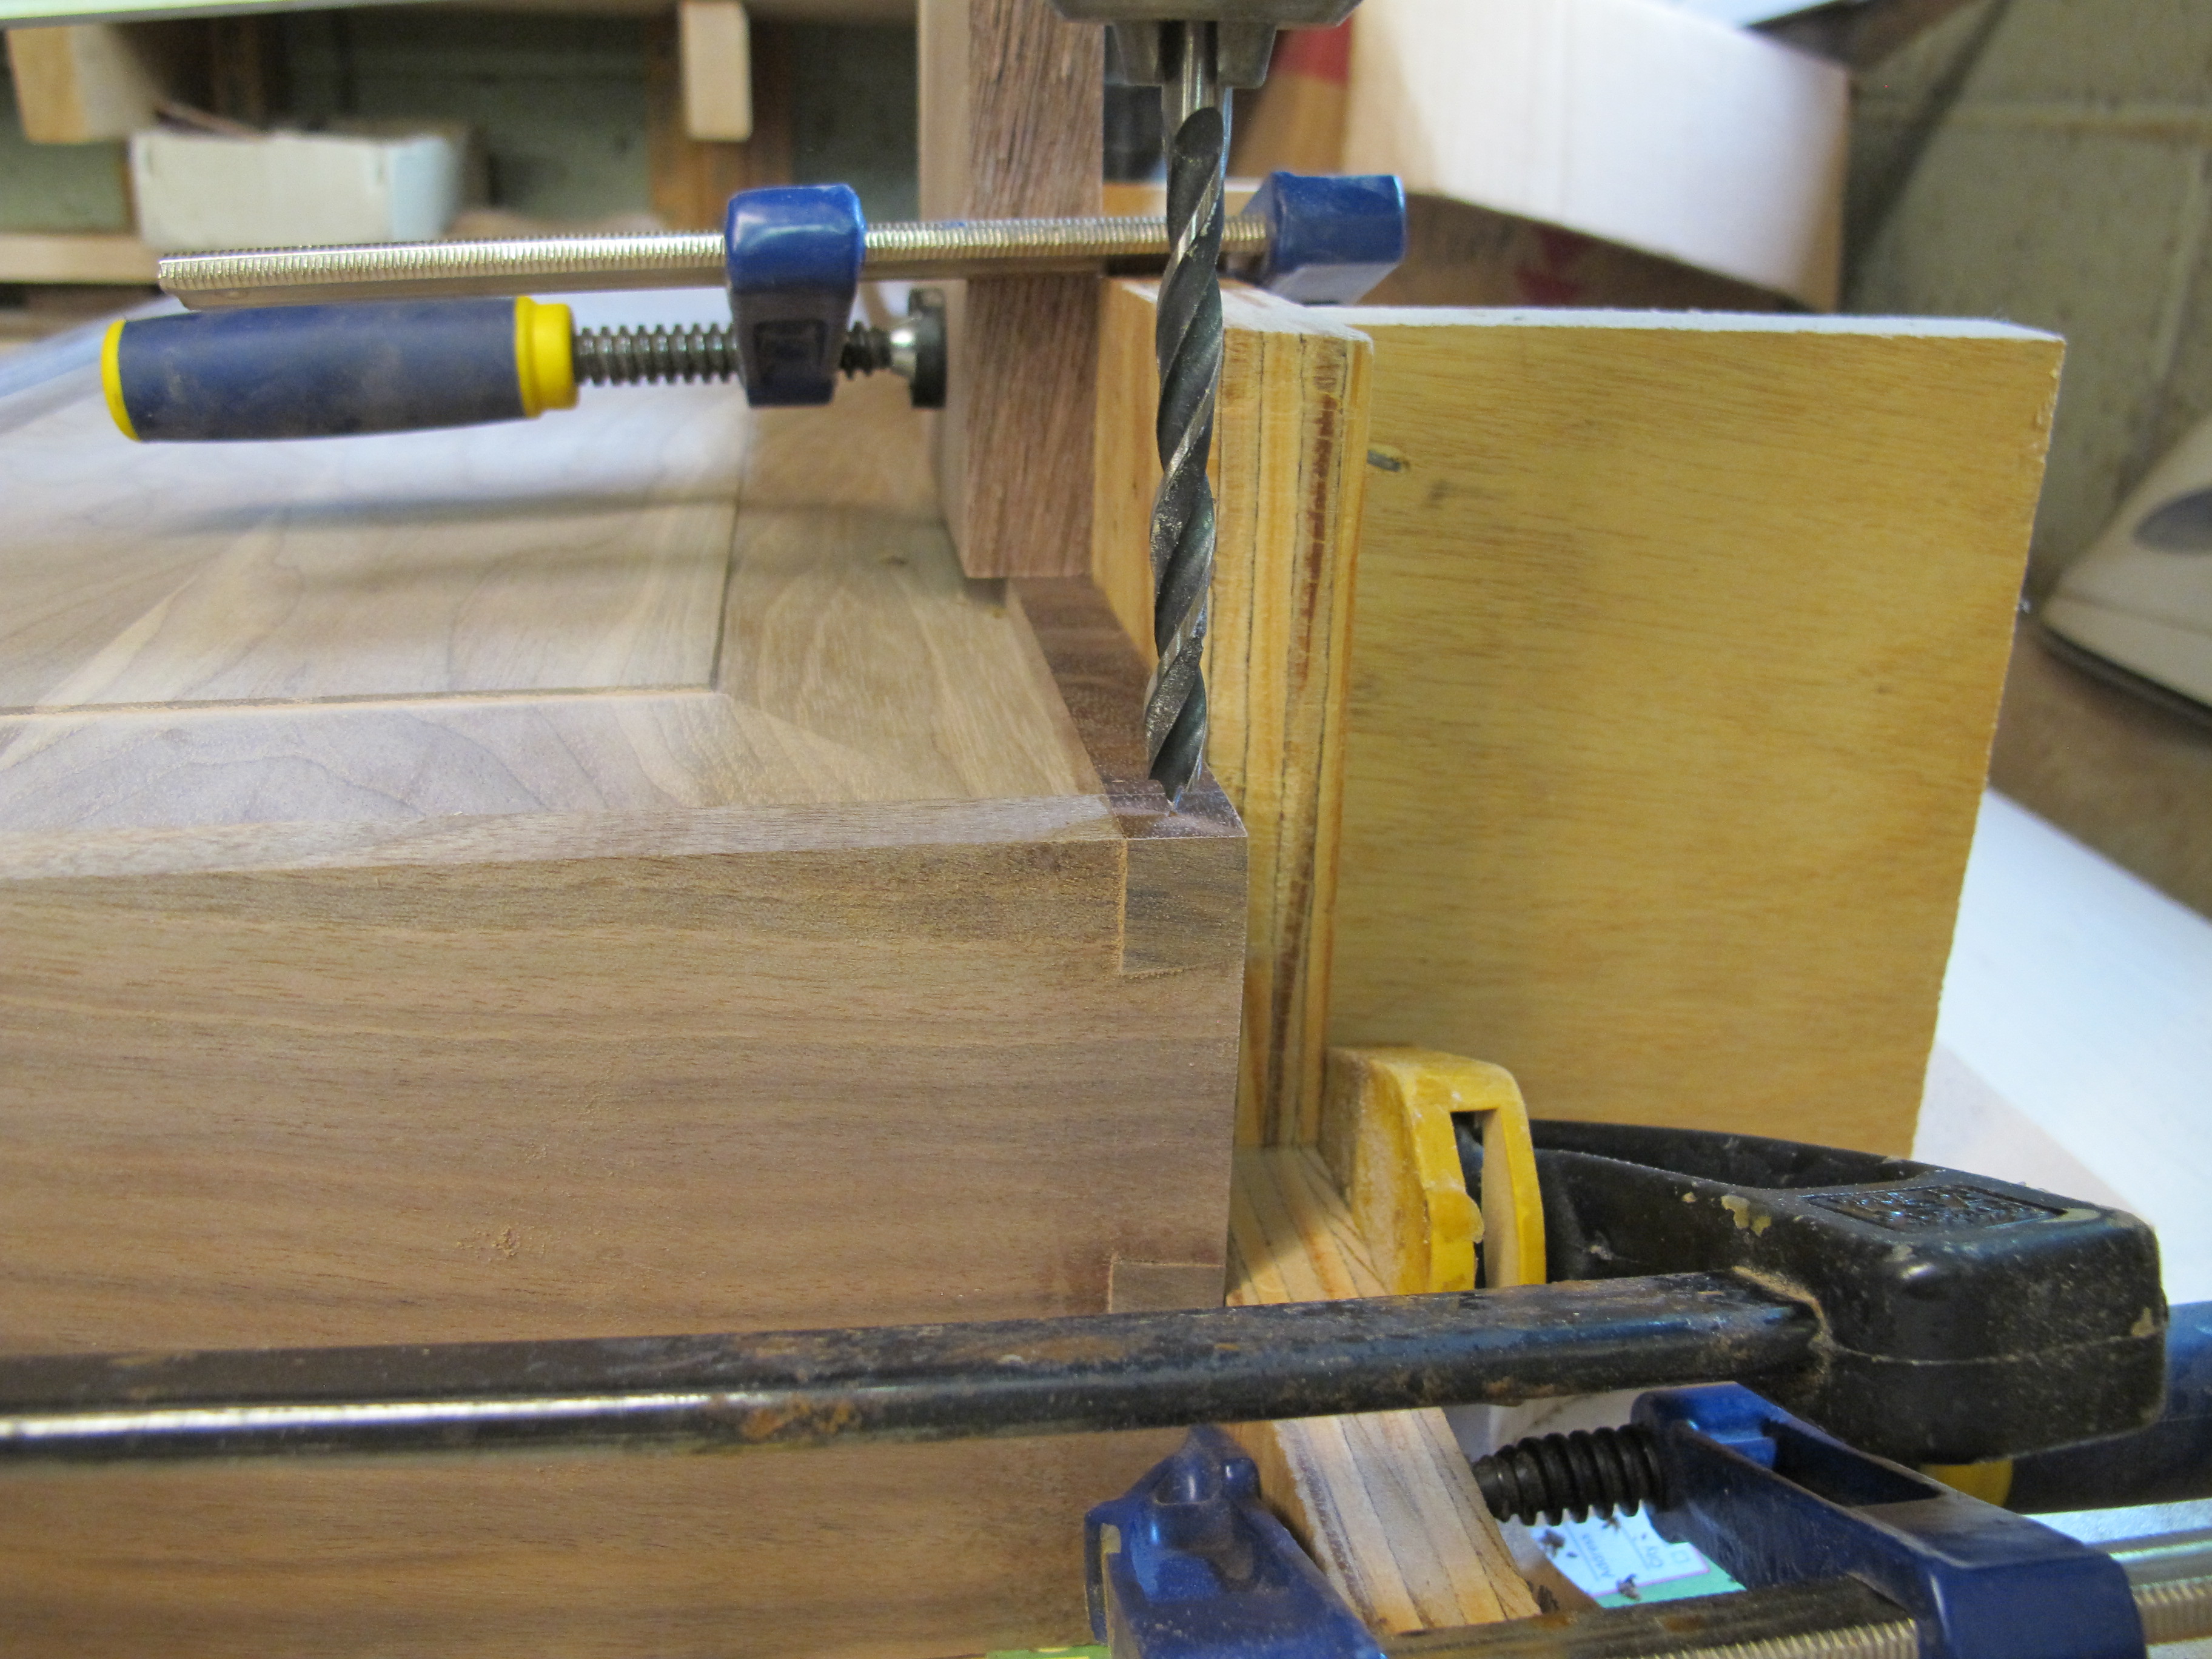
My drill press table sets slightly off center. This presented a little bit of an problem when drilling two of the holes.

The case extended quite a bit off of the side of the drill table and needed to have additional support. I used to have a shop made adjustable support just for this purpose- but I never used it. NOTE TO SELF- Don't throw anything away!
Dowels were then glued into place and trimmed with a flush trim saw. Sanding all of the dovetails flush and the case was ready to be split.
Using the table saw and a really thin blade- actually the blade off of my miter saw- I made a cut around the outside of the box.

The saw cut did not completely separate the top and bottom. I left a little bit of material to hold the two pieces together throughout the cut.

To complete the separation, carefully cut through the material with a sharp utility knife-

The completed cut-


Finally, sand the excess material left in the cut (I don't trust myself with the hand plane). The blue tape on the inside corners needs to be removed. That really facilitates cleaning any glue squeeze out.
When the hardware and liner gets here, we'll continue. I'm not sure what my friend has picked for hinges/latches or what kind of finish- just hope he doesn't want latex paint!


.JPG.24d654000fb250788f3b0f4cce50c2d3.JPG)


Recommended Comments
Join the conversation
You are posting as a guest. If you have an account, sign in now to post with your account.
Note: Your post will require moderator approval before it will be visible.