Skip to content
View in the app

A better way to browse. Learn more.

The Patriot Woodworker

A full-screen app on your home screen with push notifications, badges and more.

To install this app on iOS and iPadOS
  1. Tap the Share icon in Safari
  2. Scroll the menu and tap Add to Home Screen.
  3. Tap Add in the top-right corner.
To install this app on Android
  1. Tap the 3-dot menu (⋮) in the top-right corner of the browser.
  2. Tap Add to Home screen or Install app.
  3. Confirm by tapping Install.

Part #4 The Top and Bottom

(0 reviews)

Having solved the problem of the non-supported dovetails in the lid, I made a dry fit of the sides and ends

First_dry_fit.thumb.JPG.e8191c4d9e1af1c4

Most often, I like to make actual measurements rather than rely on what I calculated the size of the pieces I'll need.

size_top_and_bottom.thumb.JPG.fb5dbcda86

The good old Stanley Folder is my go-to tool for this type of measurement.

Once the dimensions are taken, I can size and create the top and bottom.

Top_and_Bottom.thumb.JPG.fceb1bfd1c67623

Both pieces were made from glue-ups. The top is 1/2" stock. The bottom is created from some thinner stock glued up to make the panel.; then planed to 1/2" thick.

The bottom and top set in dados. The bottom is rabbeted to make a 1/4" tongue for the dado.

bottom_rabbet.thumb.JPG.d8eef1df96211633

The top is a raised panel made on the table saw. To make the top, the first thing is to create a crisp edge for the raised portion.
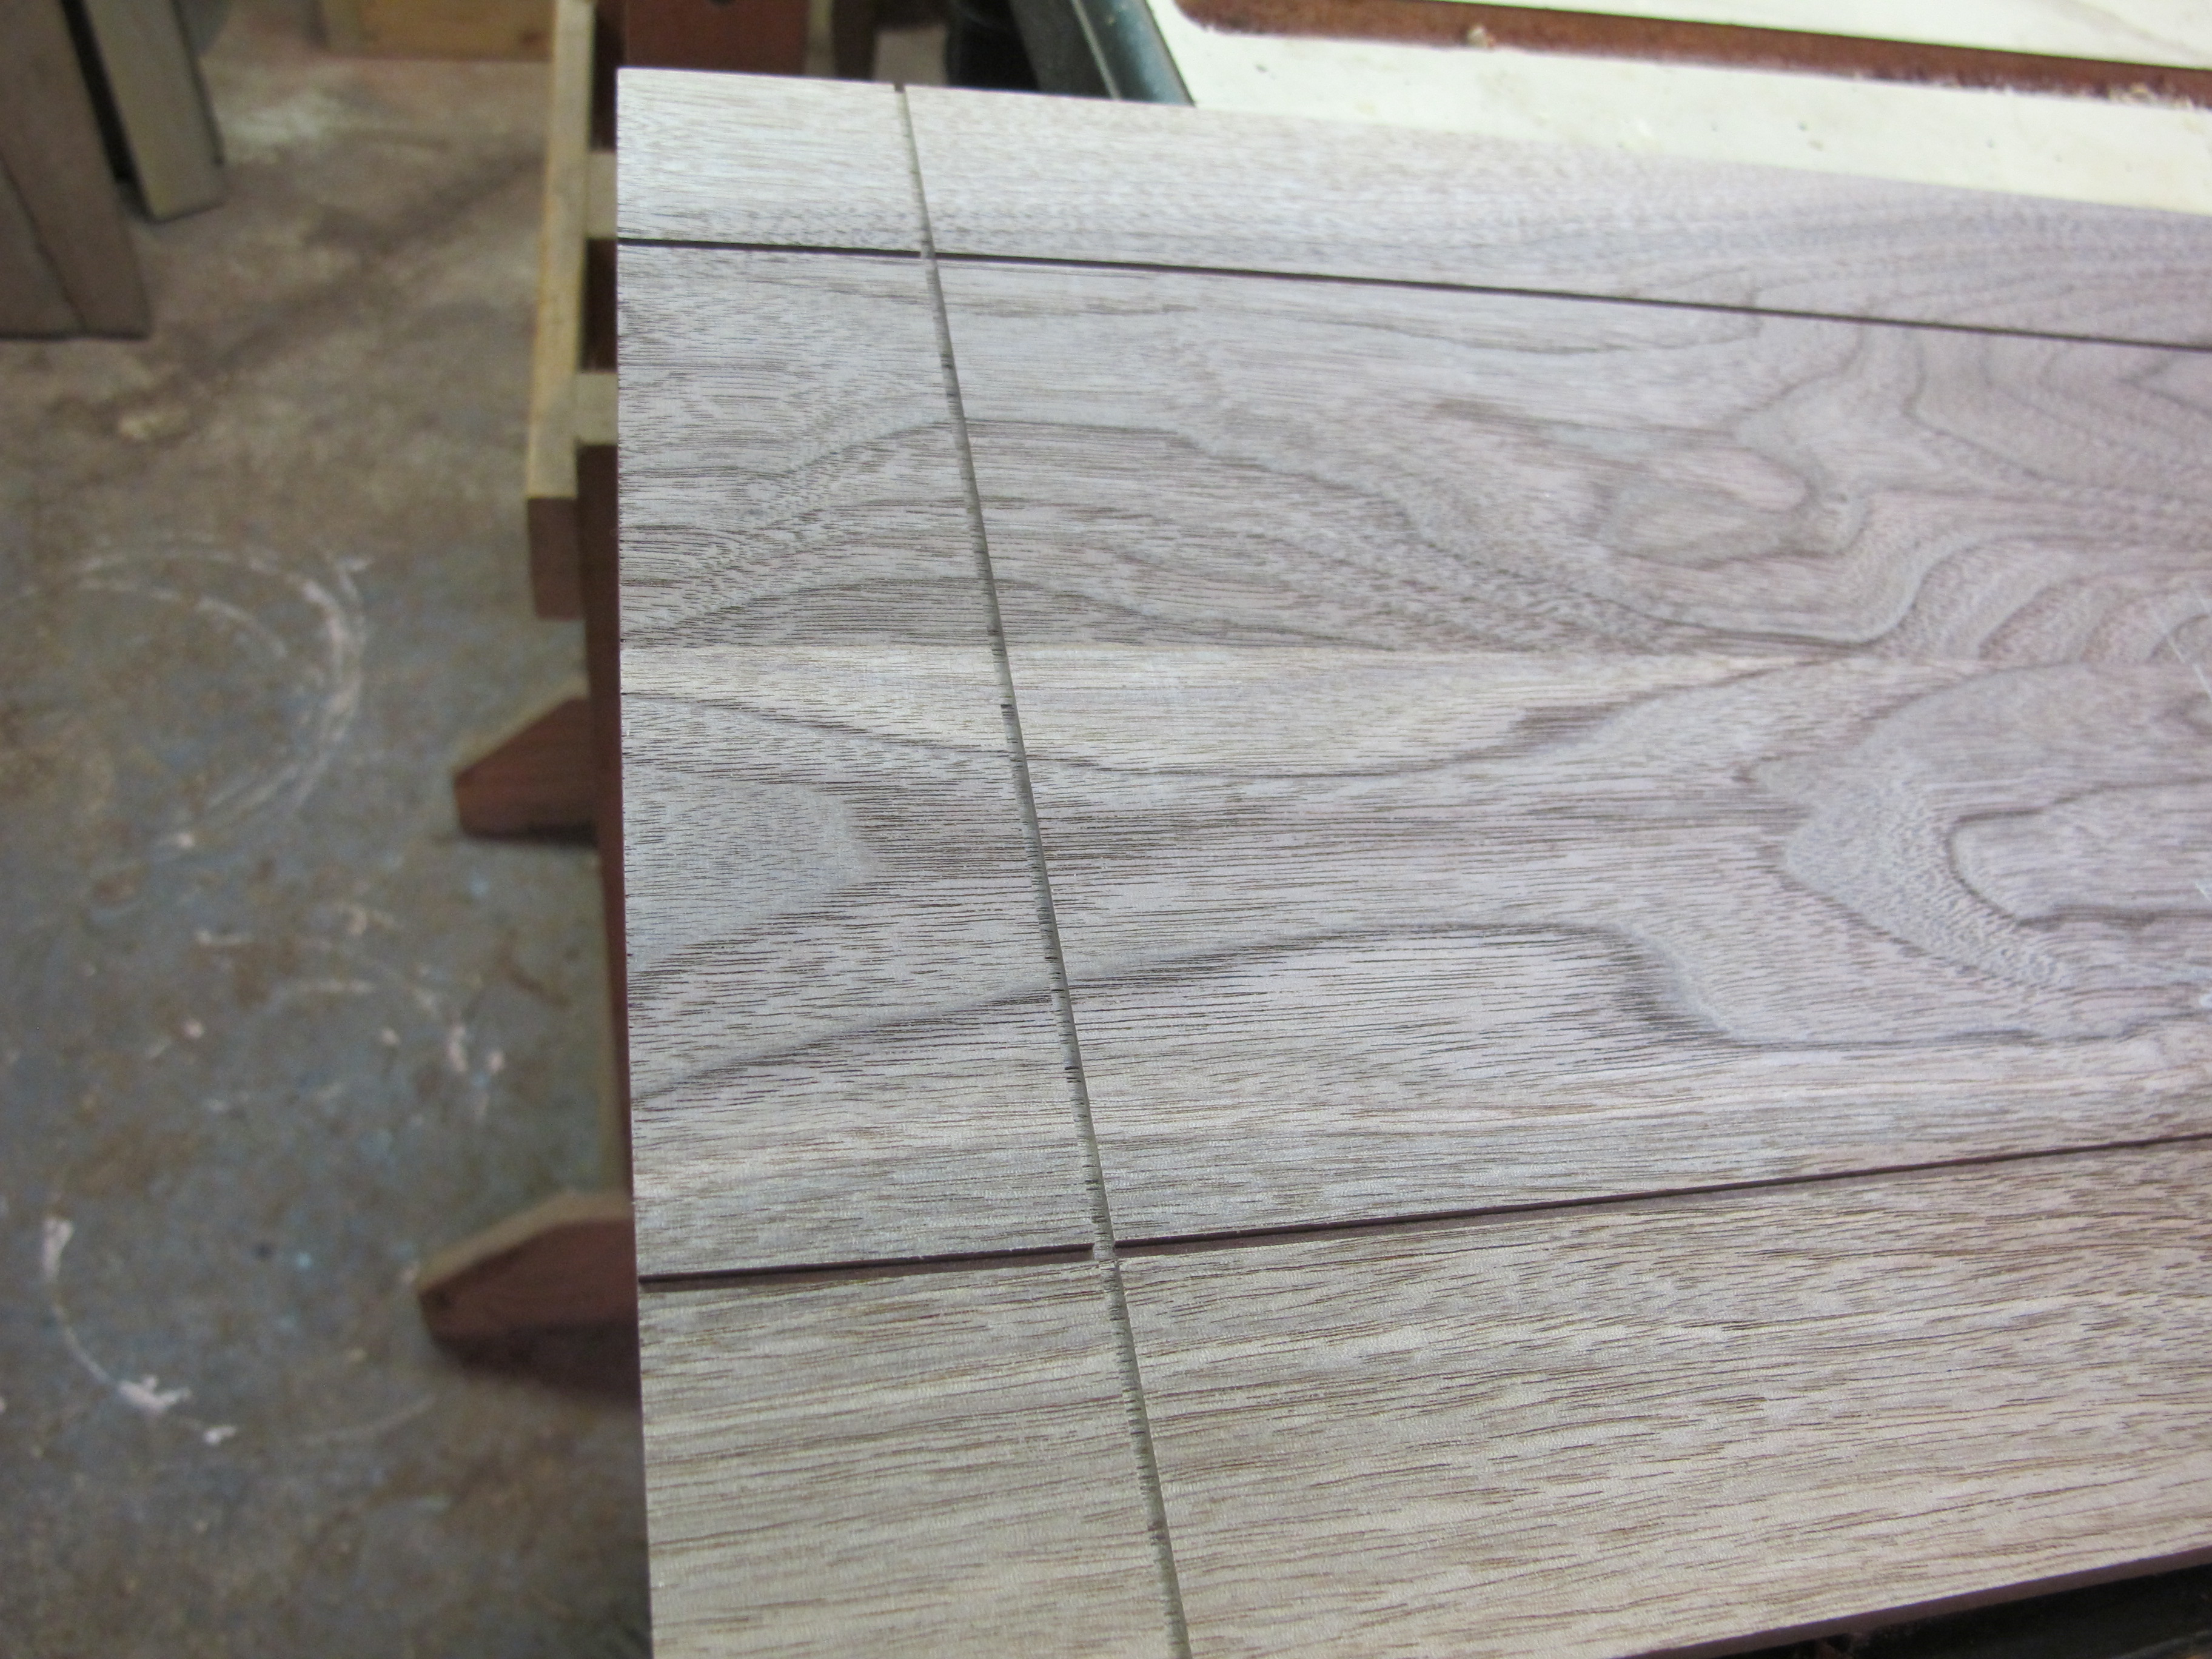
raise_panel_2.thumb.JPG.ad495db42e9b9ade

The cuts are about 1/16" deep and will form the lip of the raised portion. The distance from the edge of the panel to the cut is sort of a trial and error method. Layout on a test piece, cut, check. I make my raised panels with a 7° angle. It seems to work best for me.

To make the angled cuts, I use a shop made raised pane jig. It is sort of an overgrown tenoning jig.

raise_panel_3.thumb.JPG.c2f4a27f7fba8a31

raise_panel_4.thumb.JPG.ca097ebc7d014e3a

raise_panel_5.thumb.JPG.092d689b923a97d7

The down side of this method is that it requires a fair amount of sanding on the bevel to get rid of the saw marks. The up side- I don't need to buy a giant router and a set of raised panel bits. Don't get me wrong- I'm not opposed to buying more tools. However, a bigger router means I'd have to rebuild my shop made router table lift.

Now it is just a matter of dry fitting the entire unit together-

dry_fit_.thumb.JPG.d011cfe7019777012f8a0


dry_fit_2.thumb.JPG.03c57ff460924d42d7e0

Next time, the glue-up, fix for the dove tail mistake and splitting the box.


Images

  1. walnut-dowel.JPG
  2. walnut-dowel.JPG
  3. walnut-dowel-(2).JPG
  4. Top-and-Bottom.JPG
  5. surgery-complete.JPG
  6. surgery-complete-1.JPG
  7. split-kerf.JPG
  8. split-box.JPG
  9. slots-for-top-and-bottom.JPG
  10. size-top-and-bottom.JPG
  11. sides-and-ends.JPG
  12. separate-box.JPG
  13. raise-panel-5.JPG
  14. raise-panel-4.JPG
  15. raise-panel-3.JPG
  16. raise-panel-2.JPG
  17. raise-panel-1.JPG
  18. glue-up.JPG
  19. glue-up-1.JPG
  20. First-dry-fit.JPG
View the entire Gun Case album

3 Comments

Recommended Comments

Courtland Newbie

Courtland

Members

Ok, that tip about cutting the raised panel lines for a crisp edge on the raised panel is genius, where did you learn that from Lew! Nice idea. That just opened up a whole new frontier of making nice raised paneling on the table saw, great job sir.

lew Grand Master

I certainly didn't think it up on my own :wacko:

It may have come from the Woodsmith Shop TV program, not sure. I also use a special 7° sanding block to keep the small lip crisp.

Iso.thumb.jpg.440df338ff7e100cf9100b400c


end.thumb.jpg.3deef5fb53df7af0220d12dfac


top.thumb.jpg.8f63a9ca1240483b5c64ebbf5a


side.thumb.jpg.601b27680265c1dad6e4faf79


Thanks for asking about it!

John Morris Grand Master

John Morris

Administrator

Very nice Lew, this one goes in my tip memory!

Join the conversation

You are posting as a guest. If you have an account, sign in now to post with your account.
Note: Your post will require moderator approval before it will be visible.

Guest
Add a comment...

Account

Navigation

Search

Search

Configure browser push notifications

Chrome (Android)
  1. Tap the lock icon next to the address bar.
  2. Tap Permissions → Notifications.
  3. Adjust your preference.
Chrome (Desktop)
  1. Click the padlock icon in the address bar.
  2. Select Site settings.
  3. Find Notifications and adjust your preference.