Search the Community
Showing results for tags 'step by step'.
Found 2 results
-
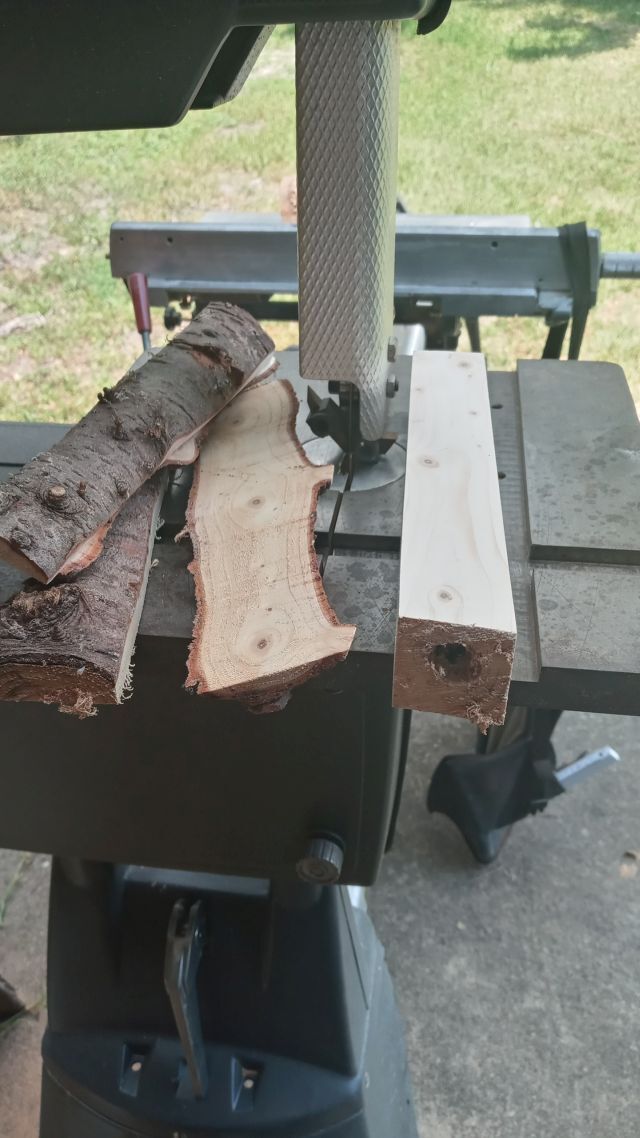
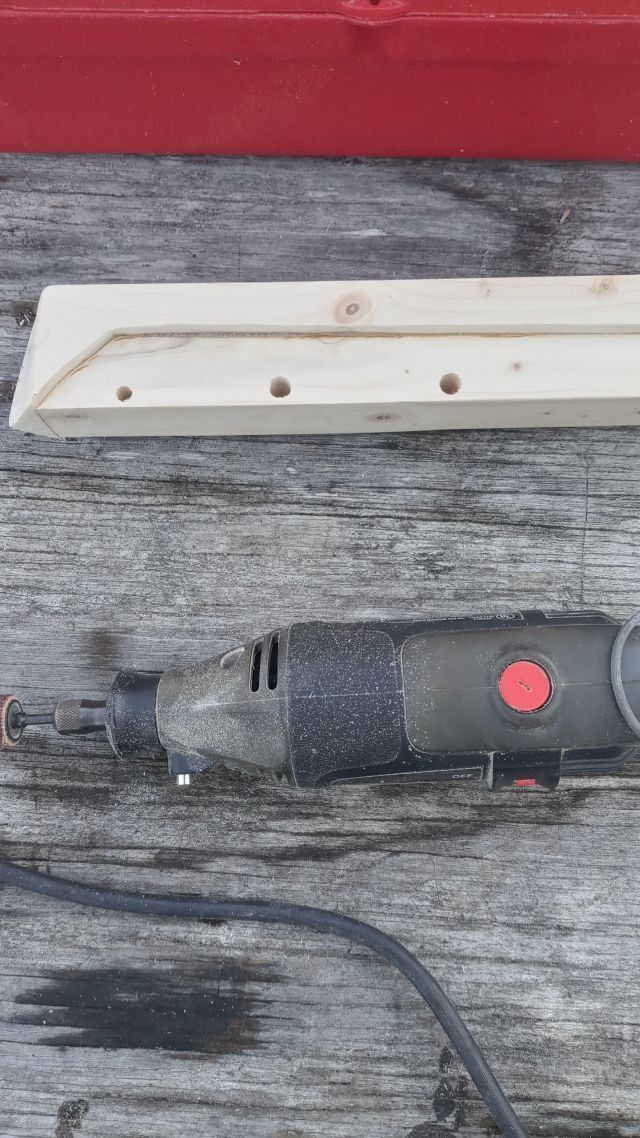
This is going to be boring, so you are warned. Christmas tree stumps that you see at the stands each year, they toss for firewood. Well this is designer firewood. The real dad left this little boy before birth and the mother. She has since found another good guy in the Coast Guard who loves them both. She is also attending nursing school. Just wanted the little fellow to know that we all love him. Starting at the beginning. You can see where the tree stand was inserted in this one. Sides cut and ready to square up. Truing the bed. Needs some help. As Steve Neuman says, we have ways. As you can see, cut it apart to make clean cuts for the wheels and leave the top for the boiler.

- 21 replies
-
- 7
-

-
- pull toy
- christmas tree stump
- (and 3 more)
-
I cut enough wood to make two puzzle frames at a time. The waste I cut out for the groove is saved to attach the picture into the frame. Oh yea, the first angle I cut I have the piece of the frame right side up so when you cut the piece upside down on the saw table to the exact length you will be able to see where you need to make the cut.....once you make a few frames you will see what I mean. I use 1x4's and cut them in two. This is ruff cedar trim I'm using. No matter what size you make, the corners will fit perfect if each two pieces are exactly the same length. This is an old set of Sears angle clamps I've had for about 60 years and they also need to be perfect. If they are not perfect your angles will show the poor fit.... The good thing of using these angle clamps is after you do a trial fit without glue and are satisfied then you can take one side at a time out to apply the glue without changing the clamped angles. You glue the two corners, check with a square then turn the frame around and take out the other end piece without changing any angles from being square... After this dries, all this glue does is hold the frame together while I cut the slots in to each corner for a piece of 1/8" bb plywood. Maybe I don't have to mention this but when taking a piece of wood out of the clamps to apply glue only loosen one screw on two different clamps..... well duh!! After I cut the slot in each corner I then slip the 1/8" piece in and draw a line on each side and use the scroll saw to cut the pieces out. Then I treat the frame like any other piece when finishing like here I picked up some of the colors from the picture so it might look like it was made only for this Kincade fake painting. It still needs a few coats of clear for this cedar is hell for splinters.. Tip, not all blades are exactly the right size for the BB 1/8" plywood and out of about 60, 10" saw blades only one suited me for the tightness when inserted in to the groove, so it gets a few identification marks all over this blade so it only gets used for the BB plywood...I use to make a few frames each week when Bernadette was younger and feeling her oats.... Then the .23 pin nailer is perfect for attaching the strips of wood back in to their original slots. Its also advisable to use a glue that dries clear over the front of the puzzle.. I do use wax paper under the puzzle before I apply the glue and after the front dries I flip the puzzle over and glue a piece of cardboard to the back and then weight it down with 1/2" plywood on top weighted down with a large bowl of pecans. That is this puzzle being glued up under the plywood and pecans and we have already started another puzzle which is better than walking around outside in the cold..