
Search the Community
Showing results for tags 'led wheels'.
Found 1 result
-
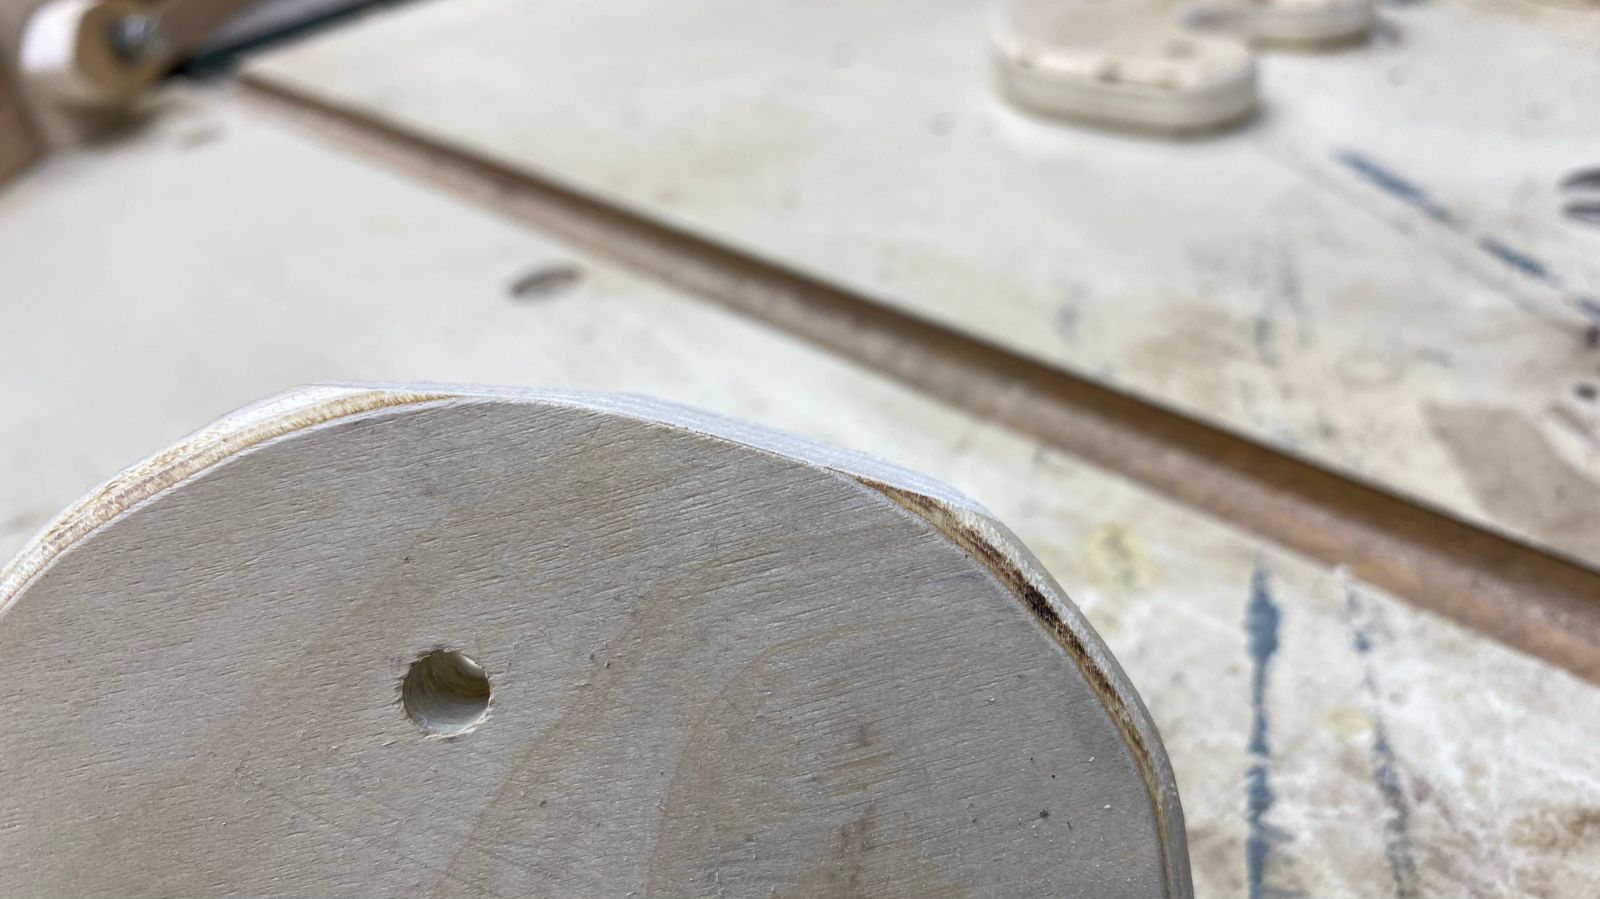
The one thing I didn't like about my circular steady rest was it required moving the tail stock to put it on the lathe. When turning with a drive center, I had to be extremely careful to get the piece remounted in the exact orientation to reduce the chances of it being slightly off from its original position. Searching around, I found a post by Alan Stratton. Mr. Stratton's version permitted adding/removing the steady rest without having to move the tail stock. Here's a link to Mr. Stratton's website- https://www.aswoodturns.com/ I pretty much followed Mr. Stratton's design, making only a couple of changes along the way. Mr. Stratton's build- Mine is built from scraps. I did purchase wheels and hardware. I started with a piece of red oak for the base. Cut dado's along the bottom with accompanying slots to facilitate mounting locking blocks for the wheel holders. Added an alignment block so the base would be perpendicular to the ways. Then drilled for the mounting hardware. For my design, I used a cam lever to lock the base onto the ways Next was to size a couple of locking blocks that would hold the wheel mounts onto the base. Some hard maple drilled and morticed for nuts. I used nylon insert, locking nuts on the entire project. These nuts were epoxied in place. Next was to make the base of the wheel mount. White oak here. The wheel mount base consists of three sections- bottom, locking wheel and top. Two of these are bases are required. The bottom requires holes for assembly hardware and the locking wheel- Each bolt has a small maple spacer to create the cavity for the locking wheel. One corner was removed to provide clearance to turn the locking wheel The wheel is made from some old birch plywood left over from another project. Laid out the wheel. Divided the circle into 6 parts, cut the indentations with a forstner bit then rounded everything with a router. The bolt is epoxied into a recess. the bolt will thread into the locking blocks. Wheel in place in the wheel holder base At this point, I forgot to take some pictures of the next couple of individual parts. Another piece of oak is drilled and mounted on to this assembly. That piece holds the uprights for the skate wheel assembly. The uprights were assembled from plywood and a chunk of walnut. The 3 pieces were glued together- The hole in the walnut is for a T-nut that will hold an adjustment screw The notch at the lower left corner is a relief opening for tightening the nuts during assembly. The hole in the plywood is for mounting the skate wheel upright. Visible T-nut. Assembly is screwed to the base top- Completed assembly- Next were the skate wheel holder- I miscalculated the size slightly and needed to remove a little material to allow the skate wheel assembly to have enough range of movement Bolts, washers and skate wheels. Up to this point, no dimensions were especially critical. However the next piece of the assembly needed to be 100% accurate. The upright that holds the skate wheel assembly has to be drilled so the the wheels are centered on the lathes vertical drive center point. This piece was mounted, without the wheels, in the wheel uprights, everything fastened securely on the ways and then positioned against the drive spur point to accurately mark the exact vertical position for the wheel mounting location. The wheel assembly ,is remounted in the uprights The entire assembly fasten to the base- The completed steady mounted on the lathe. The adjustment bolt can be seen protruding from the walnut upright piece. This was replaced with a bolt/wingnut. The bolt is used to adjust the skate wheel pressure against the turning. And of course, the obligatory test run- IMG_0977.mp4 There are no dimensions listed here. There are so many variables between lathes that one size would not fit all. I do have a complete Sketchup drawing, if anyone wants it. Let me know if you have questions! Not sure why I can't get rid of this last picture!

- 21 replies
-
- 11
-

-

-
- steady rest
- shop made
- (and 2 more)


.jpeg.246782cb5d81e7a440e0a9ff8ec64e3c.jpeg)
.jpeg.d46eaca3e6d13d2e2377360d9ce684db.jpeg)