Search the Community
Showing results for tags 'eggbeater drill'.
Found 2 results
-
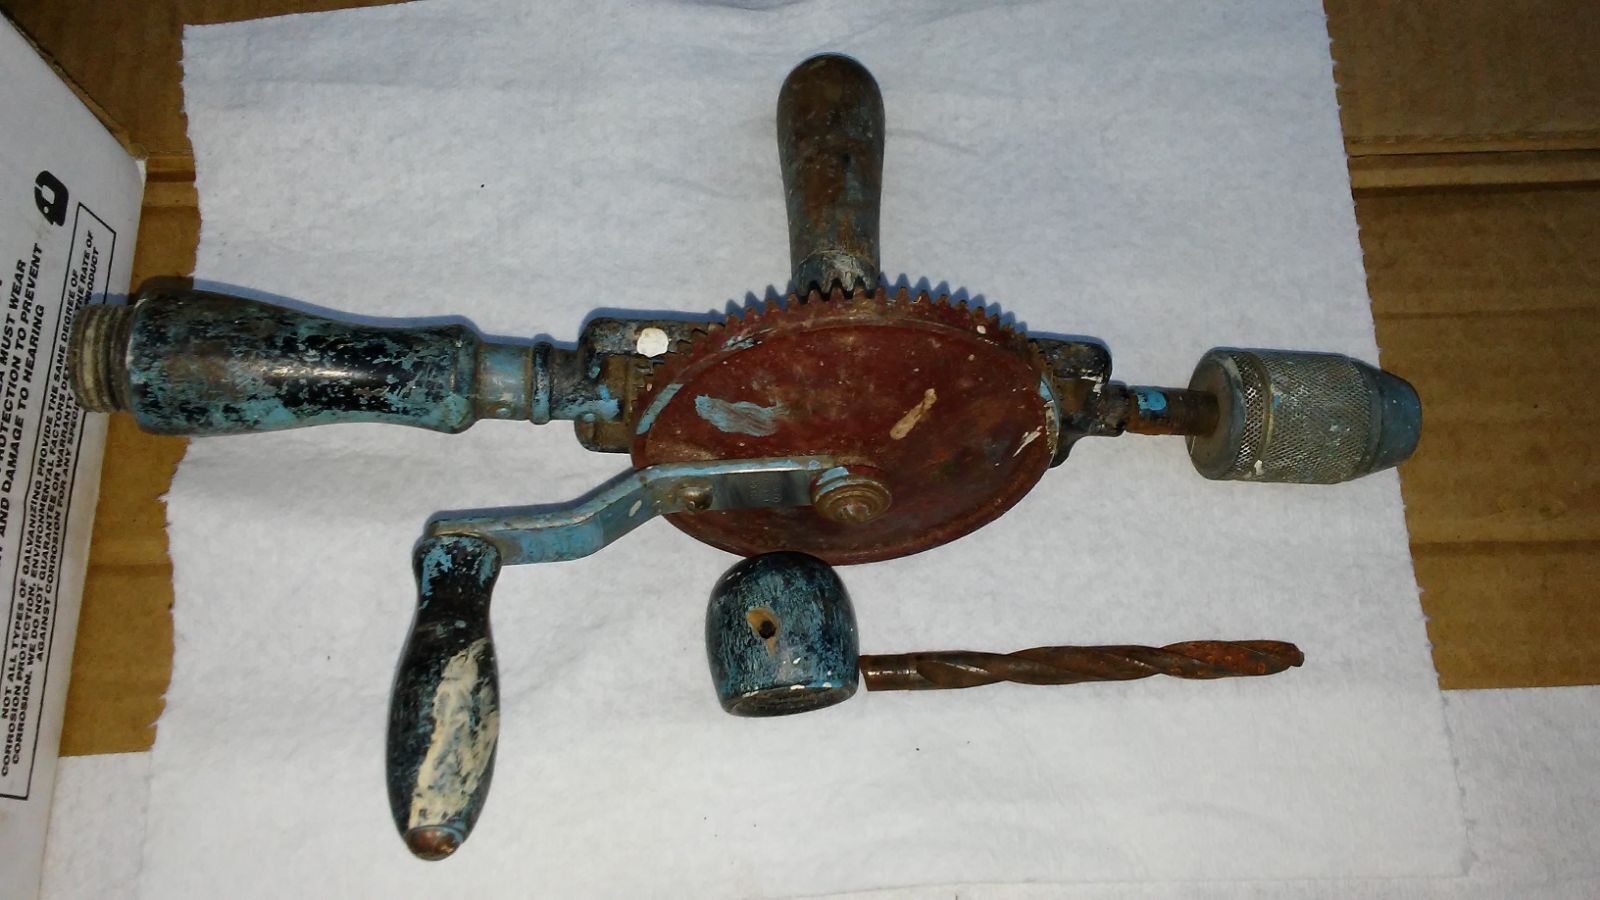
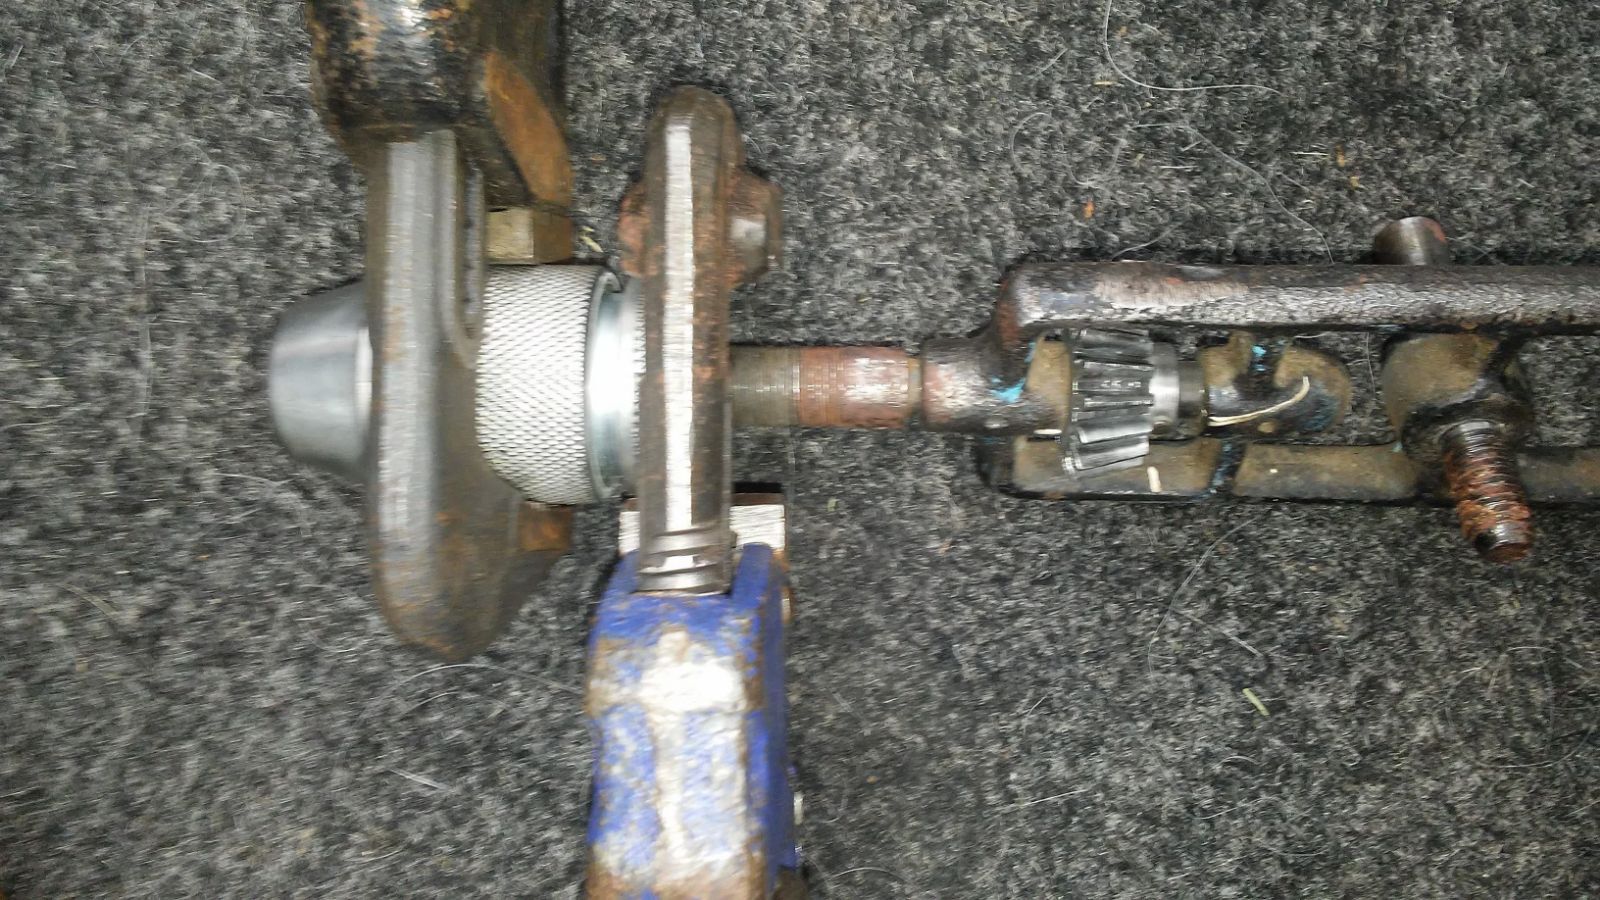
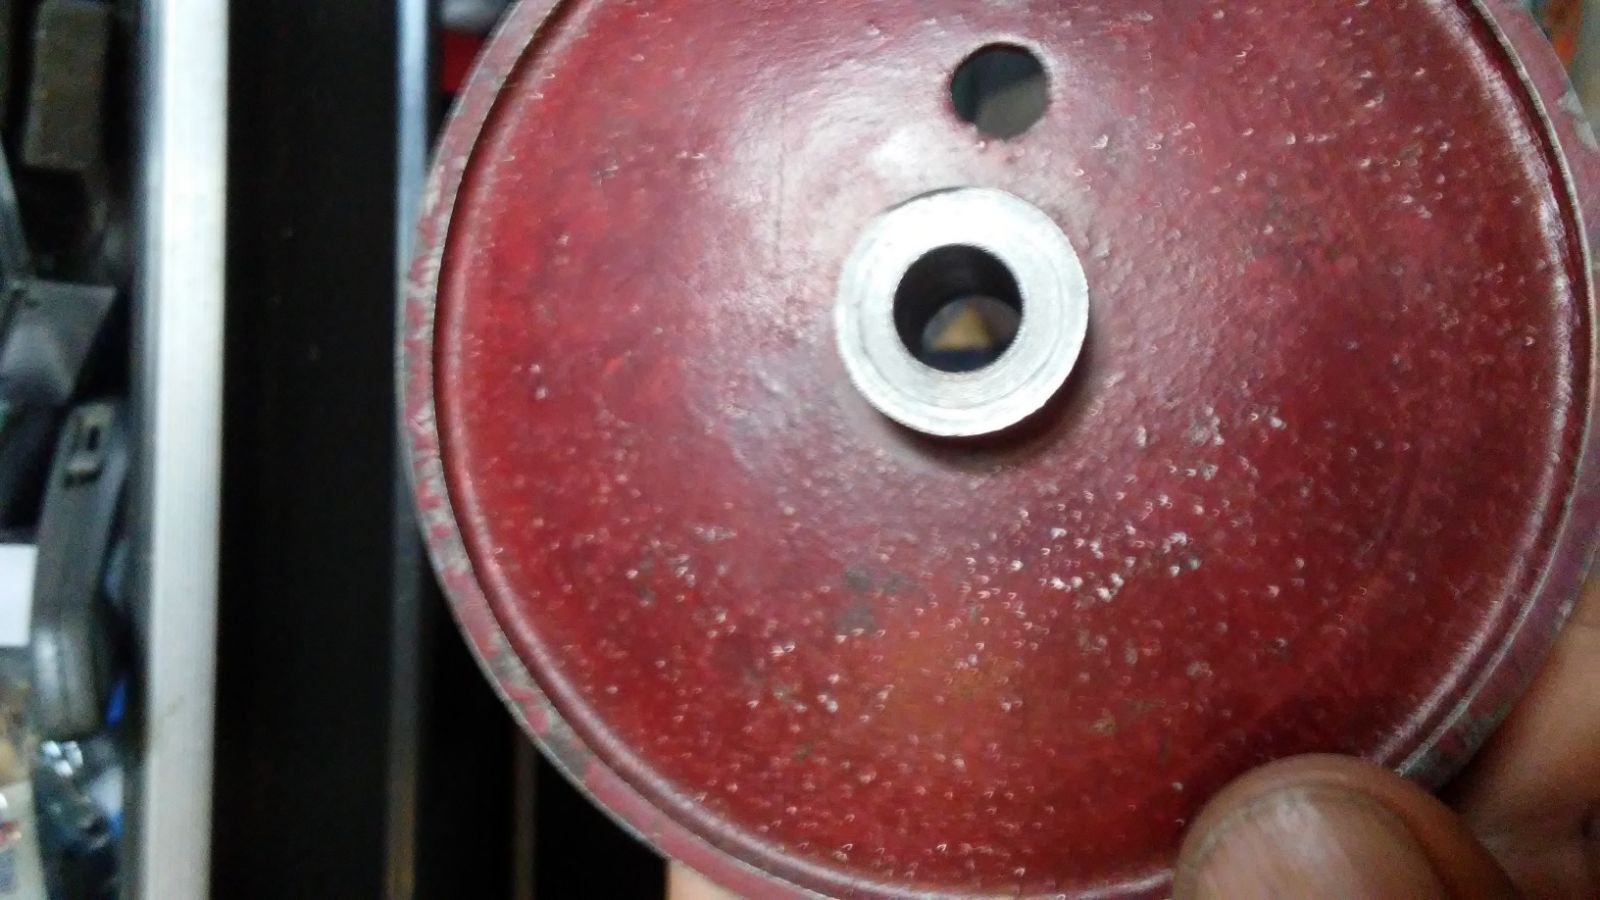
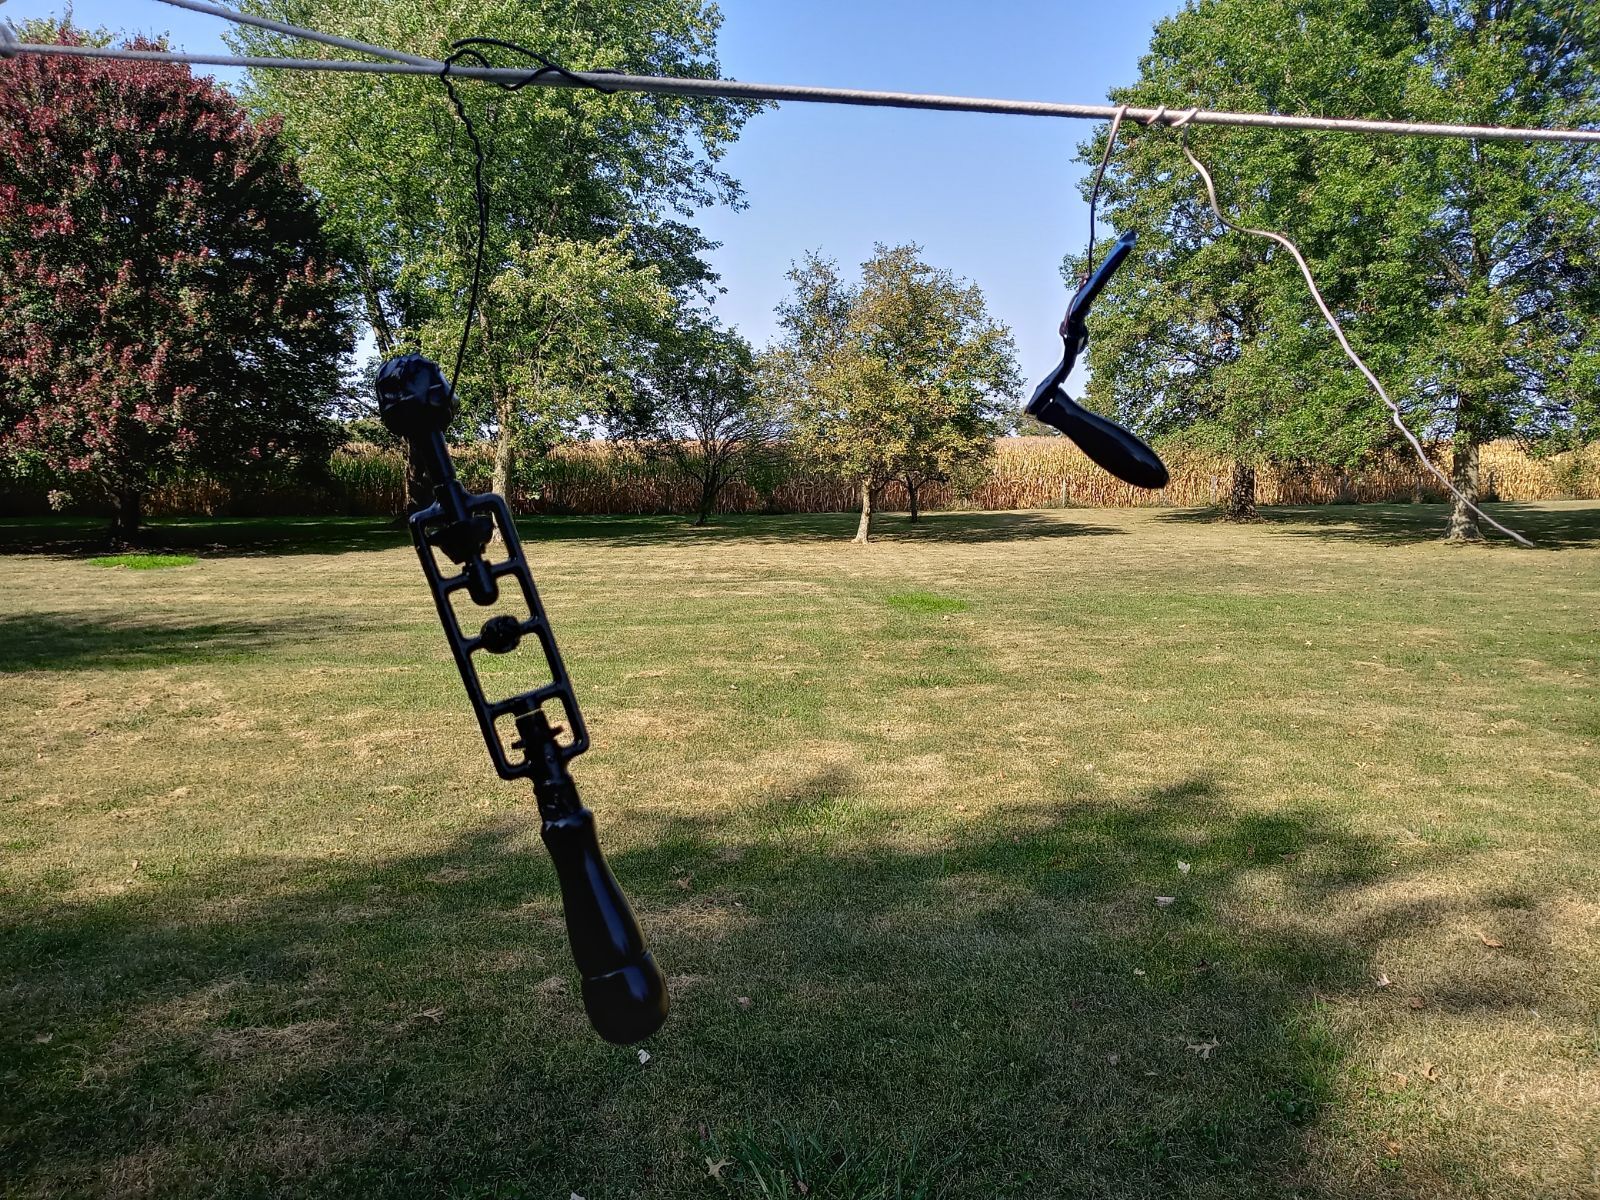
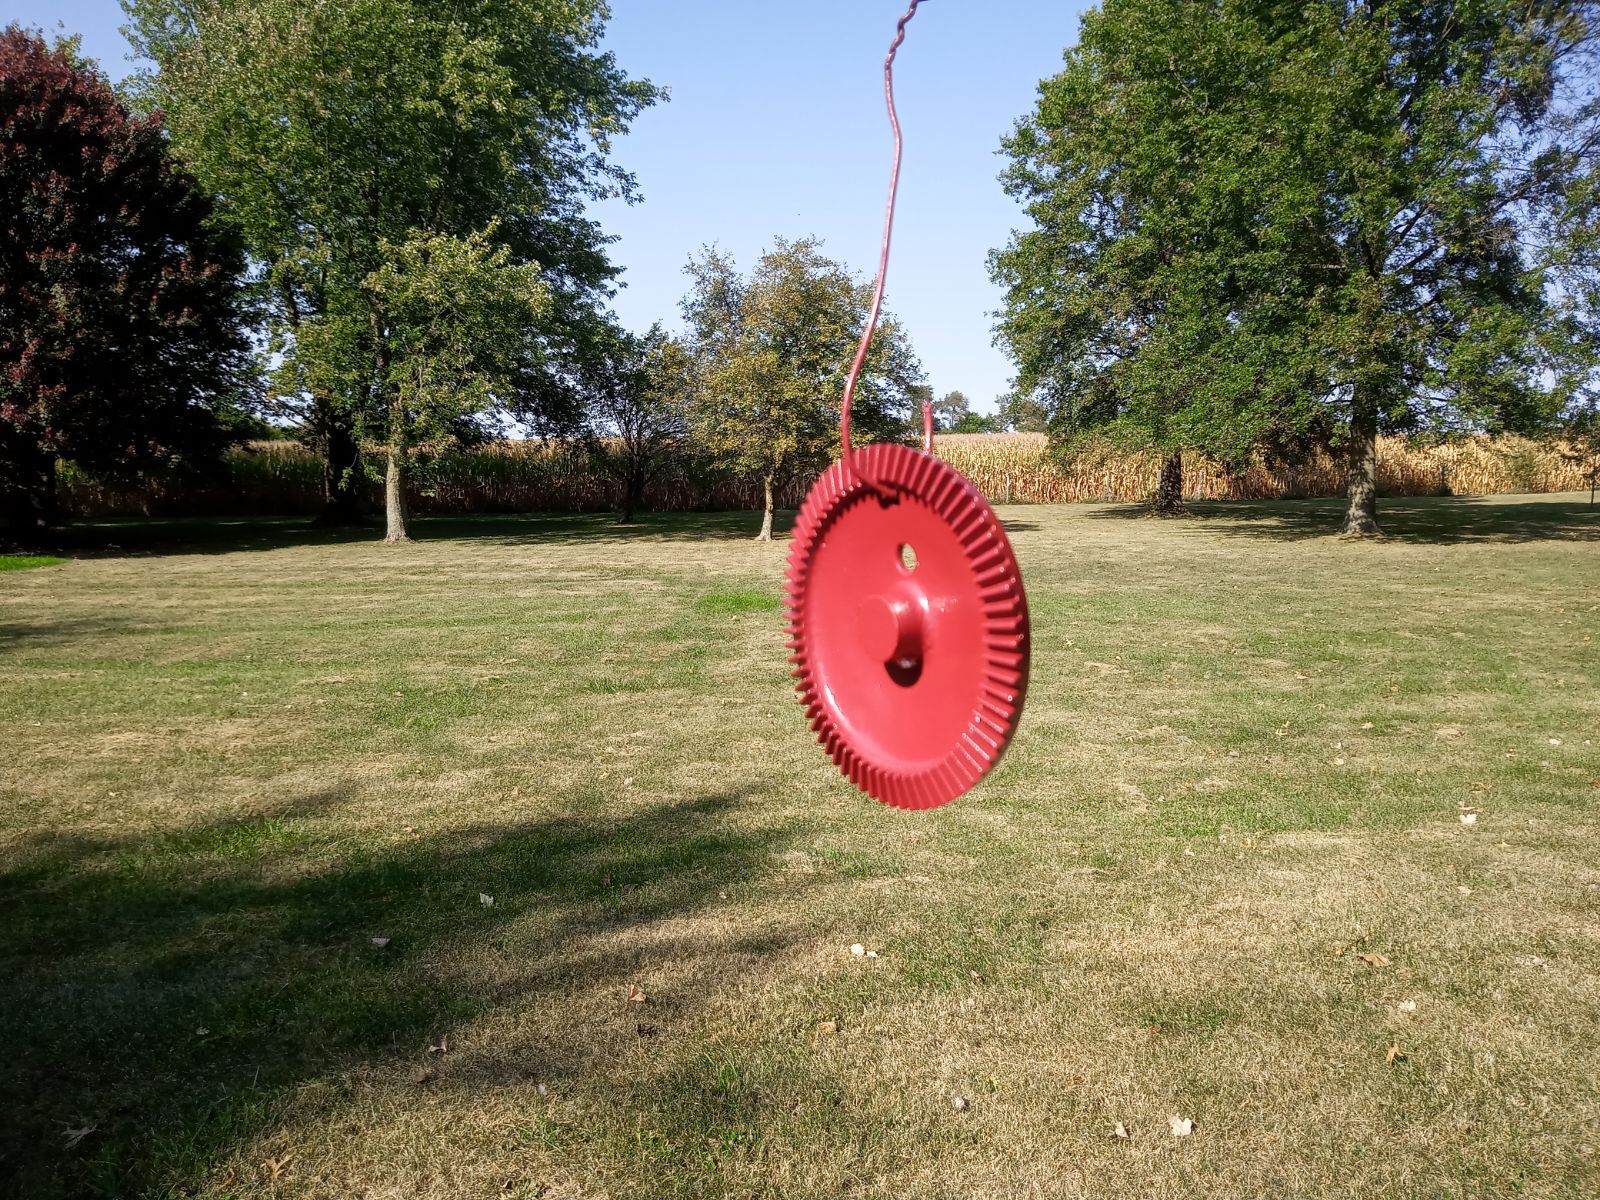
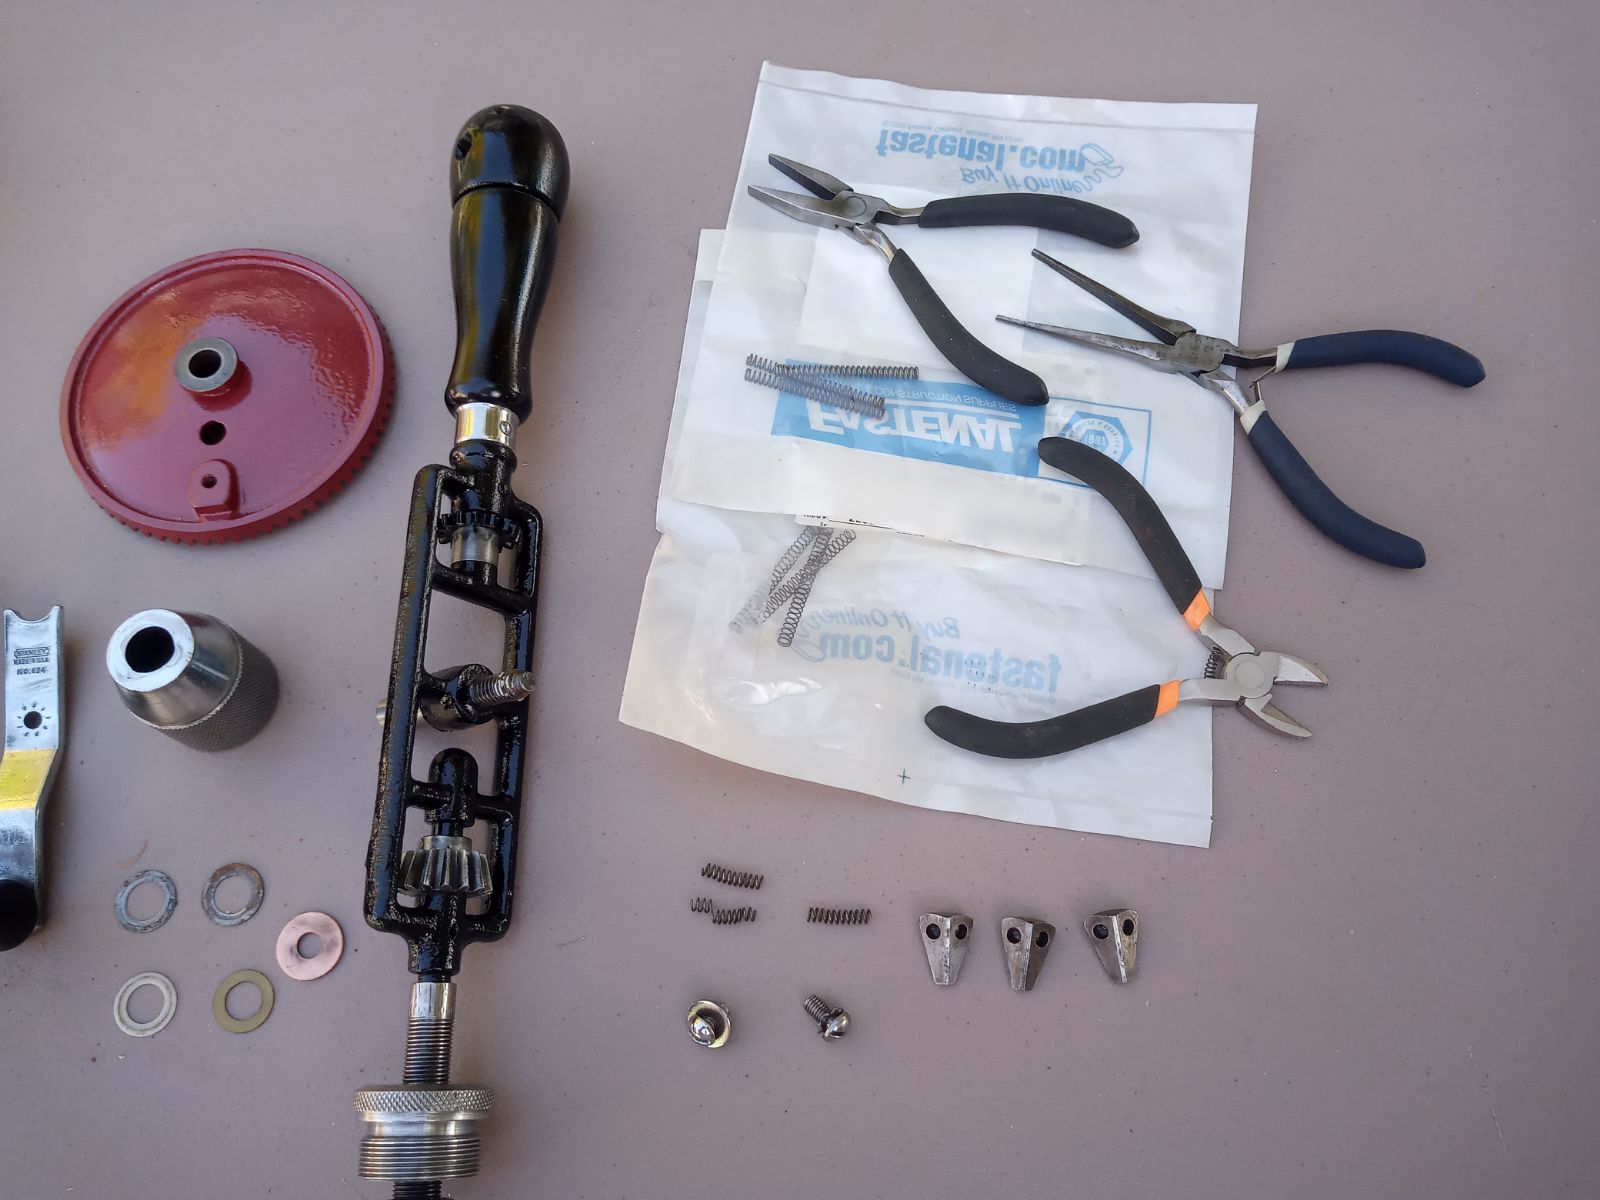
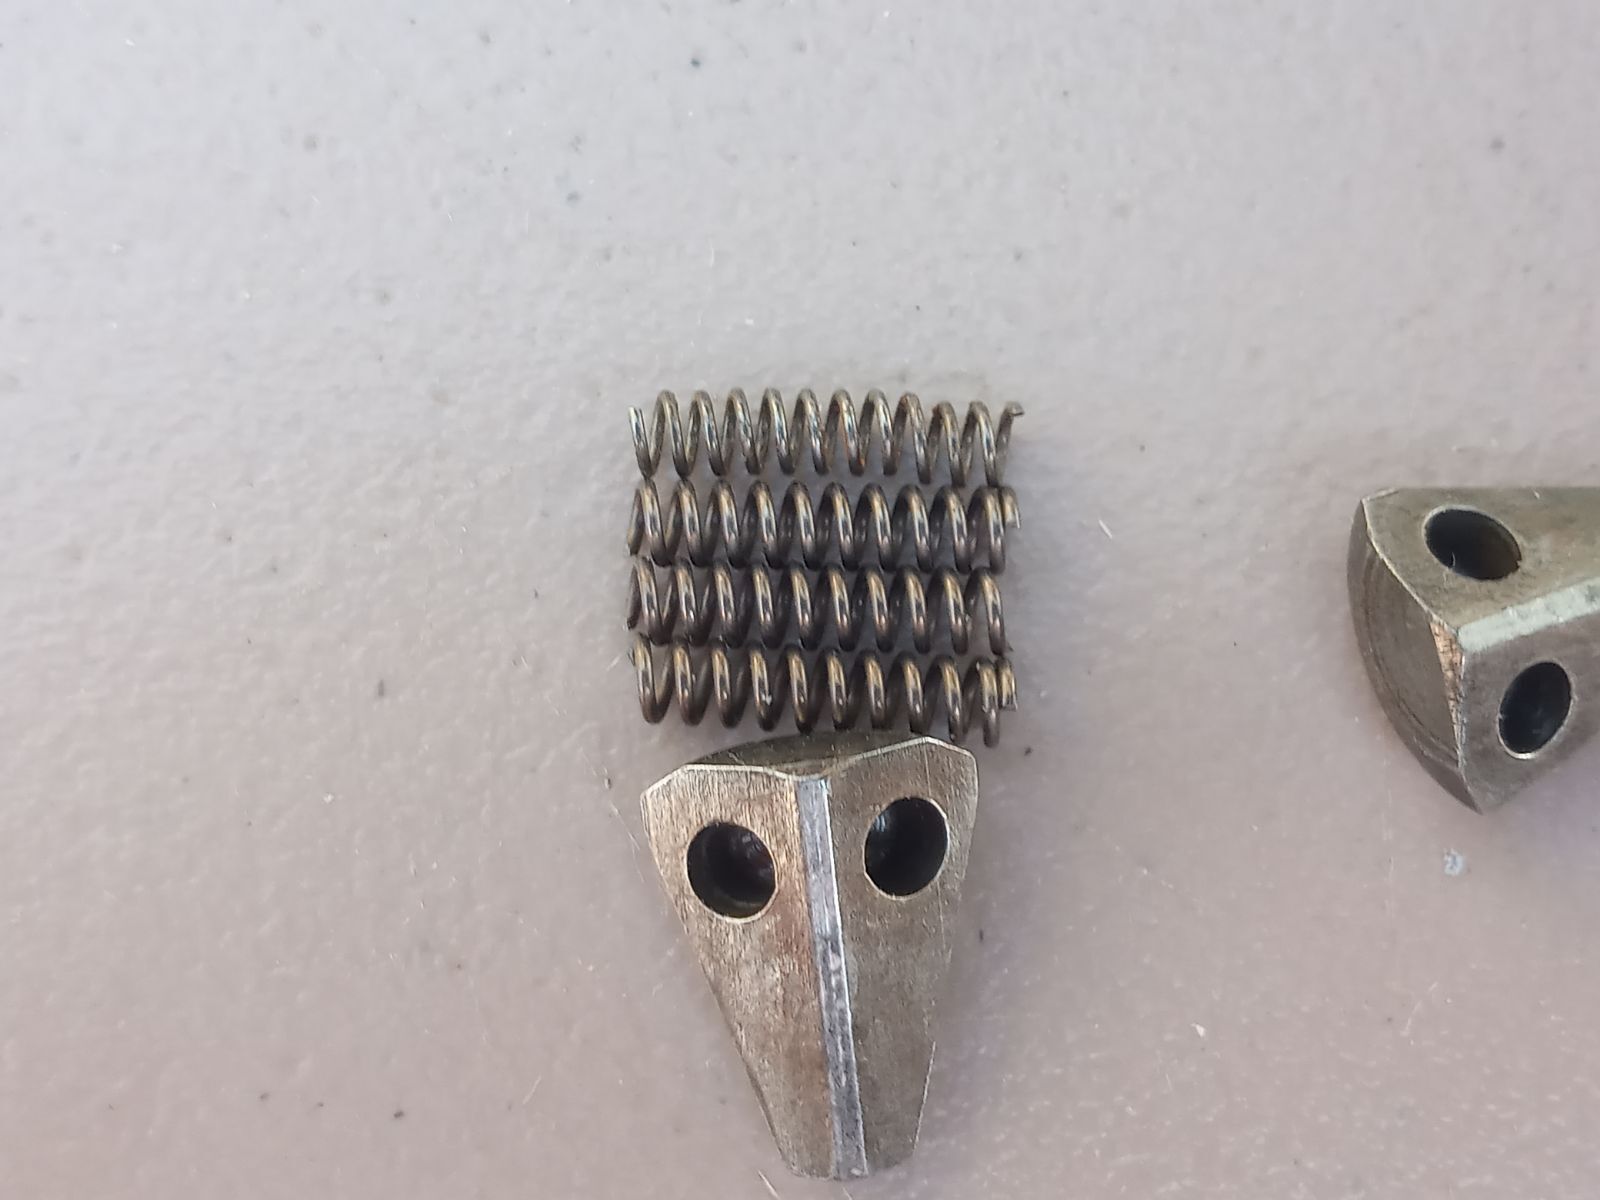
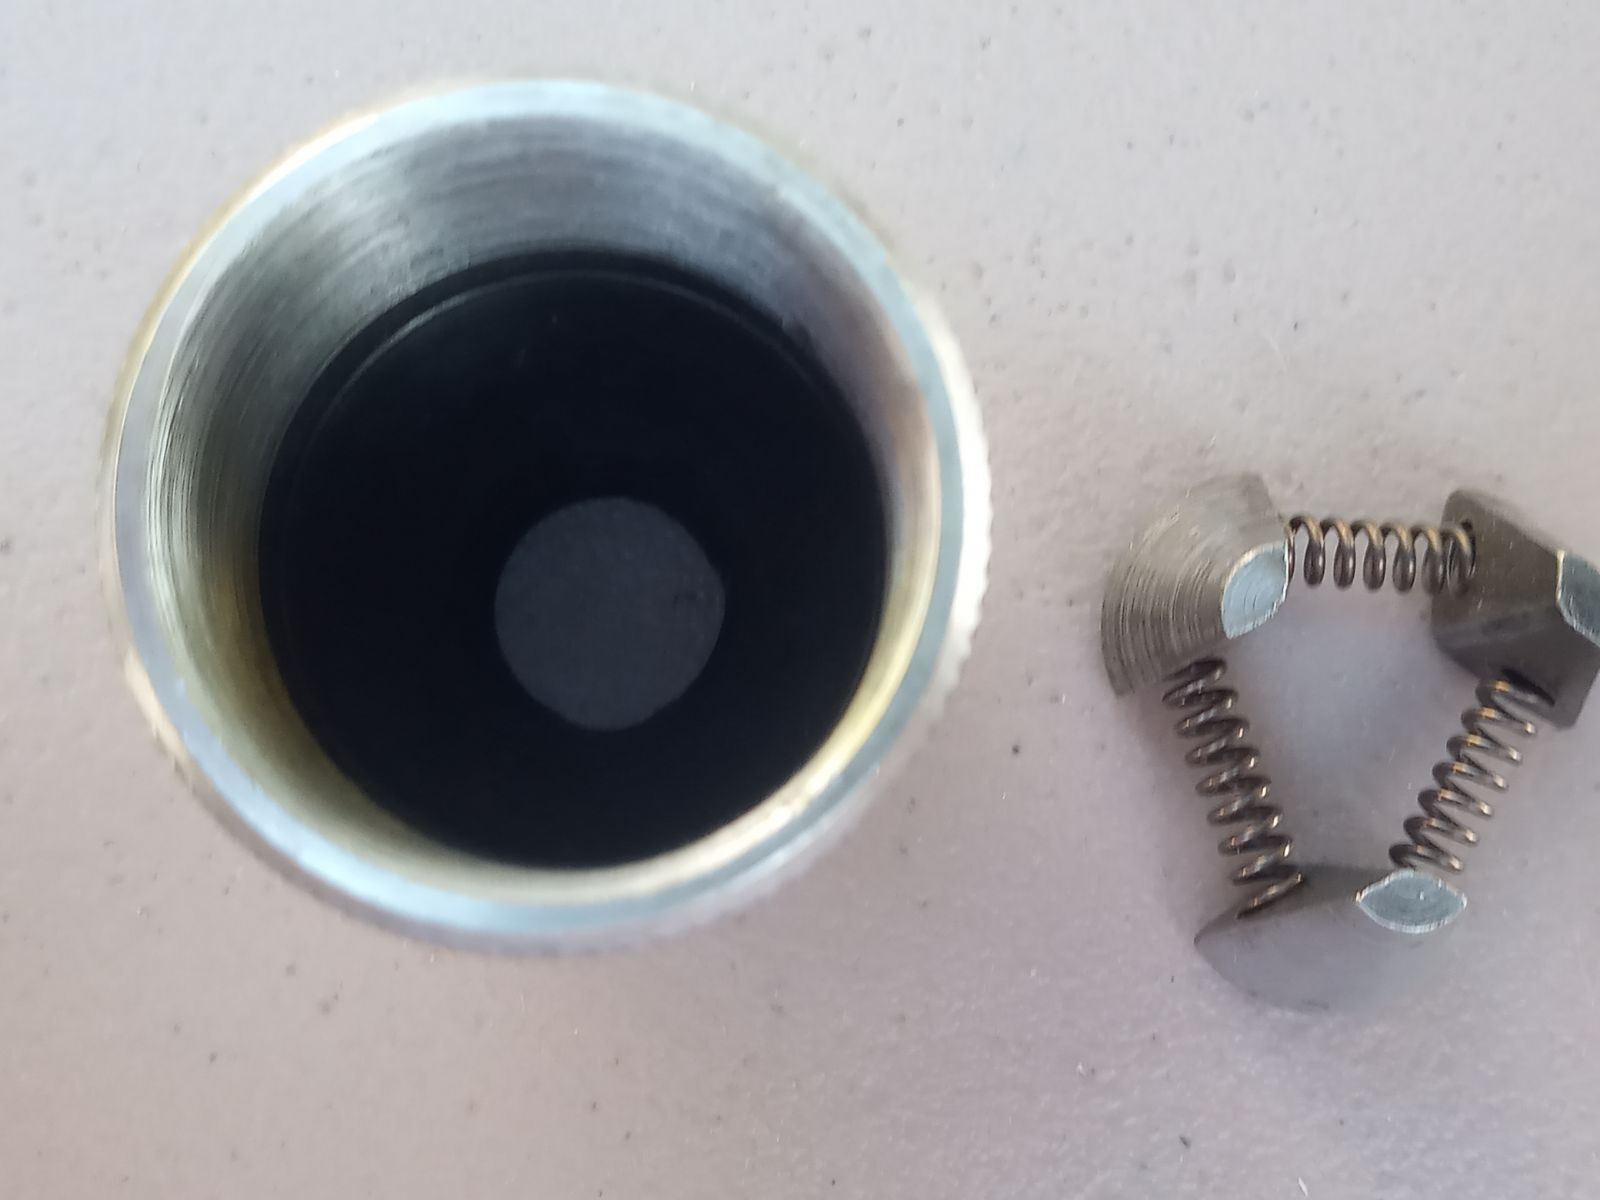
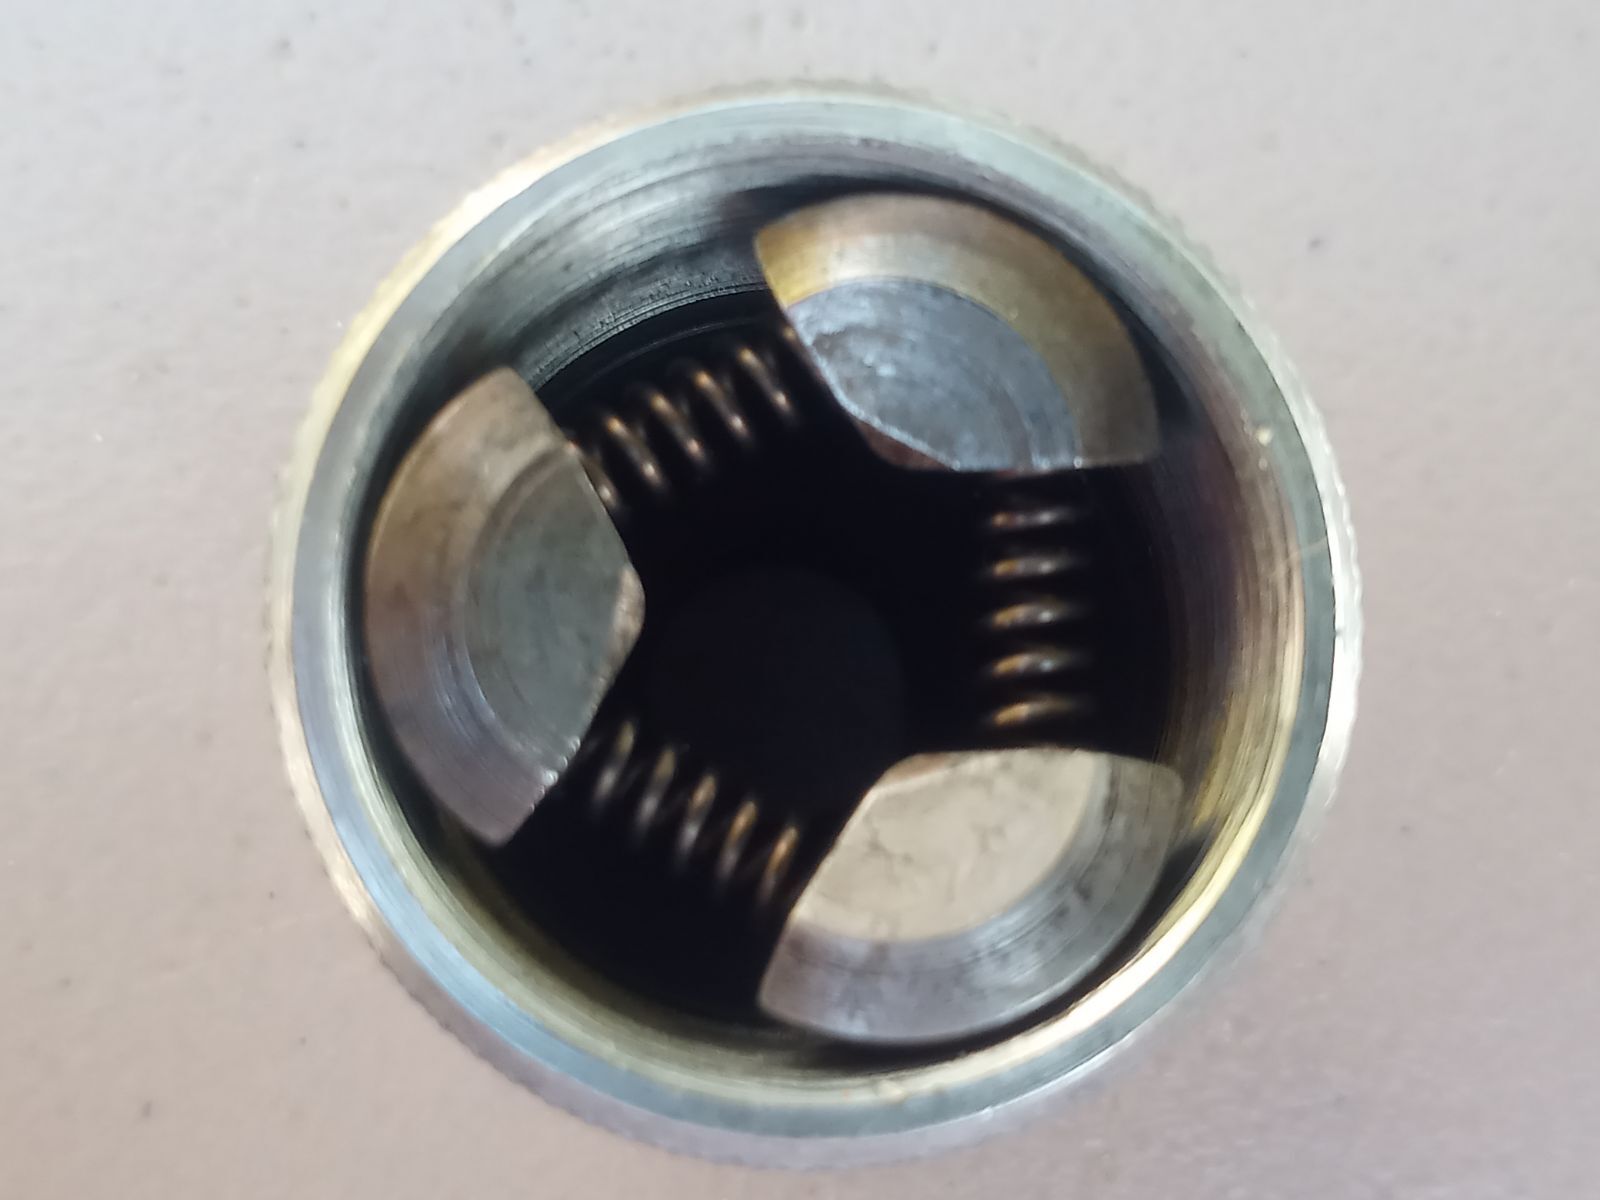
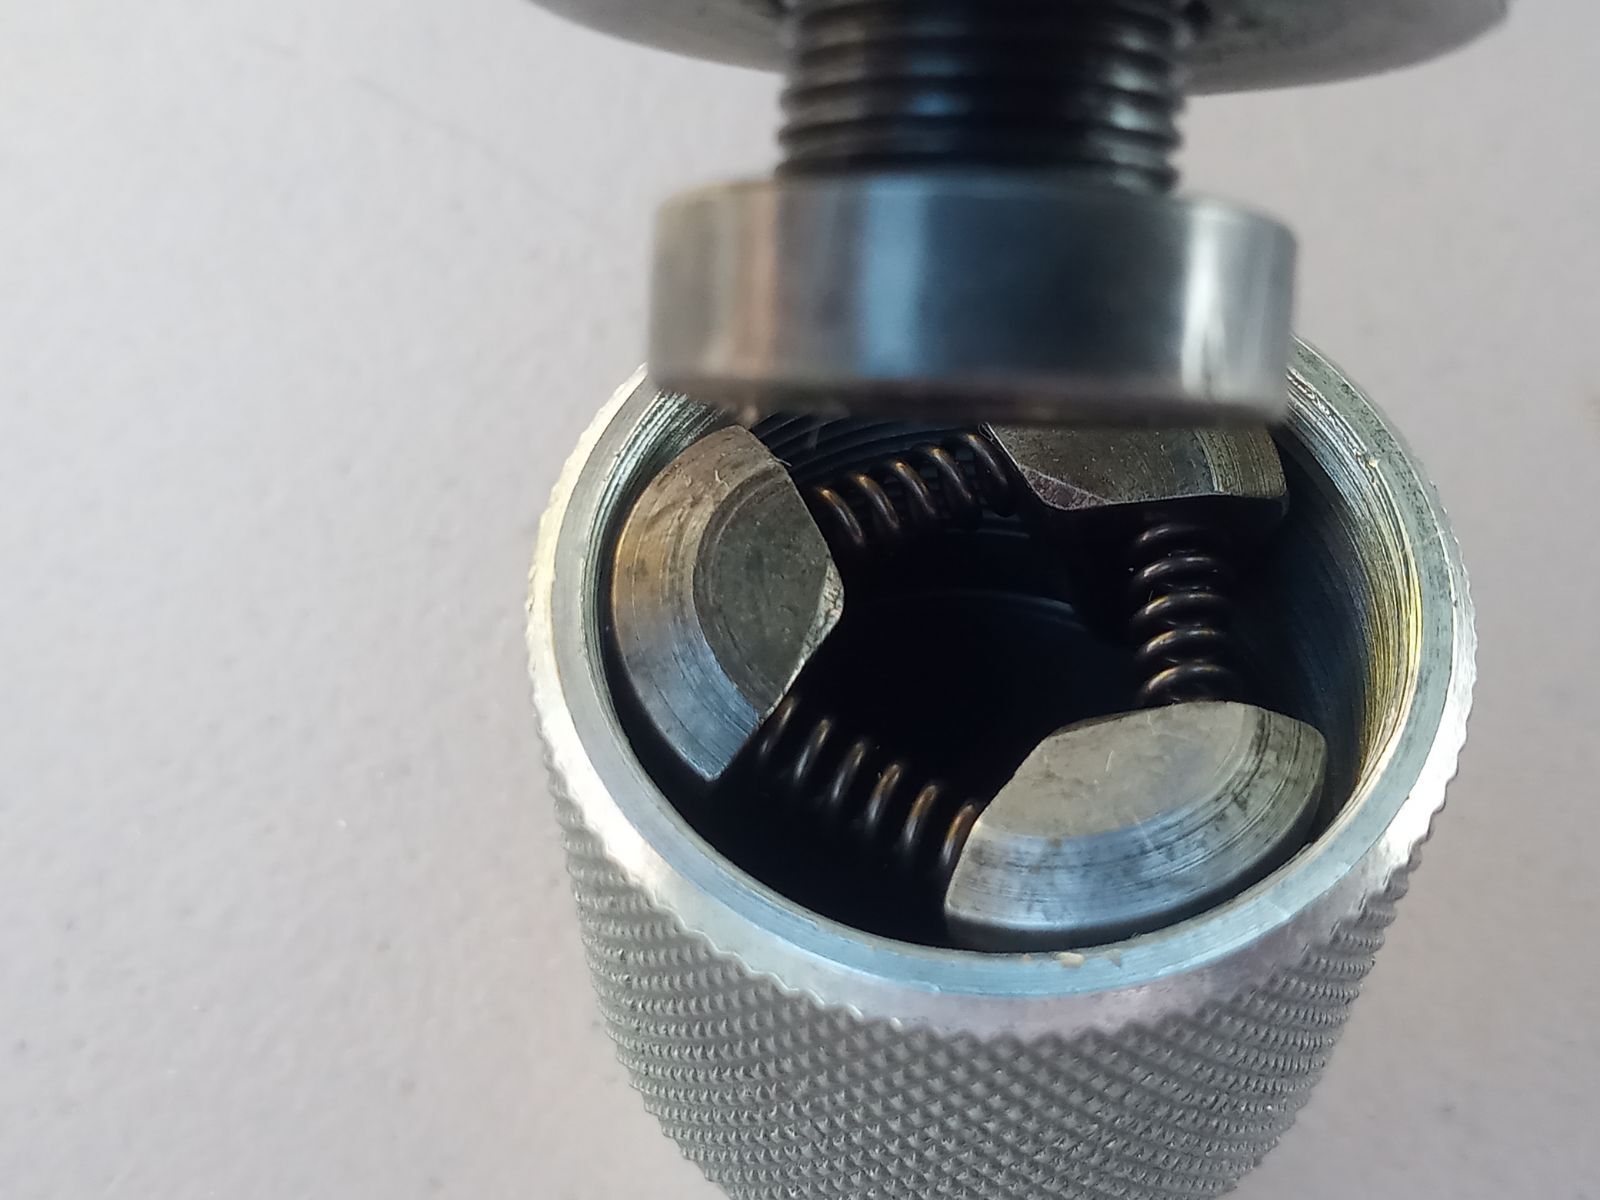
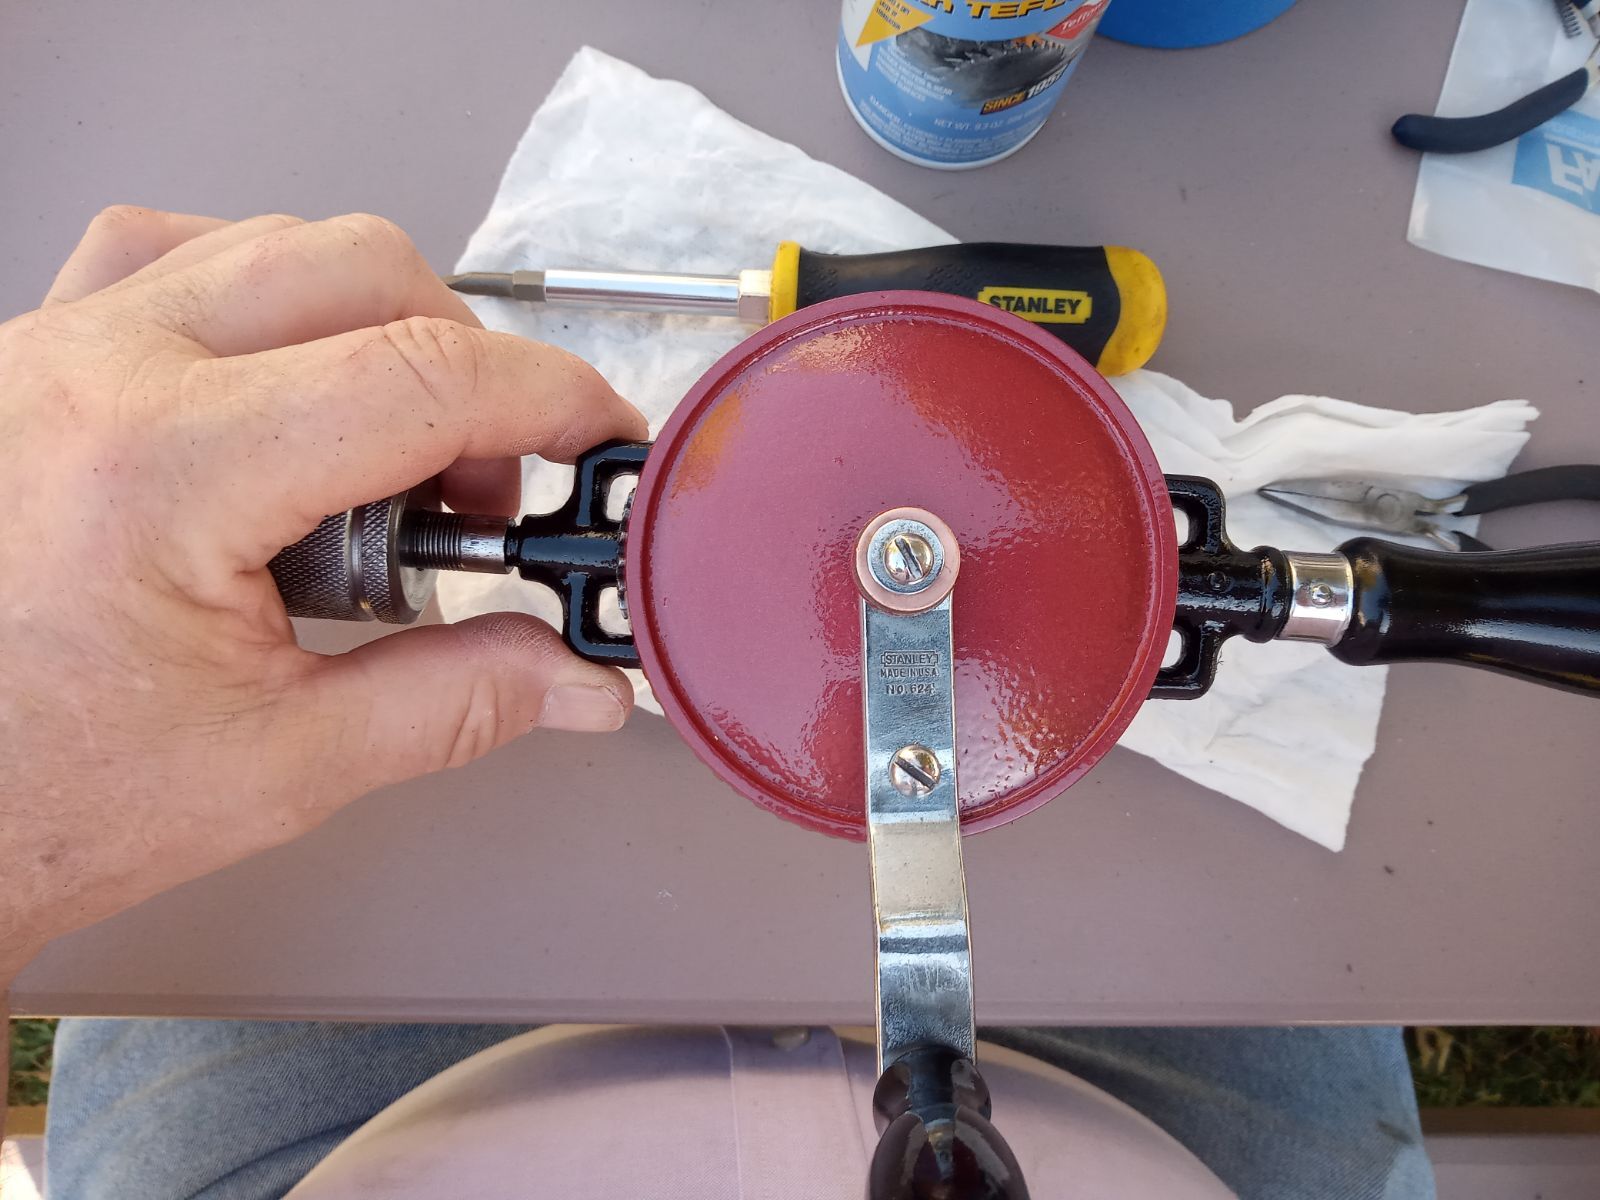
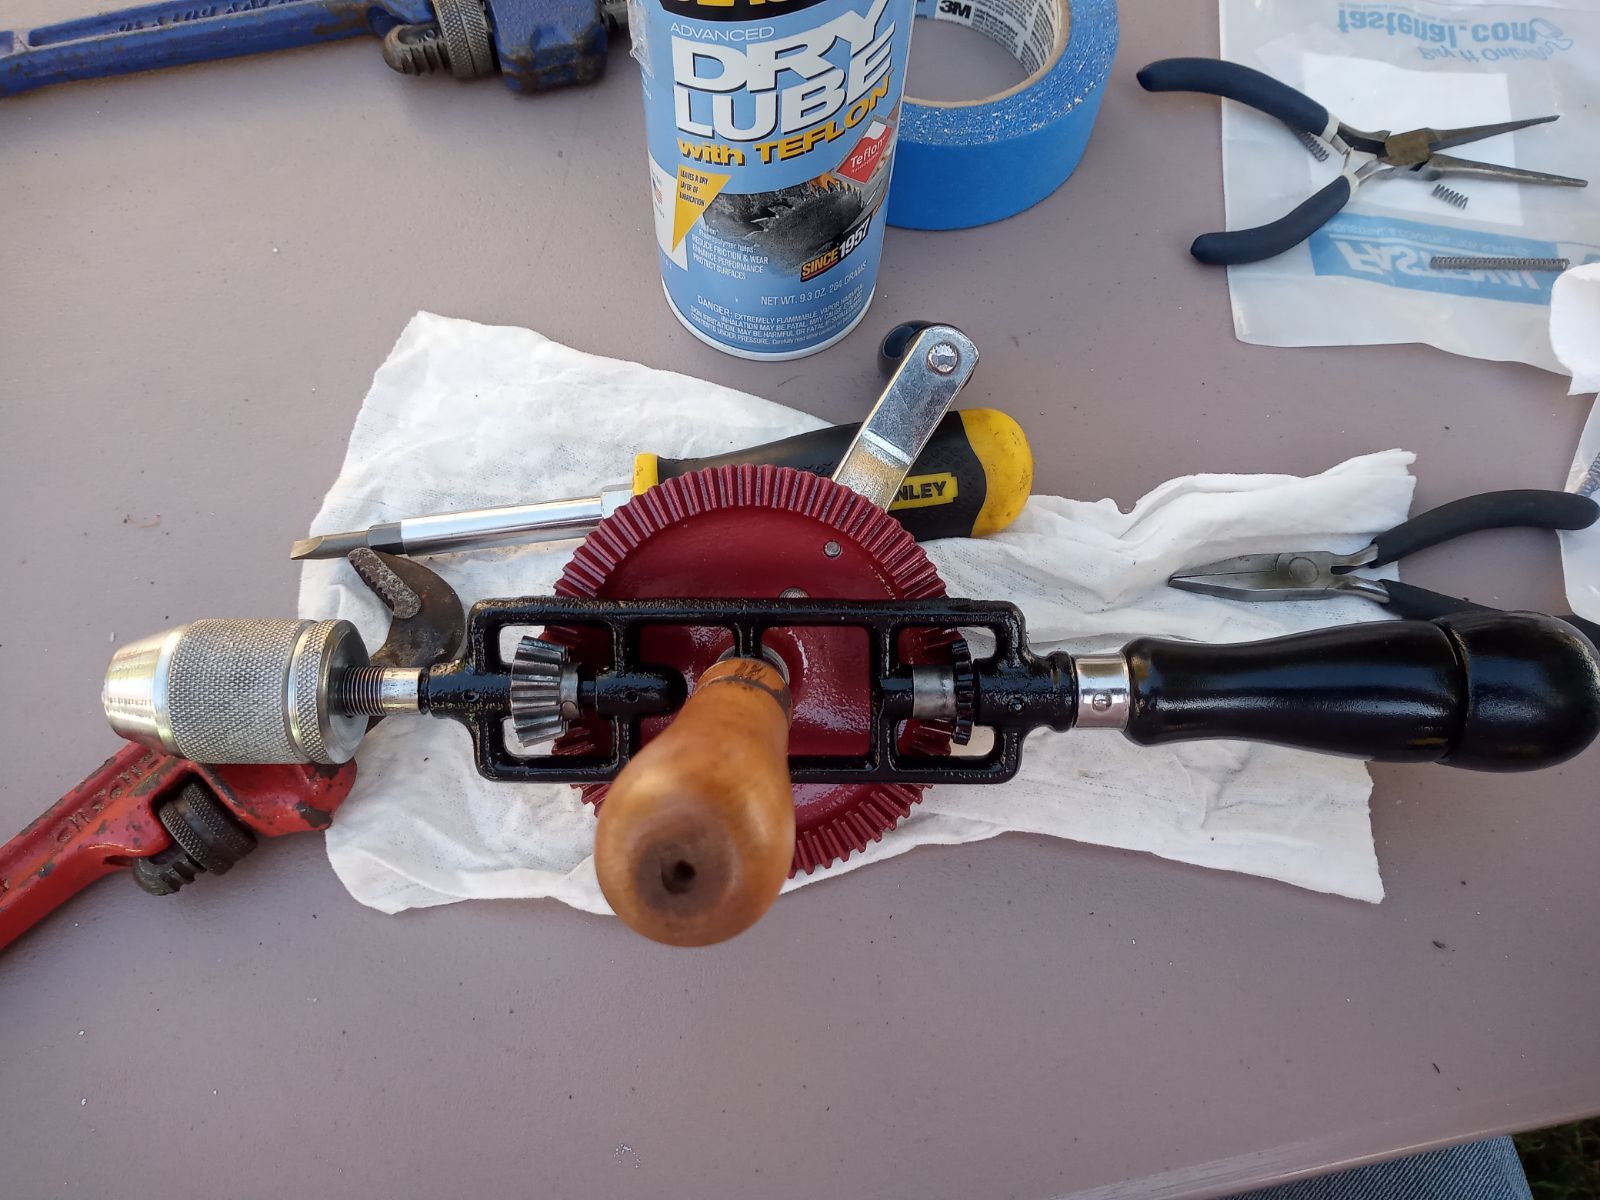
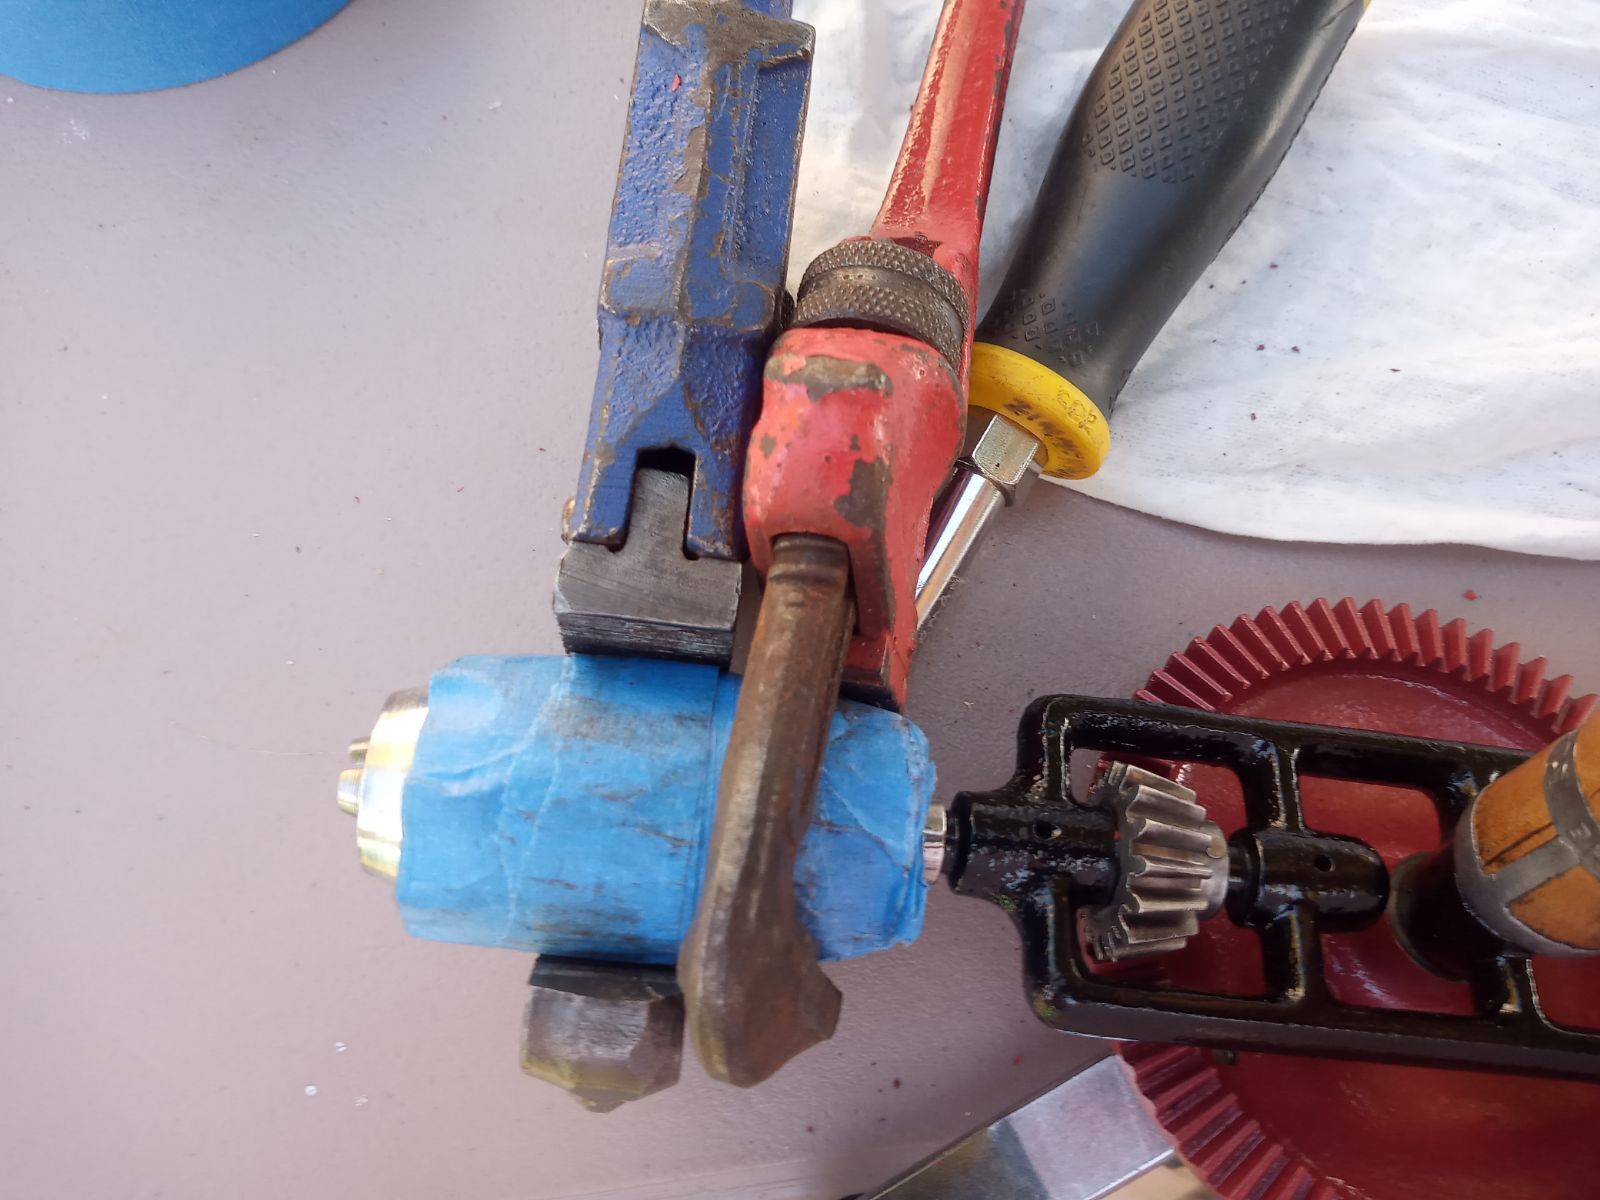
I'd purchased this drill with a "collection" of other items 3 or 4 years ago.; IIRC I paid $2 for it. Once I brought it home, it took a couple small (10") pipe wrenches to loosen the chuck so I could get the broken drill bit removed. From the damage on the end of the chuck, I'm guessing it wasn't the first time either. Probably explains why the chuck jaw springs were damaged too. Anyways, tossed in a box not sure I'd even attempt to rebuild it. Once the kids were back in school last year, I finally got A Round 2It. It had been used & abused. Perhaps was an early cordless paint mixer? None of the original bits were in the handle, BTW. Removing the chuck cap from the body required more force than usual. The damage to the drill shaft where there's rust was inflicted by the previous owner(s) Once disassembled it was a little dry and rusty but cleaned easily with a wire brush on a drill first followed by wire brushes on a Dremel. Damage incurred to the chuck body from attempting to over-tighten a bit too large for the chuck capacity (3/8"). Slight burr on the flywheel was first dressed with a fine file, then smoothed over with a stone taking care to remove minimal material to prevent the flywheel from engaging too deep The drill frame was cleaned up using mainly wire brushes in the Dremel; The handles were scraped using a dull utility knife blade to remove most of the old black, flaking lacquer, sanded with 220g then final sanded with 320g. Masked off, ready for the paint booth. I did touch up the hole with a hand countersink that someone had drilled thru the cap. I think the handle is maple??? Right pic is in the paint booth (also serves as the drying booth) both booths are closed when it rains + during winter months. Flywheel in the paint & drying booth. "Deadman handle in the rattle can lacquer spray & drying booth. IIRC 4 coats of lacquer, scrubbed with a wrinkled up brown paper sack piece after each coat. Some assembly required + manufacture of new chuck jaw springs. Surprisingly Stanley doesn't provide replacement parts anymore. All of the local hardware or big box stores could come close, but OD was too small so I went to my friends at Fastenal. They provided a couple of options...a little pricey compared to the drill original cost ($2) but I wanted the correct OD. Had to cut them to length which was no problem with small side cuts. The one original "good" spring at the top against the new. Jaws & springs assembled ready for insertion in the chuck body. Place the chuck body over the top of the jaws and press down. Easy, peazy; Now place the drill shaft bearing into the body, screw the chuck body back onto the chuck cap. Oh yeah, forgot, spray some of this into the chuck body just before assembly. Now reassemble the rest...Oops almost forgot to de-mask the flywheel thrust surface. I honestly don't remember now if the two metal shims were there originally or not. I scrounged around in my hoard 'er inventory, found some nylon washers and did some experimenting on engagement lash. Common bevel gear lash is typically .007"-.010" but since this NOT a high speed/hi performance drill, I winged it 'til it felt smooth and slightly extended past the mounting post. That & the flywheel is a little warped. Guessing it was never dropped over 100 times. Anyways, I'd have to go disassemble it now to remember what I ended up using. Copper washer was original to the outside for a thrust "bearing" surface. The "deadman" handle is quite unique on the drill. All I've seen on 624's were some variation of a knob similar to the knob on a hand plane. This one is threaded to screw onto the post. The only markings (name) on it are "The Auber." Appeared to be original but IDK. The "cage" material is very soft; I'm positive it's lead but opted not to eat any to be sure. The wood, again, is maple I think??? Fully assembled, The Auber in place. Not half bad compared to what it looked like when it followed me home. Fitting I suppose to use another flea market ($1) find by Stanley to do final assembly...well that and it was the first screwdriver I found plus it's reversible. So it's all together again with one final step to perform. Tighten the chuck cap to the chuck body. To prevent further marring, wrapped with tape. It only needs to be snug vs the standard German Torque of gudentight. My go to paint for this drill or similar, some plane bodies and occasional other tool refurbs requiring black. Dries quickly and gives a great durable medium gloss sheen. The closest I could come to match the flywheel original paint & finish was Hammered Red plus I had it in stock. Thanks for watching.

- 15 replies
-
- 11
-

-

-
- stanley eggbeater
- stanley 624
- (and 2 more)
-
Stopped in at a local indoor "flea market" yesterday...picked up these treasures. Grand total with tax +$13 or $1.625/ea for the 8 items. The pruning saw maybe has been used 1 or 2 times. DIB price tag was $19.98. It replaces my old Fiskars pruning saw. The egg beater is a no name, but like new condition...wooden handle & crank knob, but nylon gears; the chuck is as valuable to me as the rest once I remove the stuck 1/4" twist bit; might be a good beginner tool for my oldest grandson? The Karbo-grit is more of a novelty than anything especially since in OB although the grit surface (fine) is very good. I always can use an extra 1/4 chuck key + the cord retainer; The drill bits in the wooden container Is suspect are from the late 40's to early 50's. No name brand. Originally included 9 bits but only 6 are there. No 1/16" Label is marked "For Hand, Breast, Post, Bench Drills. The X-Acto handle and blade is new although the plate has slipped in the back. The Copper rivets ~3/16" dia. x 3/8" L. Tower Mfg, Madison, IN; original price tag $2.49 I use to use similar to "roll" upper main bearing halves out; maybe make my own jeans now or something...lived in Madison from 1953-1955. The auger bit is #8 (8/16 or 1/2" by 12"L marked Van Camp (thanks @John Moody). Former Indianapolis Hardware & Tool Company Carbide attached particles to a copper plate attached to a wood block Cat #9-3002 Original price sticker of 25 cents
- 16 replies
-
- 9
-
-
- van camp
- drill bits
- (and 4 more)