Search the Community
Showing results for tags 'pella'.
Found 1 result
-
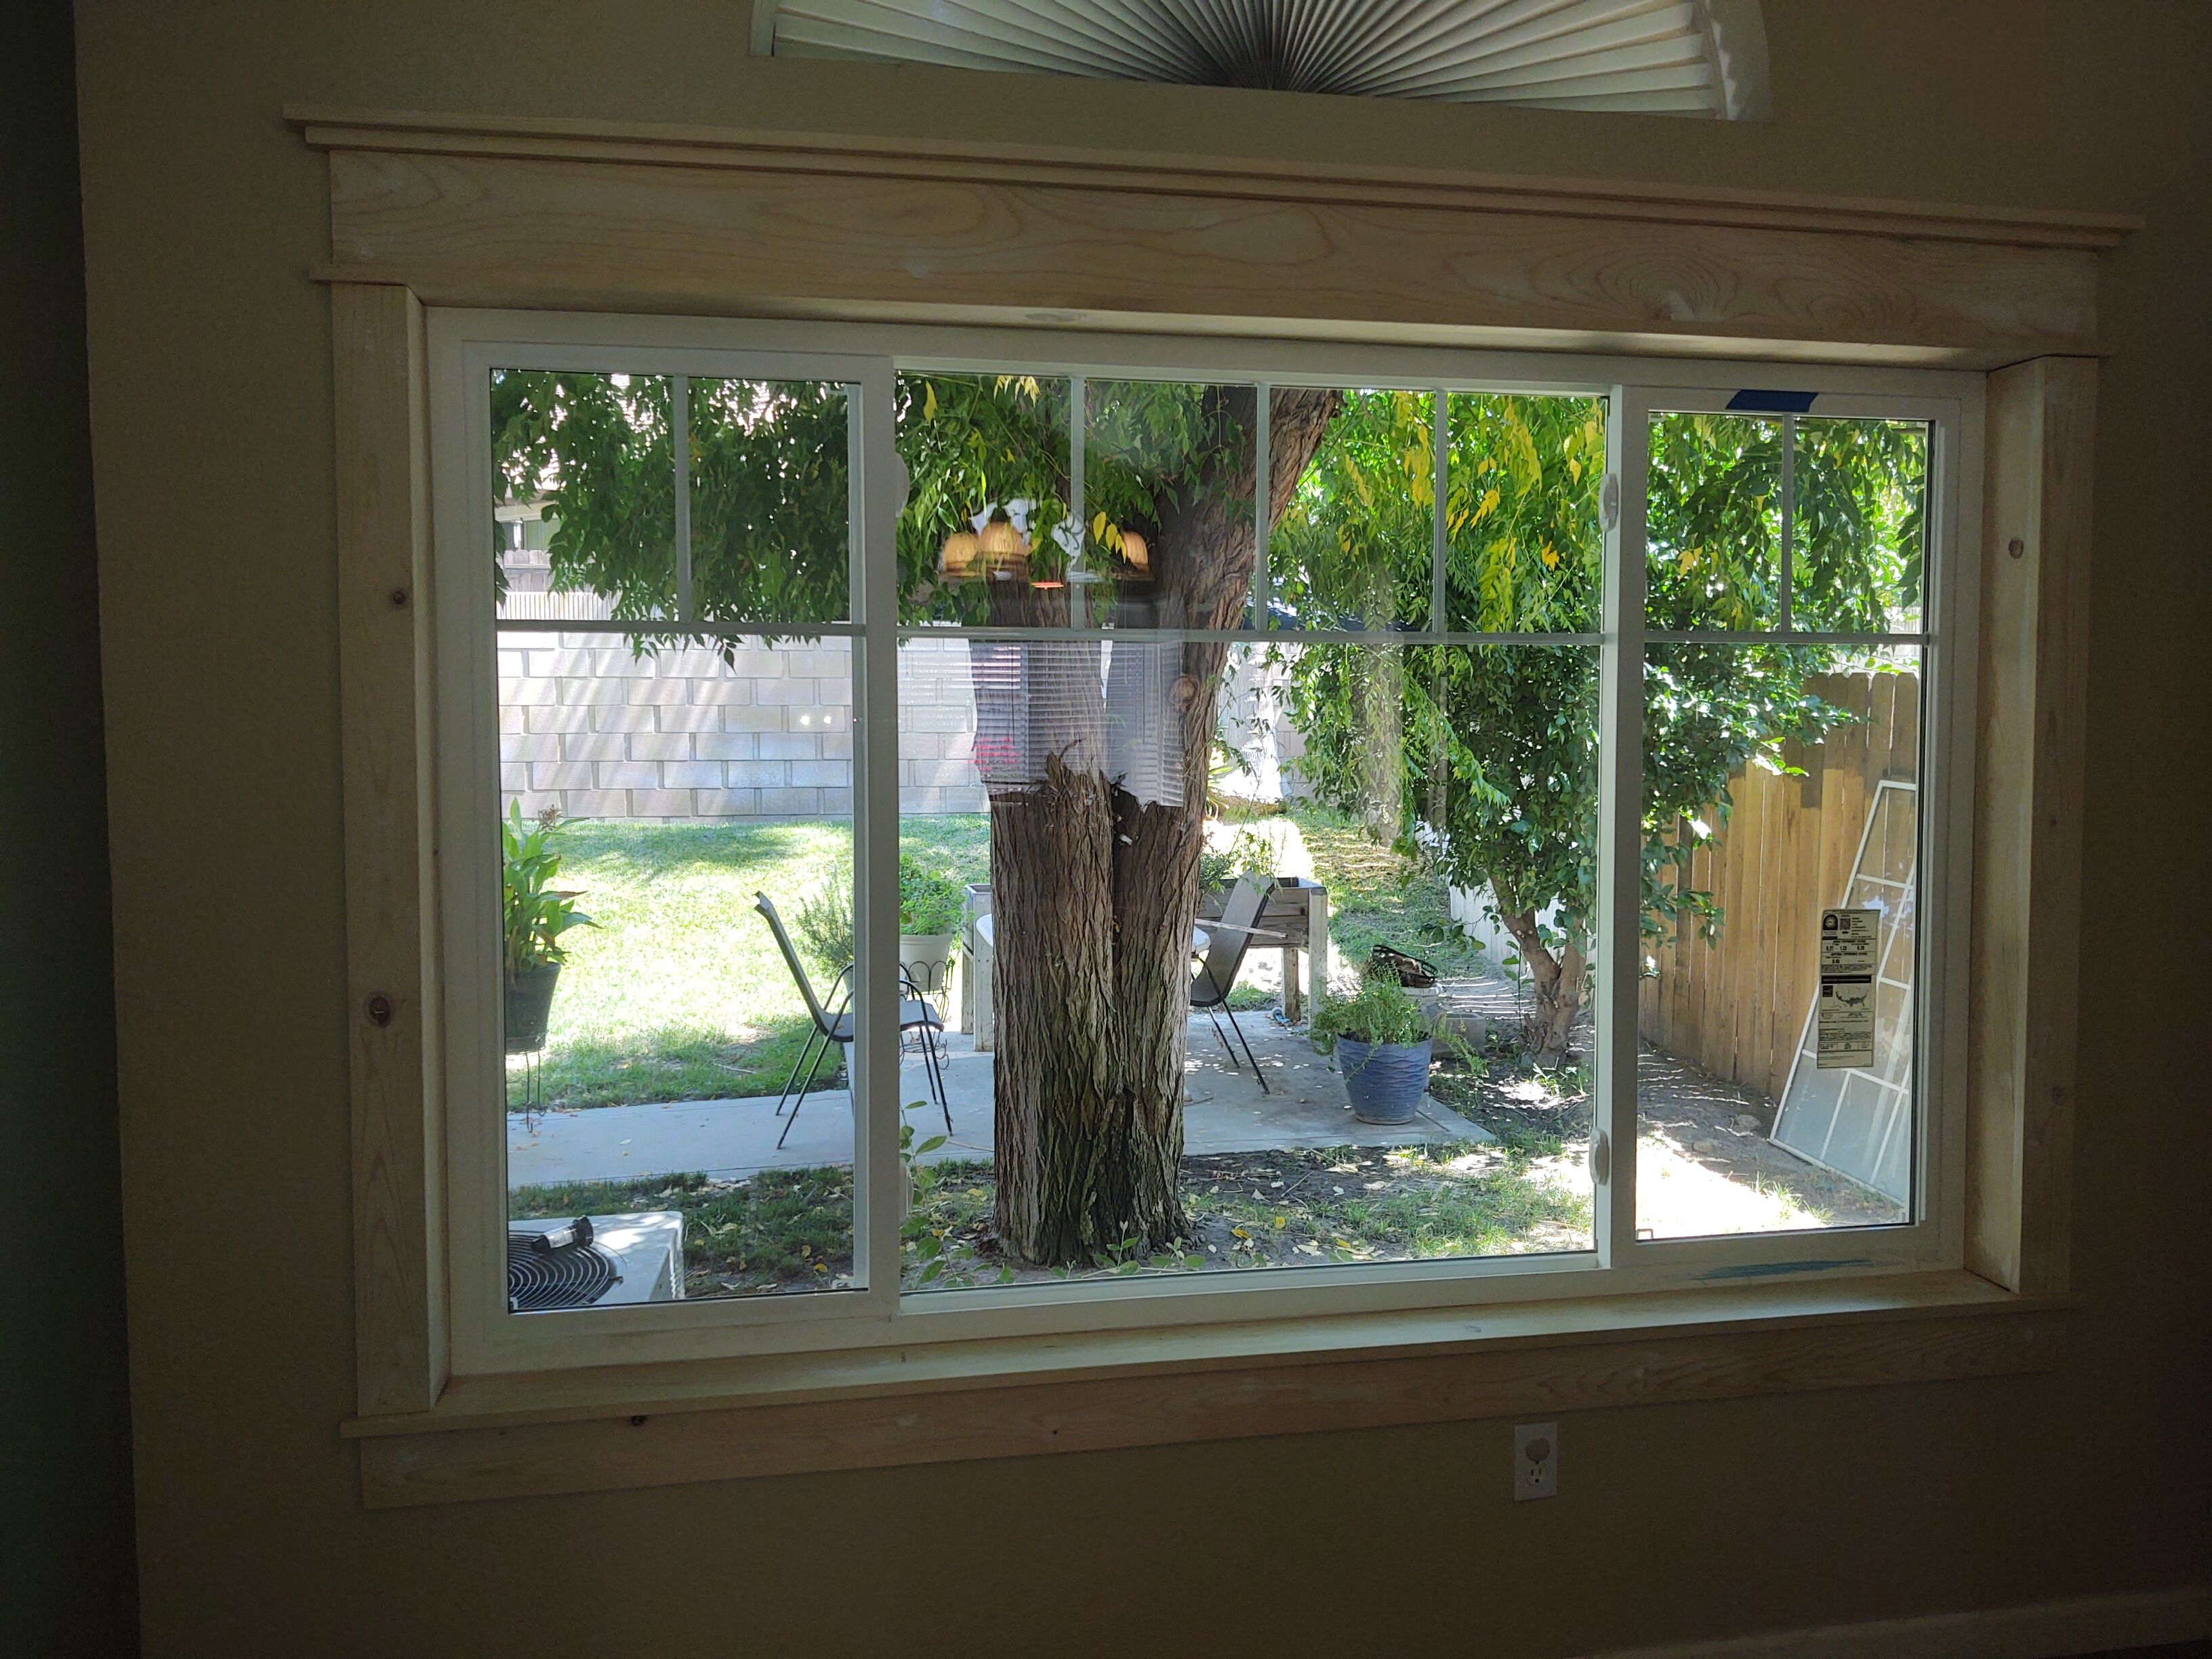
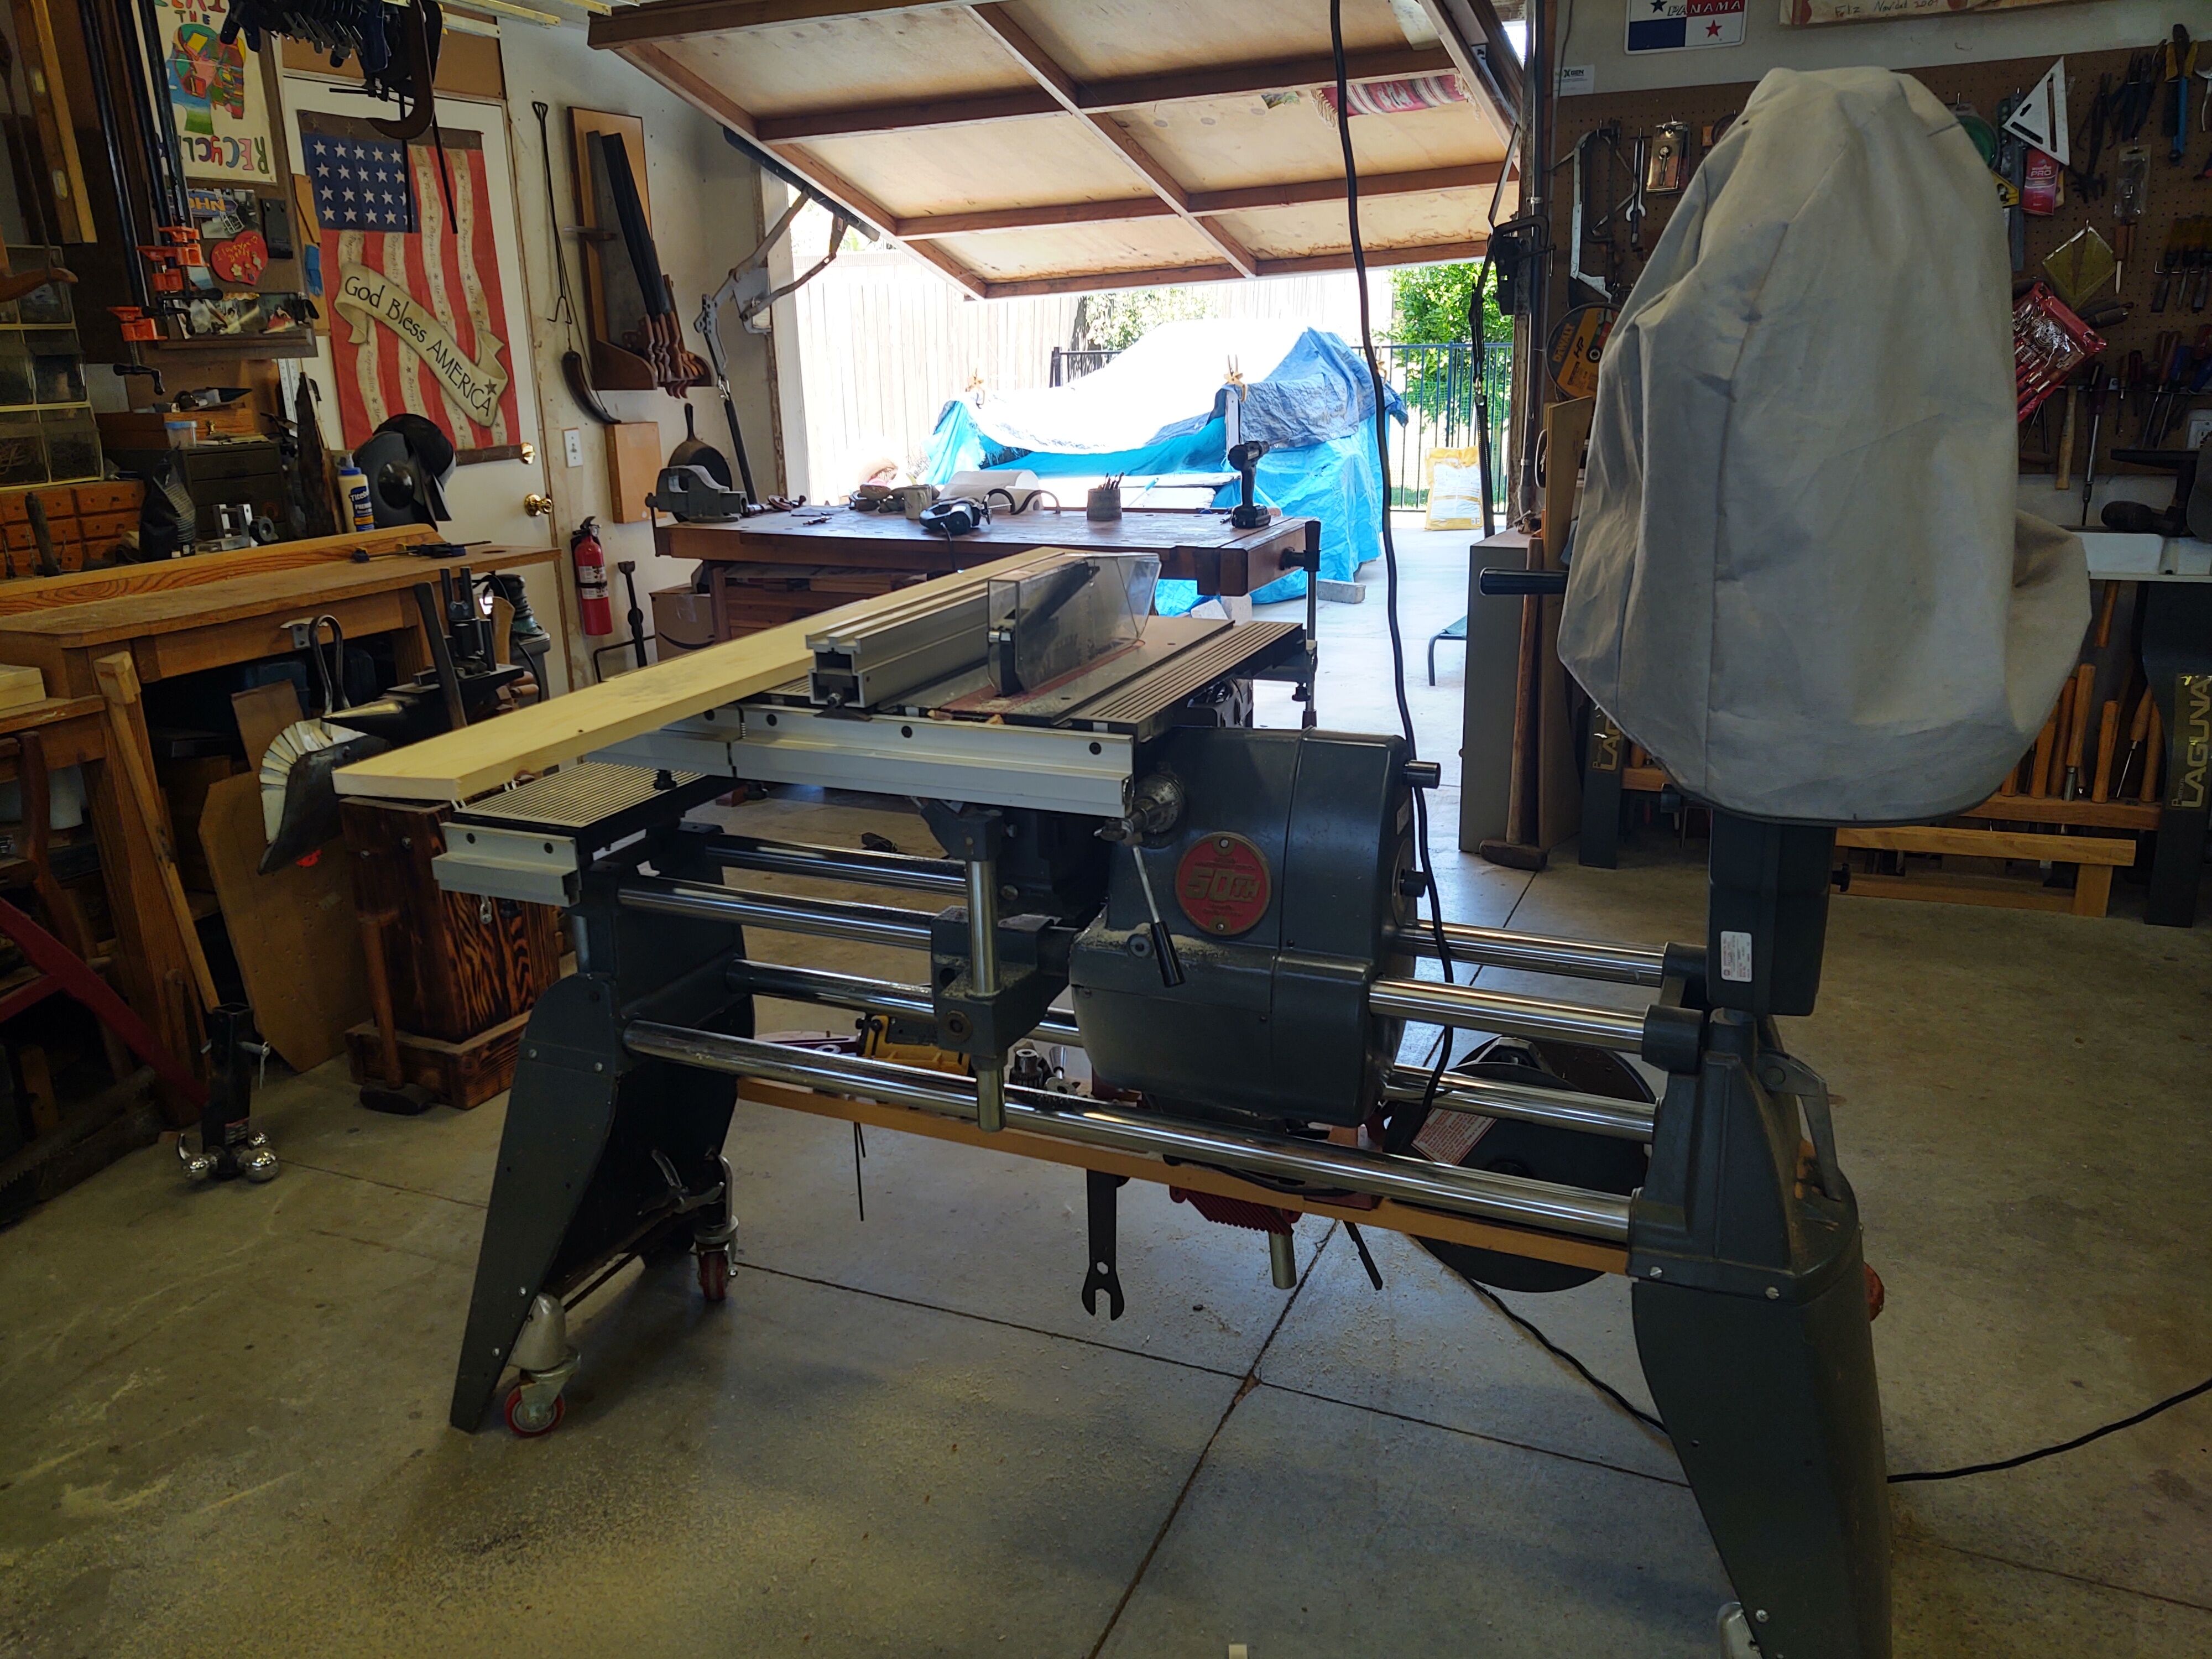
Over this last weekend I installed a Pella. Pretty straight forward, remove old inserts from old aluminum frame, set new window and secure in place. This is our dining room looking out to our backyard. That block wall is our property line, that tree is a very messy China Berry I planted a few years back, I'll never do that again! Lady was supervising me, she was making sure I was doing it correctly, and she was also doing double duty guard dog as always. The window went in pretty straight, but nothing is perfect, so I had to shim the casing/trim to give it the trim the appearance that at least it's squared up to the surrounding walls and level with the window above. I know it's a dark shot, but no matter what I did, I couldn't get a clear image with the natural light from the outside. But there is the casing/trim in place. It's just simple farmhouse style, I used pine from the home center, followed up with spackling the knots, and caulking the butt joints. This is the easiest type of casing to install, no crown, just straight boards. I'll paint is this coming weekend. I don't like working with the prepainted MDF, I prefer hand nailing and it's hard getting nails through the MDF, and I don't like the MDF dust created while cutting. The pine was much cheaper too, but I had to put a bit more labor in for filling knots etc. It was nice to see our home clearly from the outside now, and clearly from the inside to the outside. We haven't had a clear view since we moved in and pretty much kept the blinds barely open because our windows were so ugly with hard water deposits and a window tinting job before we moved in that went wrong. We'll install blinds, no curtains. My ShopSmith got some good use, had to rip the boards for proper sizing. One of our two cats, Juniper, was also supervising the operation. My official dust collection for my Smith. It actually worked, don't laugh! I'll keep this topic up to date with the paint job! Thanks for reading!

.thumb.jpg.573d1497d0675219908c85aabefd797a.jpg)