Search the Community
Showing results for tags 'rail'.
Found 1 result
-
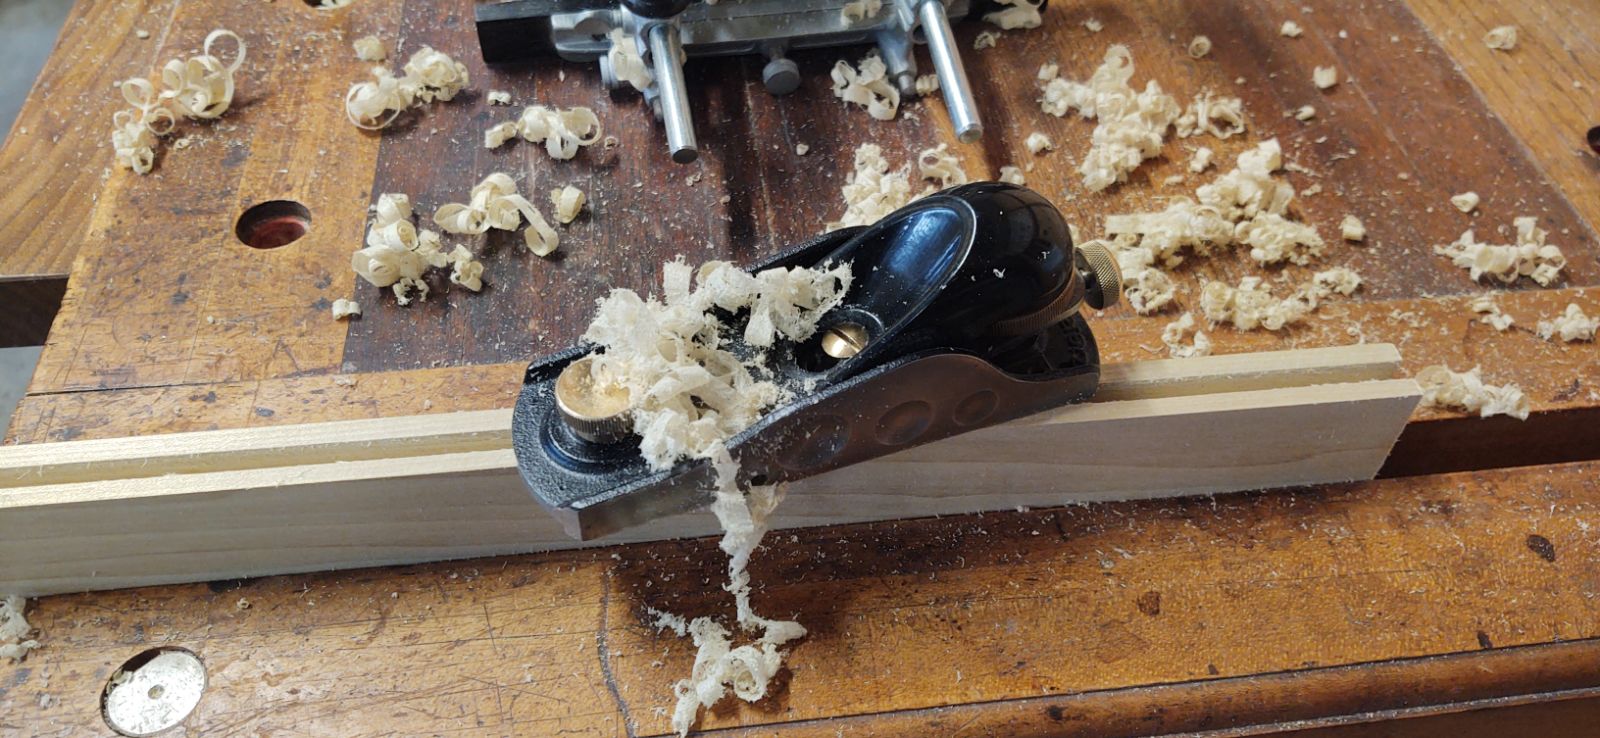
A few weeks ago mama decided she wanted a cabinet to store her arts and crafts supplies that are taking up floor space in our upstairs hallway. She went shopping online and found a cabinet she liked for 230 bucks, and it was the typical particle board white surface type of stuff. So I told her I'd be happy to build it and the materials would be less as well. So she and I went to our lumber store and picked up some 4/4 poplar, poplar because she wants the exterior painted white, and I want the interior natural finished. We will be using General Finishes Milk Paint for the exterior. Also, I am going to build saw tooth shelf supports as well. This is our hardwood lumber dealer "Reel Lumber", about 30 miles from home, it's full of all kinds of stuff, from pine to oak to exotics and everything in between. Our Poplar was running about 2.70 a board foot. I spent about 150 bucks, and with the Milk Paint, we are going to come under budget from her online cabinet she wanted, and we are going to have a piece of furniture to pass down to our kids, and their kids. Got the boards home and had to size and join them. Note: if you look behind my Makita CMS, you'll see a cross with a flame in a heart plaque, when I was going through some serious health issues a year ago, my friend Jess @Smallpatch, sent me this very special and inspiring gift, it lifted my spirits enormously, and when I felt I needed a little nudge from the Lord while working in the shop during that rough time, all I had to do was look at my plaque, and I felt it. To this day I cherish it, and I feel the Spirit in it. Just a board on the bench, laying out dado's. Glued up. I built the face frame with a Kreg pocket screw jig, and then glued the frame to the case, and bored holes in the face frame for 1/4" dowels, 1 1/2" long and glued and driven in to the case, then a flush cut hand saw and cut the dowels flush and block planed them smooth. Since the case is going to be painted, I thought adding the extra strength of the dowels would be good since you won't see them below the paint. I also mixed up some two part epoxy and floated it over each dowel, let dry then sanded smooth, just so there weren't any issues with the end grain of the dowels sucking up the paint. Joining boards for the raised panels. Getting the rails and stiles ready for the raised panel doors, I was playing with my Stanley 45 yesterday, and after a few tweaks here and there, she purred and plowed, making some wonderful clean 1/4" wide by 3/8" deep grooves to accept the raised panel. The grooves turned out very nice. After running the grooves in, I used a block plane to take a whisper shaving off the top to clean up the surface. Within an hour I had two rails and one stile done, and I was starting on the second stile when mama called me in for dinner last night. Here is where the case is as of today. The backed boards are beveled and nailed off on the back of the cabinet. Today I am gluing up the door panels. I'll keep the images coming, and thanks for looking! My very special cup, that a friend gave me, and also a cup for mama too!

- 81 replies
-
- 13
-

-
- general finishes
- poplar
- (and 6 more)
.thumb.jpg.573d1497d0675219908c85aabefd797a.jpg)