


By lew
· 2,599 views
Part 5:
As “Norm” used to say- “We’re gaining on it now.”
Time for the first dry fit to make sure all the mortice and tenons fit together.

Had to futz with a few of the tenons but overall everything went together nicely. You can see why I’m limited to the size of my projects. This is the only assembly space available- add clamps around a piece and things really get tight.
There were still a few more things left to do with the apron and shelf supports. I wanted to carry the chamfer detail along the bottom of each piece. Router table took care of that.


The shelves need to be secured to the frame. I decided to use wooden “clips” and a dado in the stretchers


The “clips” are cut from an “L” shaped piece of poplar

I made a long blank for the clips and then just cut off about 1 ½” piece. I drilled an oversized screw hole through the thicker section (oversized to allow for expansion/contraction). The thinner part slips into the dado on the back of the stretchers and screws thread into the underside of the shelf.
The astute observer will notice the mistake in the pictured blank. The wood grain is running parallel to the blank length. The little tabs (fitted into the dados) will snap off as soon as any pressure is applied. Not sure where my mind was when I cut this, anyway, I made new ones with the grain running perpendicular to the blank length (just forgot to take a picture).
The final bit of frame construction was to create a way to mount the butcher block top. The frame (with 2 shelves) will weigh in at close to 100 pounds. If the completed table is moved, lifting it by the top, quite a bit of stress will be applied to the connection between the top and frame. It took me a while to come up with an idea that solved the problem.
I added three cross supports that were dovetailed into the side aprons. 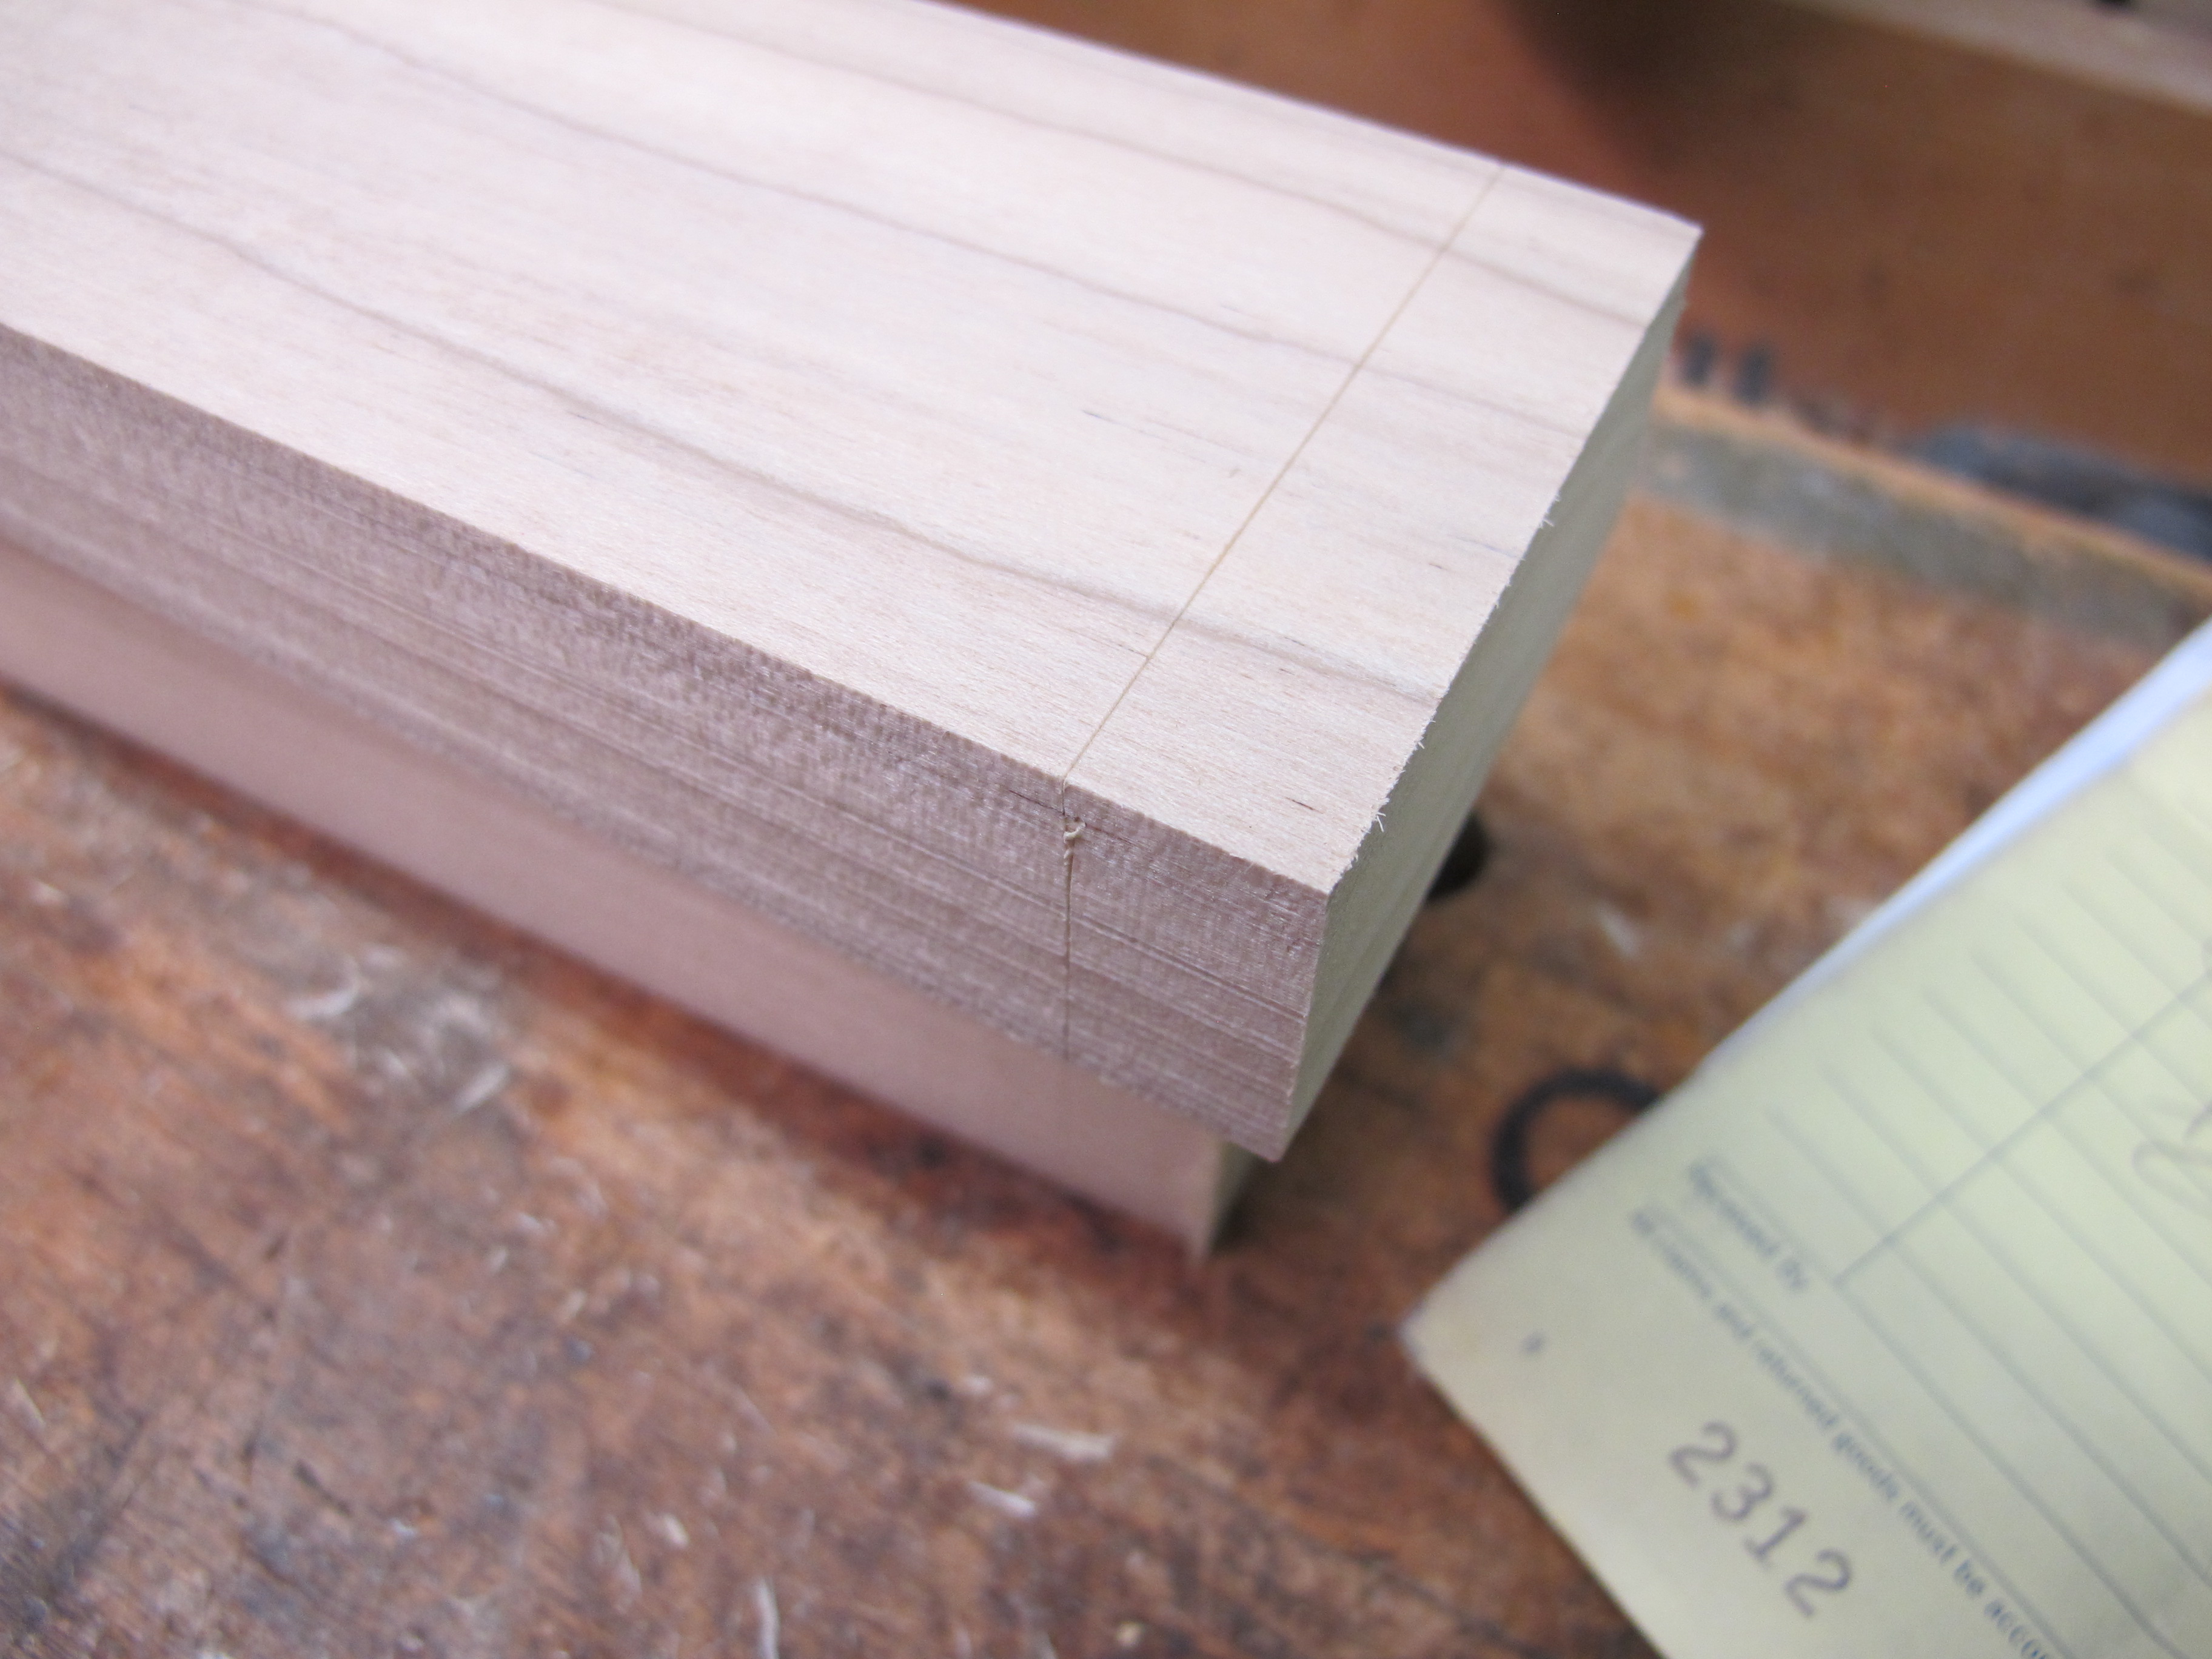


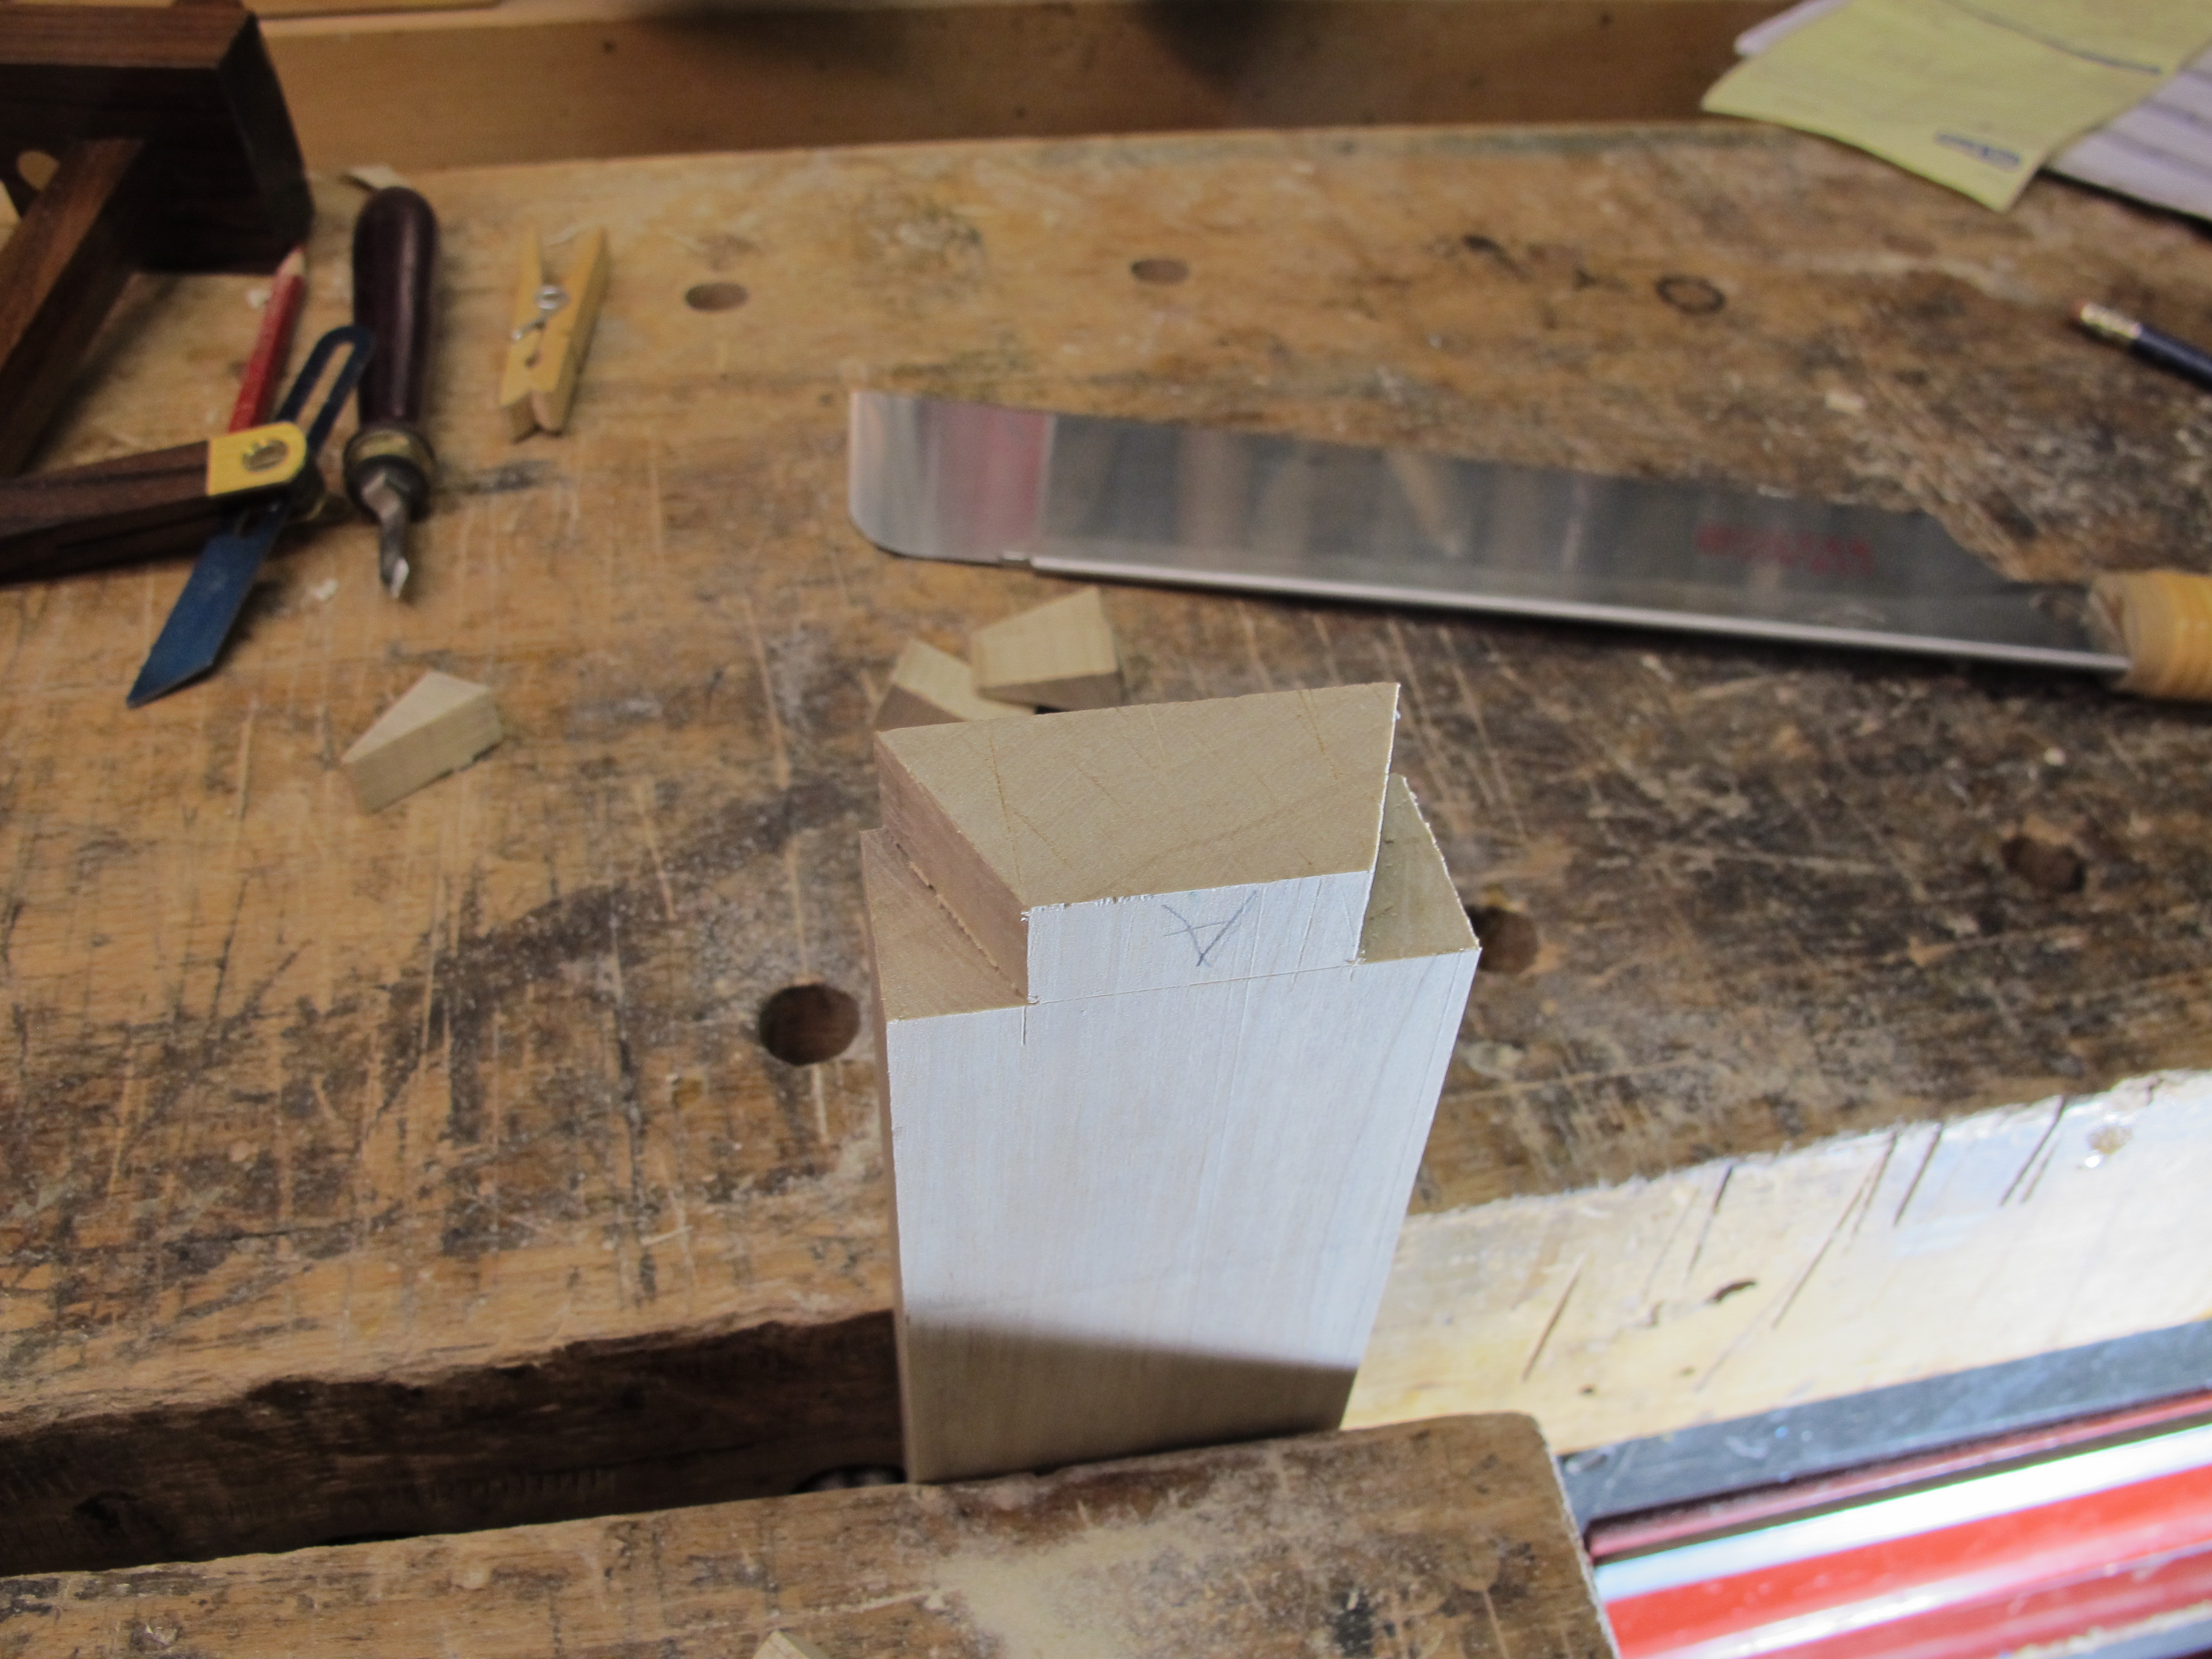
The dovetailed supports were let into the apron using blind dovetail techniques. I used a trim router to hog out the majority of the materials.


Then I chiseled out the remaining material.


The dovetail shape, in addition to glue and screws at each dovetail location, will provide enough support to keep the top from breaking free of the frame.

Finally, l drilled oversized holes thru the cross supports to receive 1/4" lag bolts to connect the frame to the top.
Now to tear it all apart to work on the shelves!
Recommended Comments
Join the conversation
You are posting as a guest. If you have an account, sign in now to post with your account.
Note: Your post will require moderator approval before it will be visible.