
- 2 Comments
- 1,896 views

A blog by
lew in
General
-
Entries
9 -
Comments
2 -
Views
4,312
About this blog
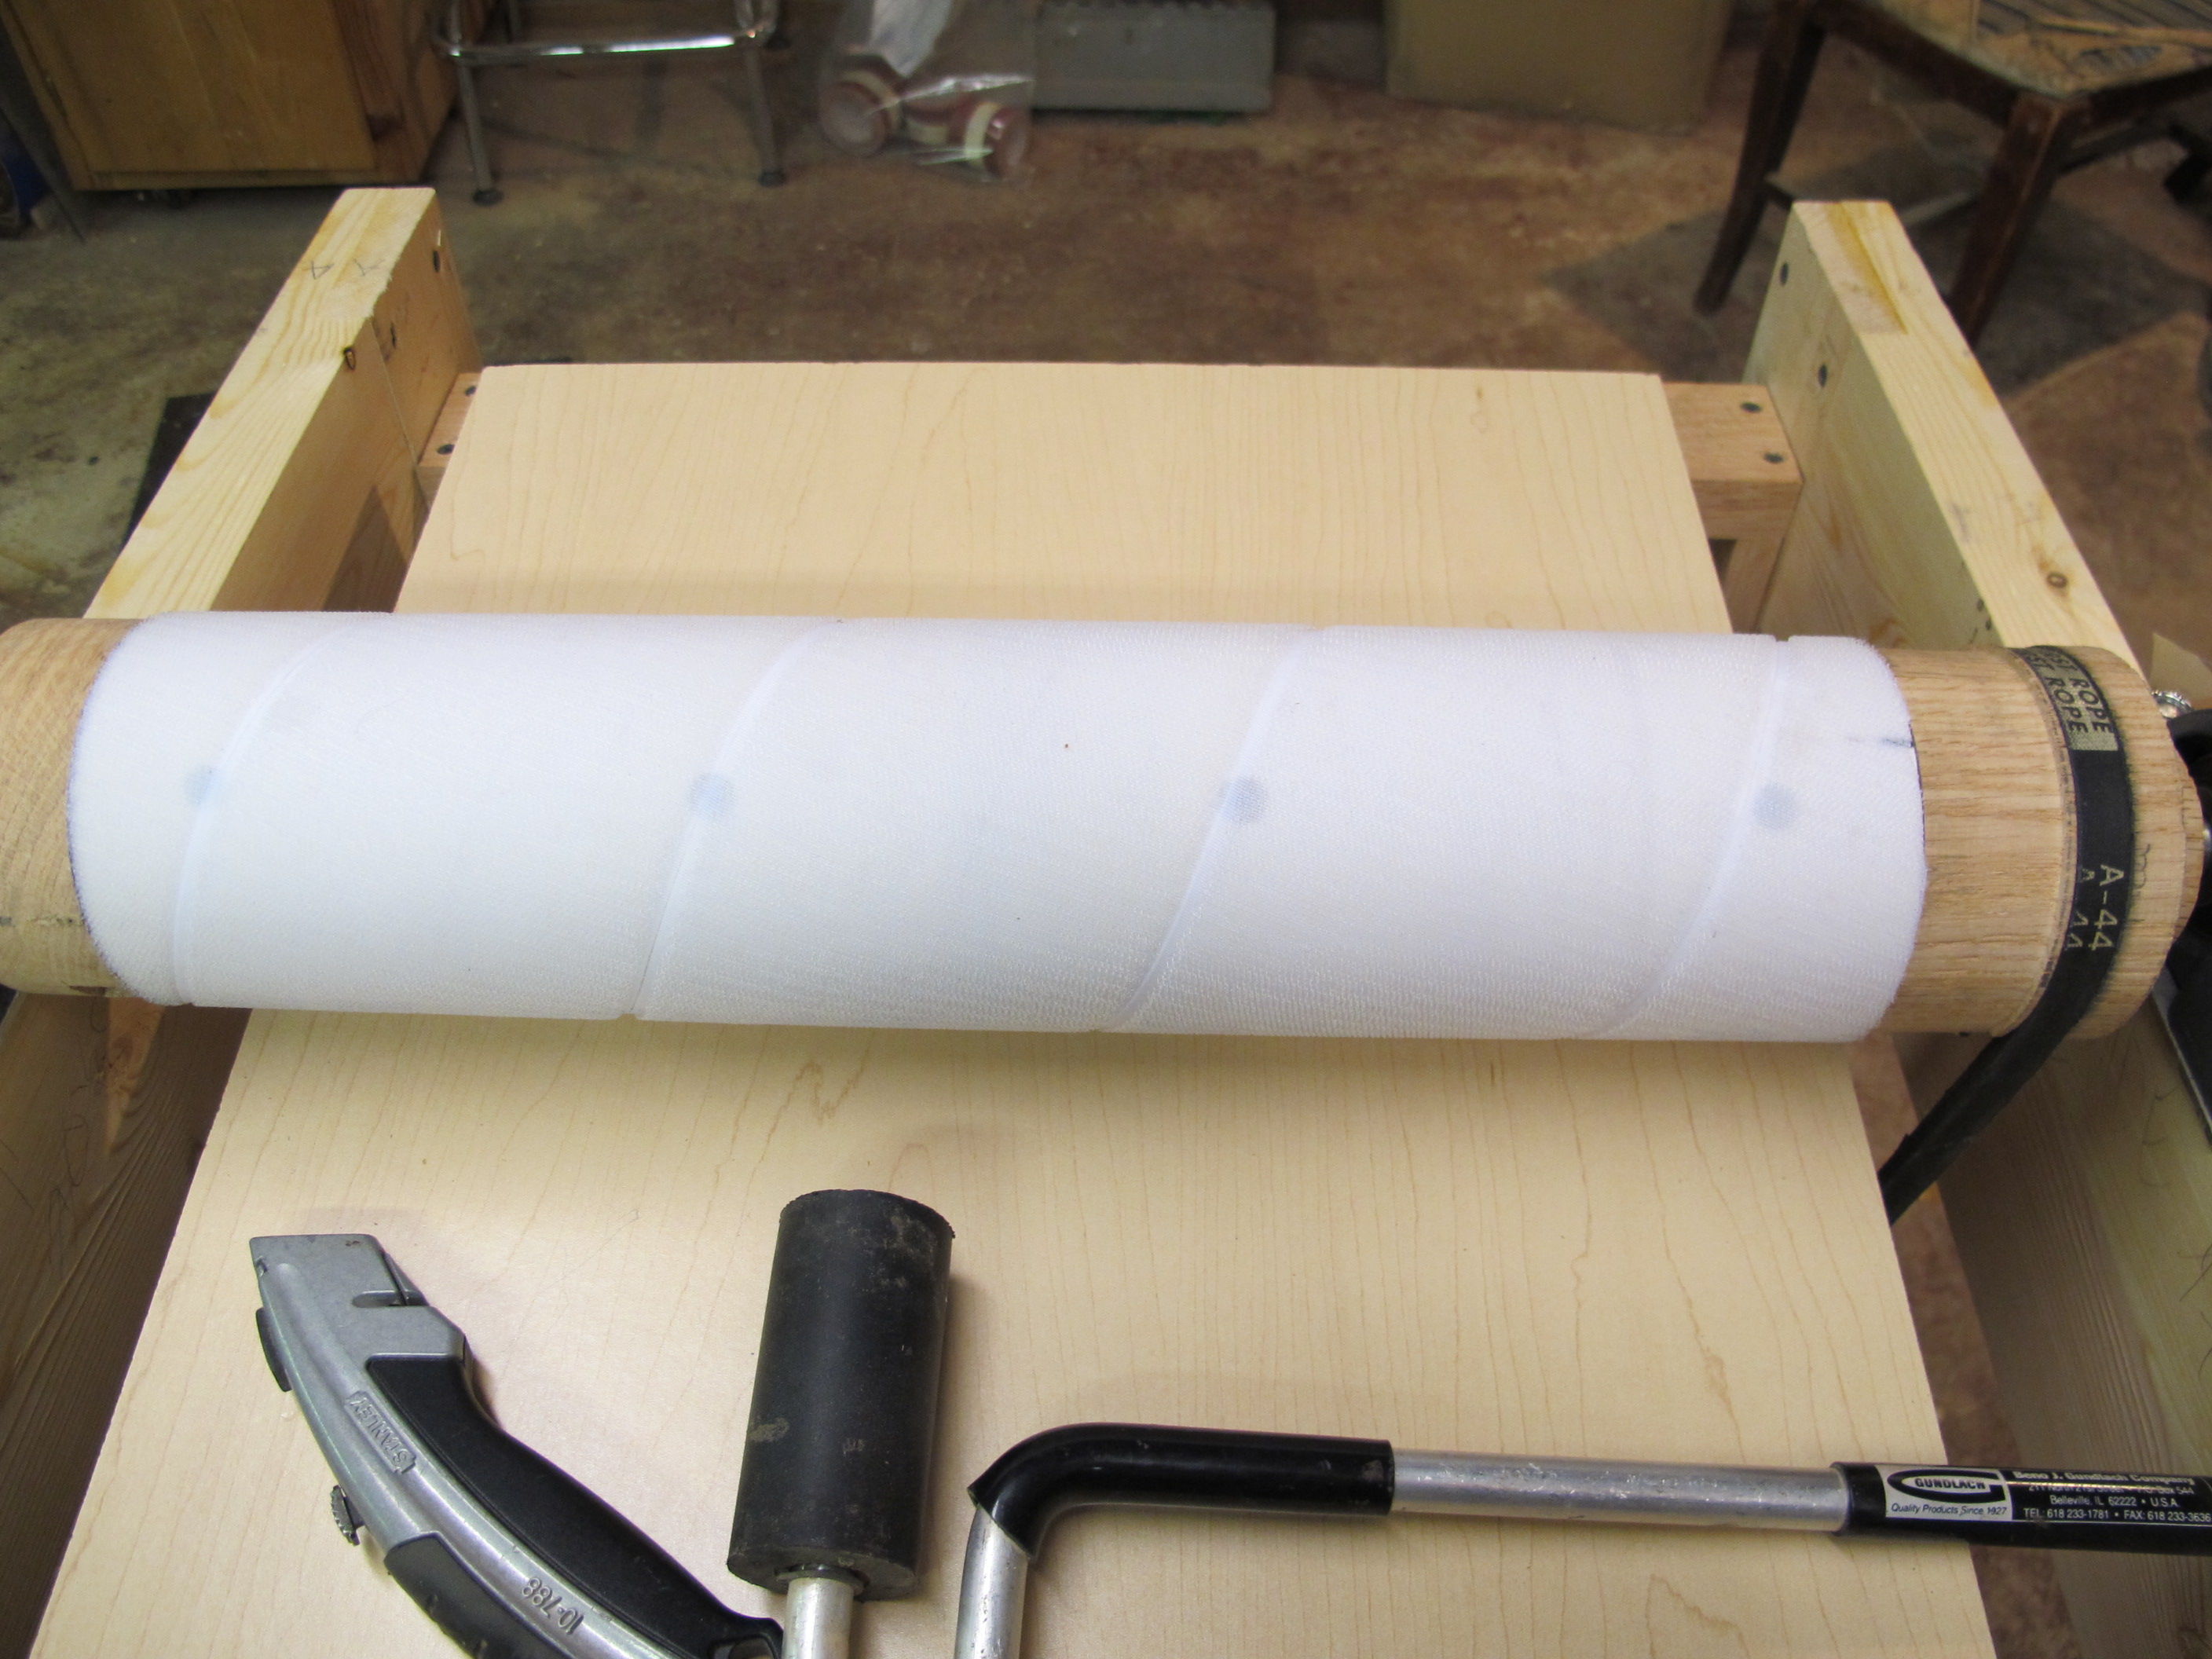
My shop build thickness sander.
Entries in this blog


- 0 Comments
- 1,227 views
- 0 Comments
- 1,461 views

- 0 Comments
- 1,469 views

- 0 Comments
- 1,508 views

- 0 Comments
- 1,390 views

- 0 Comments
- 1,710 views

- 0 Comments
- 1,186 views

- 0 Comments
- 1,354 views