Search the Community
Showing results for tags 'workshop'.
Found 6 results
-
Shop tips that can still be put to use today as seen in 1968 Workbench Magazine.

- 2 replies
-
- 4
-

-

-
- workbench magazine
- workshop
- (and 2 more)
-
I normally hang out in the turning forum but this isn't really about turning so I'll post it here and hope my friends from down there will see it. I built my shop several years ago over a two week vacation with help from my brothers and nephews. When I built the shop I put a drop ceiling in it but knew almost immediately that was a mistake. It wasn't very long before I ripped that ceiling out, but then I never put a new ceiling up. Over the years, I've known I needed to as the insulation was exposed and didn't have any support. I've had put it back up a few times and the shop was also pretty dark as there was no reflected light from the ceiling. Well, this year I finally decided to address the ceiling issue. Here are a few pics of my shop as it looked in March. You can see what I mean, the insulation is sagging. I've known I should do something but that it was going to be a chore since my shop is so full. Finally, I had enough and decided to go with a metal ceiling, it's basically pole barn siding and the nice thing is, it goes up finished, it doesn't need mudded and painted like drywall. It's also very durable. Here are the after pics. The hole is for access to the attic area. The lights are LED and are very bright. The pictures don't really show what a dramatic difference there is. Not going to lie, I am very happy with myself over this improvement. Did all of the labor myself with LOTS of help from my brother. For a 24X30 shop material cost for ceiling panels and lighting was right at $1500.00. For my money that is a heckuva of an improvement for that amount. Now, my shop is basically a train wreck at this point, I figure I'll be another month before I have any kind of order but I'm still really happy with this project.
- 15 replies
-
- 13
-
-
- workshop
- metal ceiling
- (and 4 more)
-
My neighbor gave me a nice clean piece of redwood and said it would be perfect for a sign. Well he was correct - a nice sign for 'his' shop. Decided against the tools in each corner as my layout shows, and just used saw blades for the "o's". Here is my initial design in Photoshop - I eventually scrapped the tools in the corner and just used saw blades for the o's Here are a few pics along the way - pattern transfered, start of carving and Tom holding finished product
-
Praying for the folks in the Florida panhandle. I know we have at least a couple of our "family" members located near there. Hurricane Michael is doing a number in that area. Just a friendly reminder that @Jim from Easy Wood Tools is asking us to send him an ornament for the Easy Wood Tools lobby Christmas tree. More about this project can be found in @John Morris's post- Some of the ornaments all ready for the tree were posted by @Jim from Easy Wood Tools here- I've added some changes to the "Wednesday's..." format in an effort to appeal to more turners. Several of our turners are kind enough to add comments about the content and I really appreciate it. I just wonder if the material, I've been posting, is covering a broad enough spectrum. Any input is greatly appreciated and my skin is thick enough for serious criticism. Our Patriot Turners- @PostalTom is heading up the woodturners picnic, for the club, to which he belongs. Members make articles to be raffled off. Tom created several items using Easy Wood Tools. Looks like we have us a convert!! See more of what Tom made and his thoughts about his first "in charge" position- @Gerald gave us a glimpse of his workshop/lathe area. He certainly has an efficient setup and more than one of our turners drooled all over their keyboards as they posted their comments- @Ron Altier offered up another beautiful ornament. This walnut inside-out turning has has some special "body work"- Ron explains in his post- What’s Coming Up- Tennessee Association of Woodturners presents their 31st Annual Woodturning Symposium January 25th and 26th, 2019 at the Marriott Hotel and Convention Center in Franklin, TN. Check out their website for more information and a list of demonstrators- http://events.r20.constantcontact.com/register/event?oeidk=a07efkgsokx87d387cc&llr=lgmecmkab&utm_campaign=regional&utm_medium=email&utm_source=Regional+Event+TAW+10+10+2018 For The Newbies- Mike Peace has a video explaining the various calipers used in turning. He demonstrates their use and some handy setup jigs- Expand Your Horizons- The Wyomingwoodturner, Sam Angelo, created a two part video on embellishing a bowl. He uses a combination of texturing, gilt and paint. Part 2 is linked from his Youtube page- New Turning Items- Woodturners Wonders has a new sample pack of their "Wonderweave" sanding screen. This is similar to the Abranet sanding screen but considerably less expensive. These 6" discs are Hook & Loop Sanding Discs - Package of 25 discs, 5 each of 5 grits: 800, 1200, 1500, 2000, 3000 Wonder Weave Pro Net . Check their website for prices and other grits/sizes/shapes as well as a whole range of other turning supplies. Everything Else- Rick Turns uploaded his YouTube Turning Videos List for September- The October Woodturning OnLine newsletter is also available. One of the projects is a Halloween oriented ornament tutorial from Craft Supplies USA. The tutorial can be found at- http://blog.woodturnerscatalog.com/2012/10/turning-a-bat-house-ornament/ The entire newsletter is available at- https://www.woodturningonline.com/ Safe turning
-
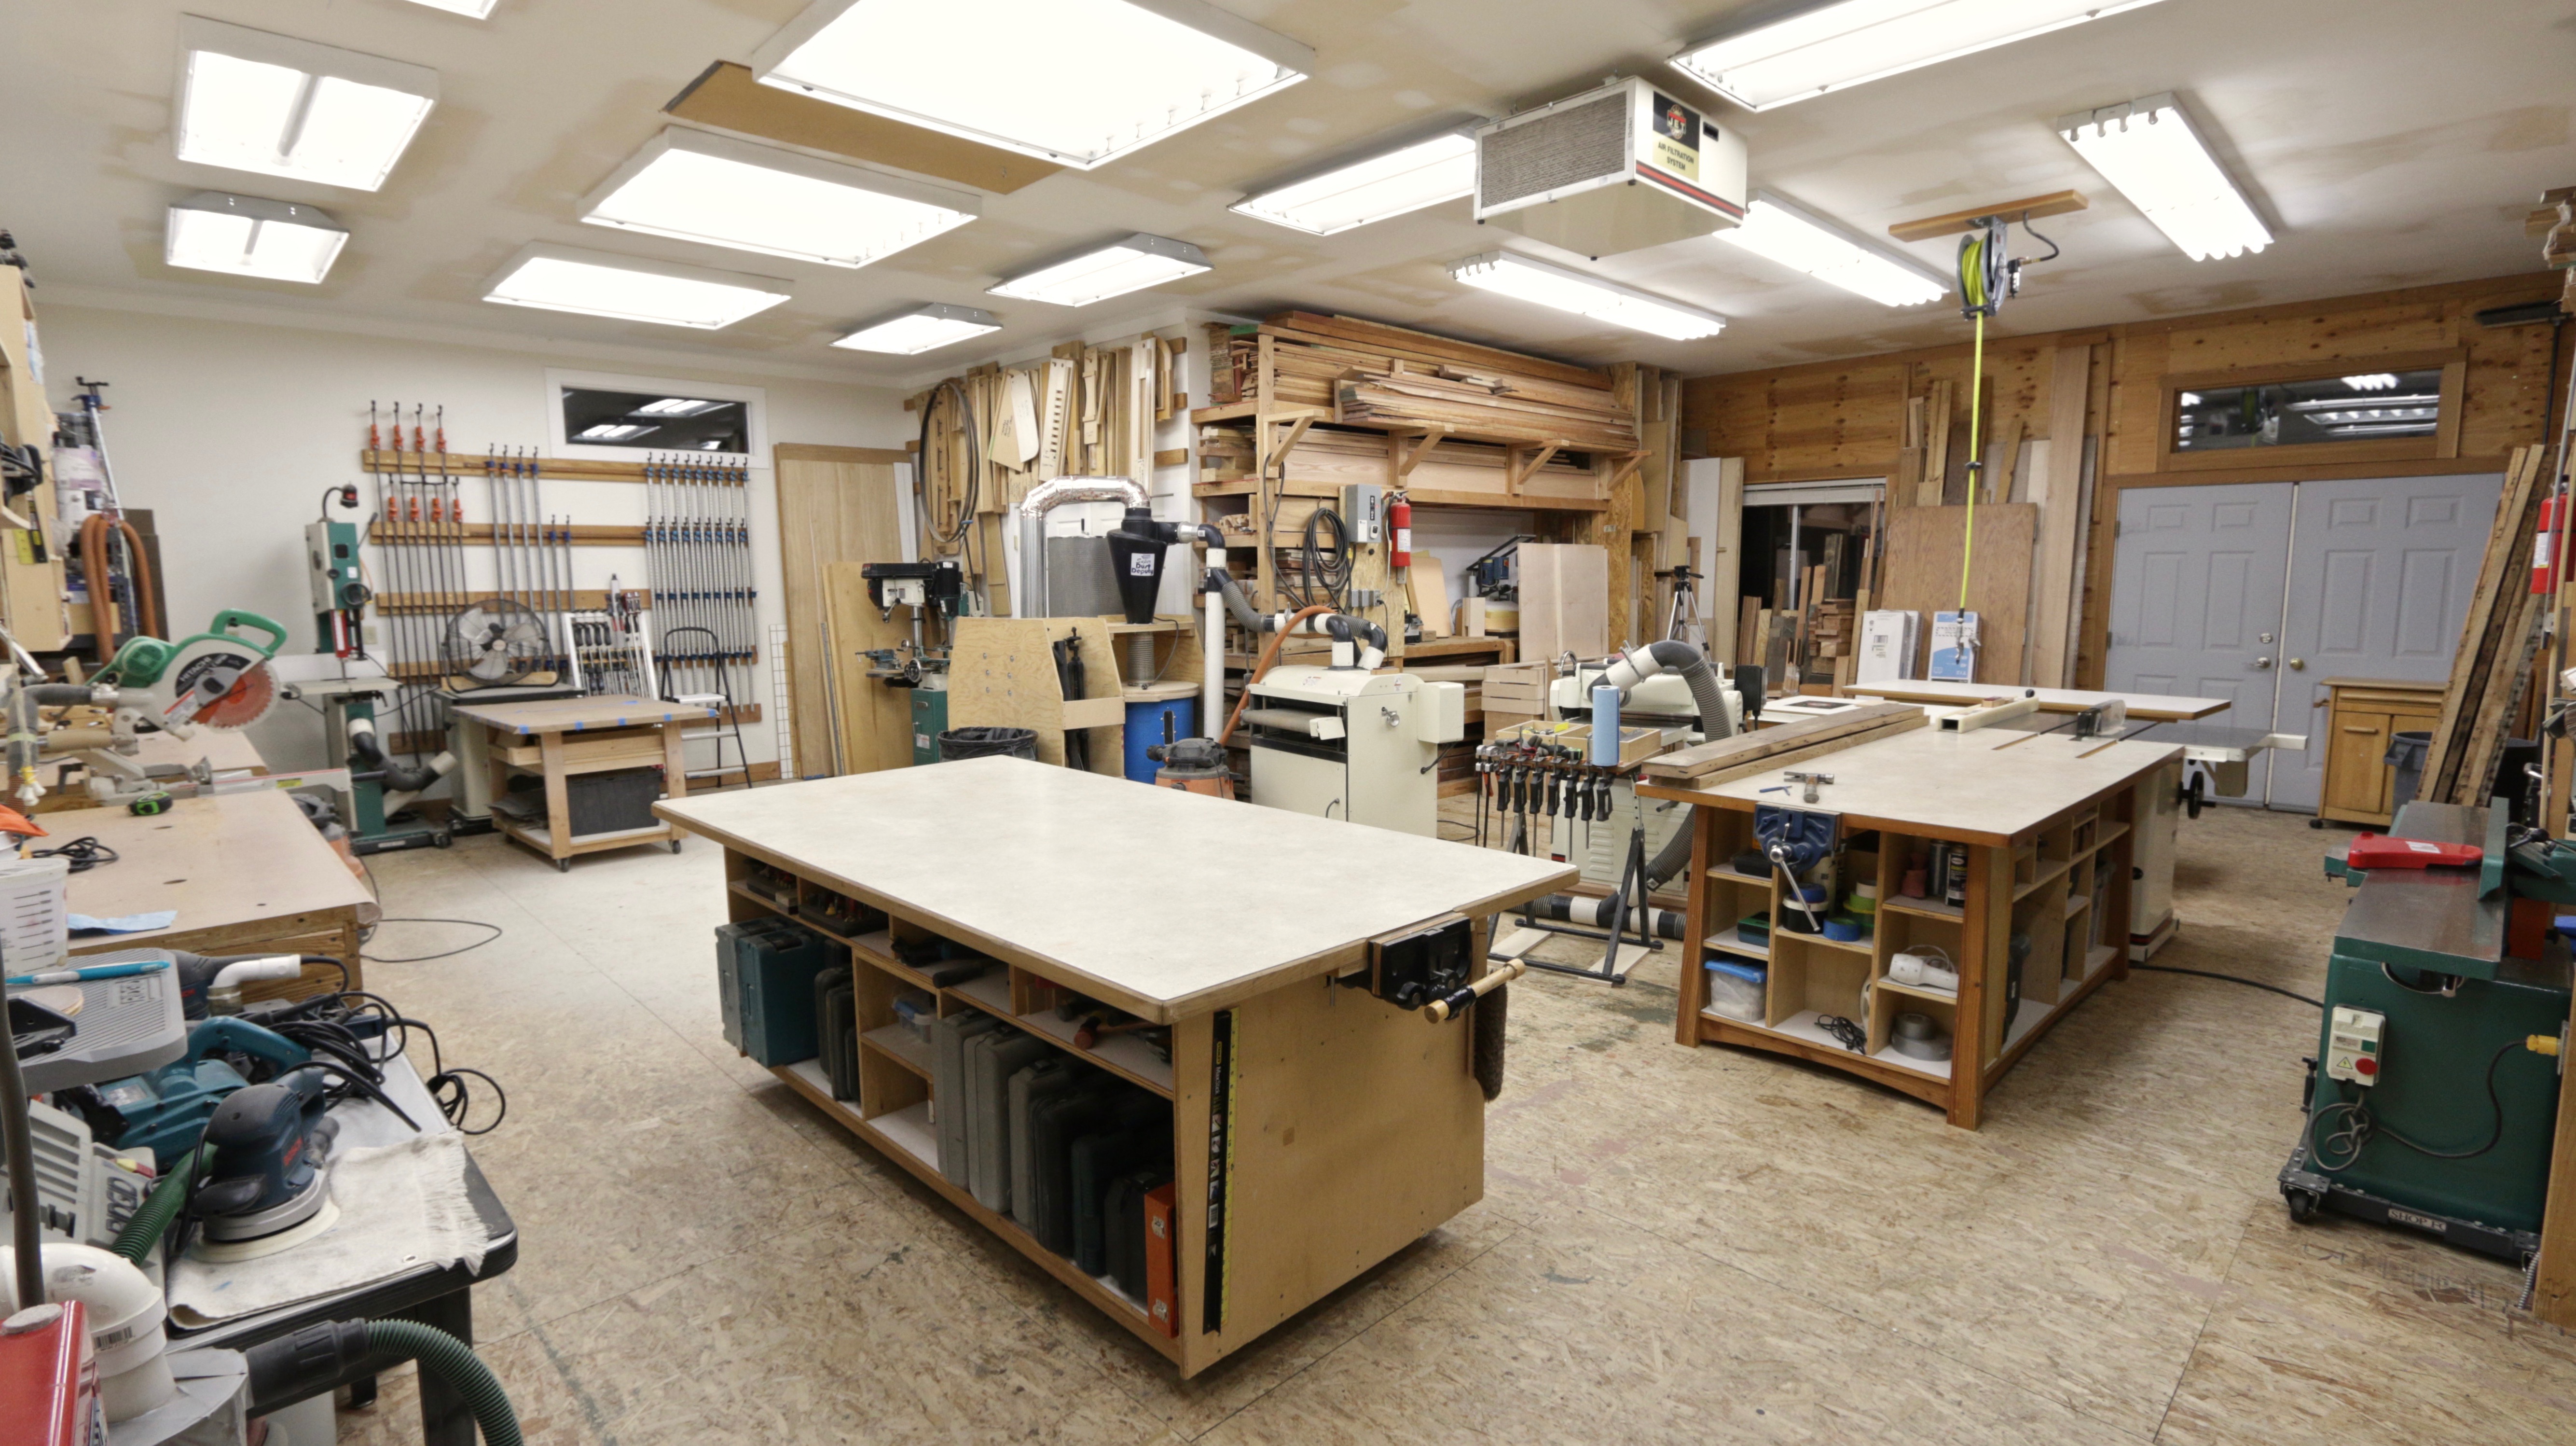
Workshop Stats: Square Footage - 924 Ceiling Height - 10' 4" Floor: Wooden Framing & 3/4" OSB Electrical Service - 200 amp Plumbing - None Heat - Ceilling Mounted, natural gas, 75,000btu Hot Dawg Air Conditioning - None Lighting - T-12, 40 watt / lumens per bulb: 2500 / color temp: 5000k / Color Rendering Index 90 Total 84 bulbs on 4 light switches for variety of lighting needs. Work Mode Lighting uses 44 bulbs. Video & Photography Mode uses all 84.
- 12 replies
-
- 1
-
-
- todd clippinger
- workshop
- (and 1 more)
-
I spent the last two days building a new cabinet. I had all of my 10" saw blades stashed in my router table storage so I decided to build a cabinet to relocate the blades by the table saw. Next I'm going to re-work the router table cabinet and build three more drawers for more router bits. How long do you think this cabinet will stay empty. BTW, I got lazy on this cabinet and bought the doors. $3 apiece. Couldn't build them for that. As a point of interest, the shelf full of cutoffs in the left side of the picture decided they liked the floor better than the shelf about 5 minutes after I took the picture. Sigh..
.thumb.jpg.573d1497d0675219908c85aabefd797a.jpg)