Search the Community
Showing results for tags 'tote'.
Found 10 results
-
OK folks who here has set up a small lathe in their kitchen for turning pens and other trinkets? My plan is to put it into a plastic tote laying on its side as this should allow the shop vac to contain most of the chips and dust. while this sounds crazy and you'll think my wife will kill me it's actually her idea and lathe so she can build things and generate some interest while watching the so called "Store" during our "Artists open house" currently occupying our dining room.
- 8 replies
-
- 5
-

-
- tote
- mini lathe
- (and 1 more)
-
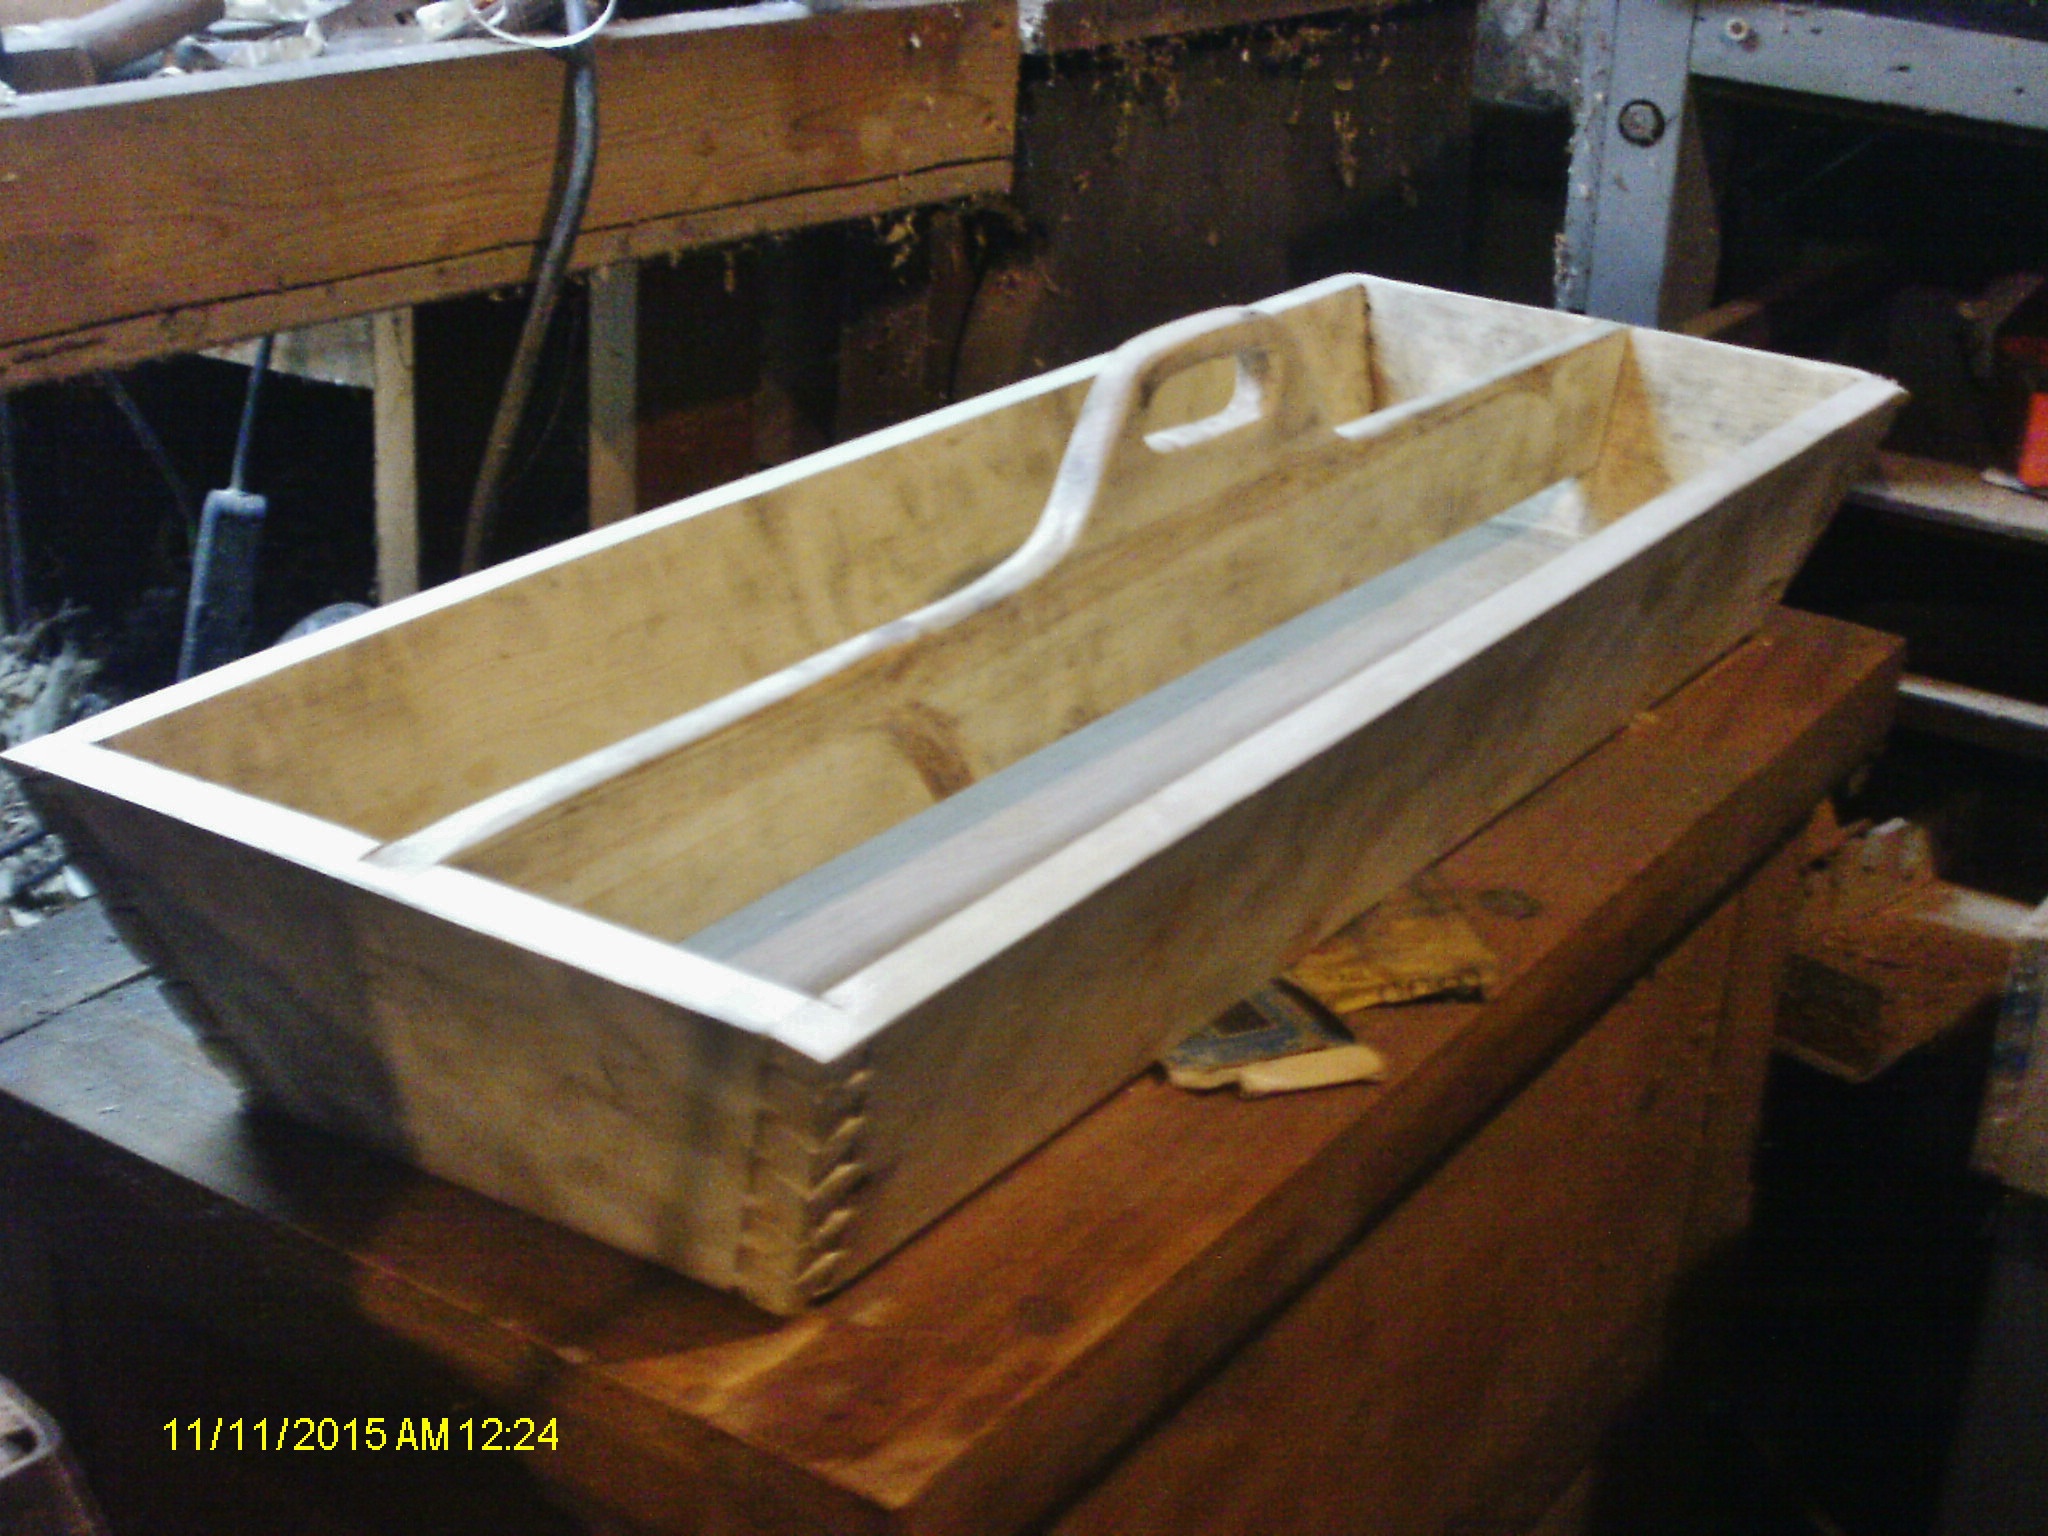
While the sliding tray is .....Ok, I wanted a second one that I could carry to the work site. Needed to have a tote. One with a handle in the middle. Picked up an UGLY plank of 1x10 pine Handsome, ain't he? Figured i could get at least a few pieces out of it. Measured the space for the tote. 25" long, and abot 6-1/2" wide was available, thanks to a backsaw's tote sticking up. Picked out one area for the bottom slab, and two more for piece work. At 6-1/2" wide I neede to slim down the 9-1/2" wide plank for a bottom of the tray. Had an old jig, measure where the blade on the circular saw wound up at, and the outside edge of the sole. Clamped the jig in place to rip off the excess wood Just have to keep the saw's sole against the jig, cuts nice and straight. Grabbed a Wards #78 and made a few rebates ( rabbets to you southern folks) This one is on the end of the bottom piece. needed to go around all four edges on it. Ripped two more boards @ 25" long, by 3-1/2" wide. These were to be the sides. Had a third one ripped a bit wider, for the handle. The first two got a rebate on each end. Counter-bored some holes with a thumbnail-killing 3/8" Forstner bit ( got the nail, but no blood) and installed the sides. Measured two 1x4 pine pieces for the ends. Cut to length, and then laid out a stopped dado. Had to make sure the other was a mirror image of the first. Dados will house the handle piece. Sawed the waste a bit, then chopped the rest out with a couple chisels. One was done, and installed. Needed to find out the height I needed for the ends of the handle. And the final length. Cut to length, then laid out a handle. Finger hole area was done with a 1-3/8" forstner bit, overlapping the hole. Sabresaw cut the rest of the handle out, and then a 3/8" round-over bit in the router to smooth thing up Yeah, yeah, got a bit of an over-cut. Take a good long look, this is about the last time this tote will ever be empty. Handle is just housed, no glue or screws hold it in place. Just the two dados. And now, this is what happens when something empty is placed into the Tool Chest Two full trays. the tote can be lifted right out, to access the tools underneath. And, wonder of wonders The lid will even close! igor needs to use the broom for something besides flying around. Used a few planes to clean up the boards A Jack plane at work. Ohio Tool Co. ( of Auburn NY) #05c and another smaller plane A WWII era Wards Master #3, cleaning up after the Jack plane. As for that second coat of varnish This is while I was rubbing things out. Took two people to get this onto the floor. Needed the bench to work on a few things, I could have got it down, but I wanted it in one piece....Weighs as much as I do
-
https://www.uncommongoods.com/product/wooden-beer-caddy-with-bottle-opener

-
Well, sorted through that pile of Orphans, re moved the chisels and the screwdrivers, and was left with this..pile.. Hmm, got almost than many upstairs, The Stanley #70 is just along for the ride...thought I make a tote that would fit inside Drawer #4. Nothing real fancy, just use up the big scraps.. Started with these two. Earlier, they were just the cut-offs from the 1xs from the drawer builds. random angle, whatever looked good. I was going to use this other board for the bottom... But...plans got changed, somewhere down the line....as this wasn't going to work with these.. Dovetails into edge grain...do not work. Cut the mess off, re-located them to an end grain side. Bottom board now became the side of the tote. But, I only had ONE long board....I did have a 1x2 about the right length. Made a notch to house it, and a screw and glue to hold it. Sized some plywood scraps to fit.. Plywood is glued and nailed in place, ends are glued up. Will let this mess sit overnight, and then see about a handle, and MAYBE a divider or two... Trying to "whittle down" that pile of scraps...stay tuned for part two.
-
Kind of overflowing right now.. Underneath? Makita Sawzall I picked last year for $10. Black case below that? Is a tool box FULL of wrenches and sockets. Craig is supposed to be using that one. Taped up Makita needs need batteries...that WILL hold a charge longer than 10 minutes. The other is almost as bad. Rest of the toys? Mat need to do an inventory first..... Need to find a spot for the latest rust hunt item... $20..after I talked it down by $5. Emerson made, No. 113.226423. I now need to buy a sanding belt for it, and a disc or three....might find some use for this.....maybe.
-

side-view.JPG
steven newman posted a gallery image in Small Crafts, Boxes, Picture Frames, and Lighting
 Side view #1 of a tool tote
 -
handsaw.JPG
steven newman posted a gallery image in Small Crafts, Boxes, Picture Frames, and Lighting
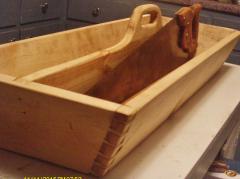 Detail of the corner joint, showing the slight round-overs. That happens to be a full length handsaw sitting very comfortably beside the handle.
 -
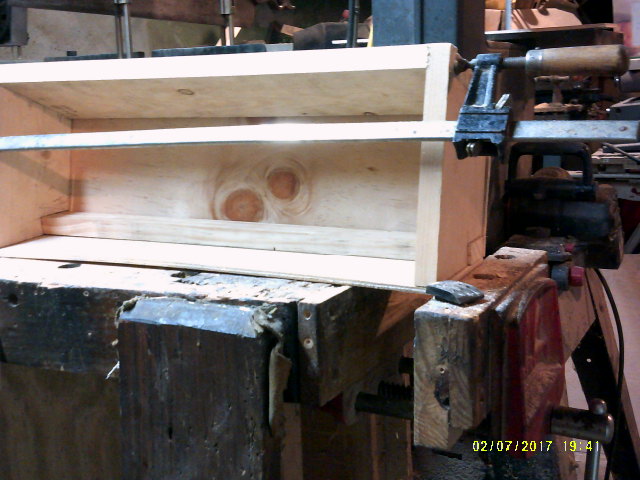
Well, after a LOT of cussing and fighting today, and tearing up two sanding belts....I think it is about done. Back is feeling well enough to let me do a bit of light duty work, so.. Took the case out of the clamps. Gave the bottom edges a jointed edge. Stomped the Oak bottom into place and nailed it off. Nails would hit that oak and go squirrley on me. Corrected a couple nails. Then planed and sanded until the bottom was all nice and flush couple points of nails stuck up a bit, tore the sanding belts. Flipprd this over, and worked down the top edges. The No.7c was a bit slow, and I wasn't really in the mood for slowpokes....got out the cambered No.5...much faster. then a few swipes with a no.4. Installed the handle, using a couple nails on each end..still needs sanding and the like, but... Still have around the dovetail joints to plane flush and sand. maybe a finish of some sort after that???
-
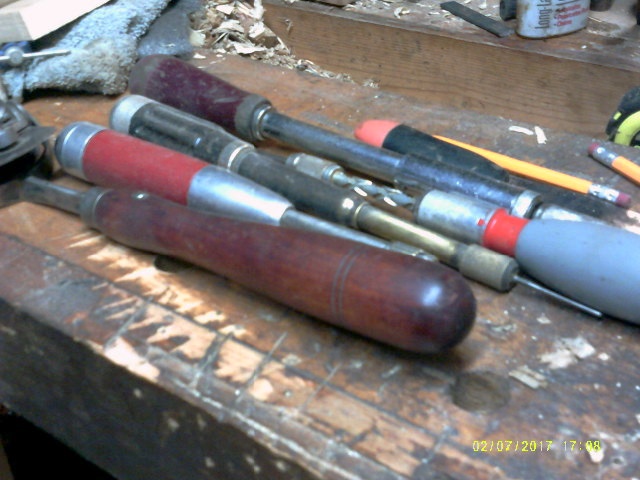
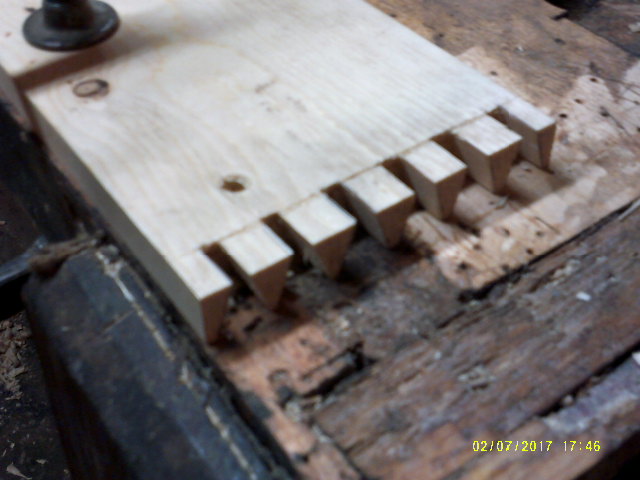
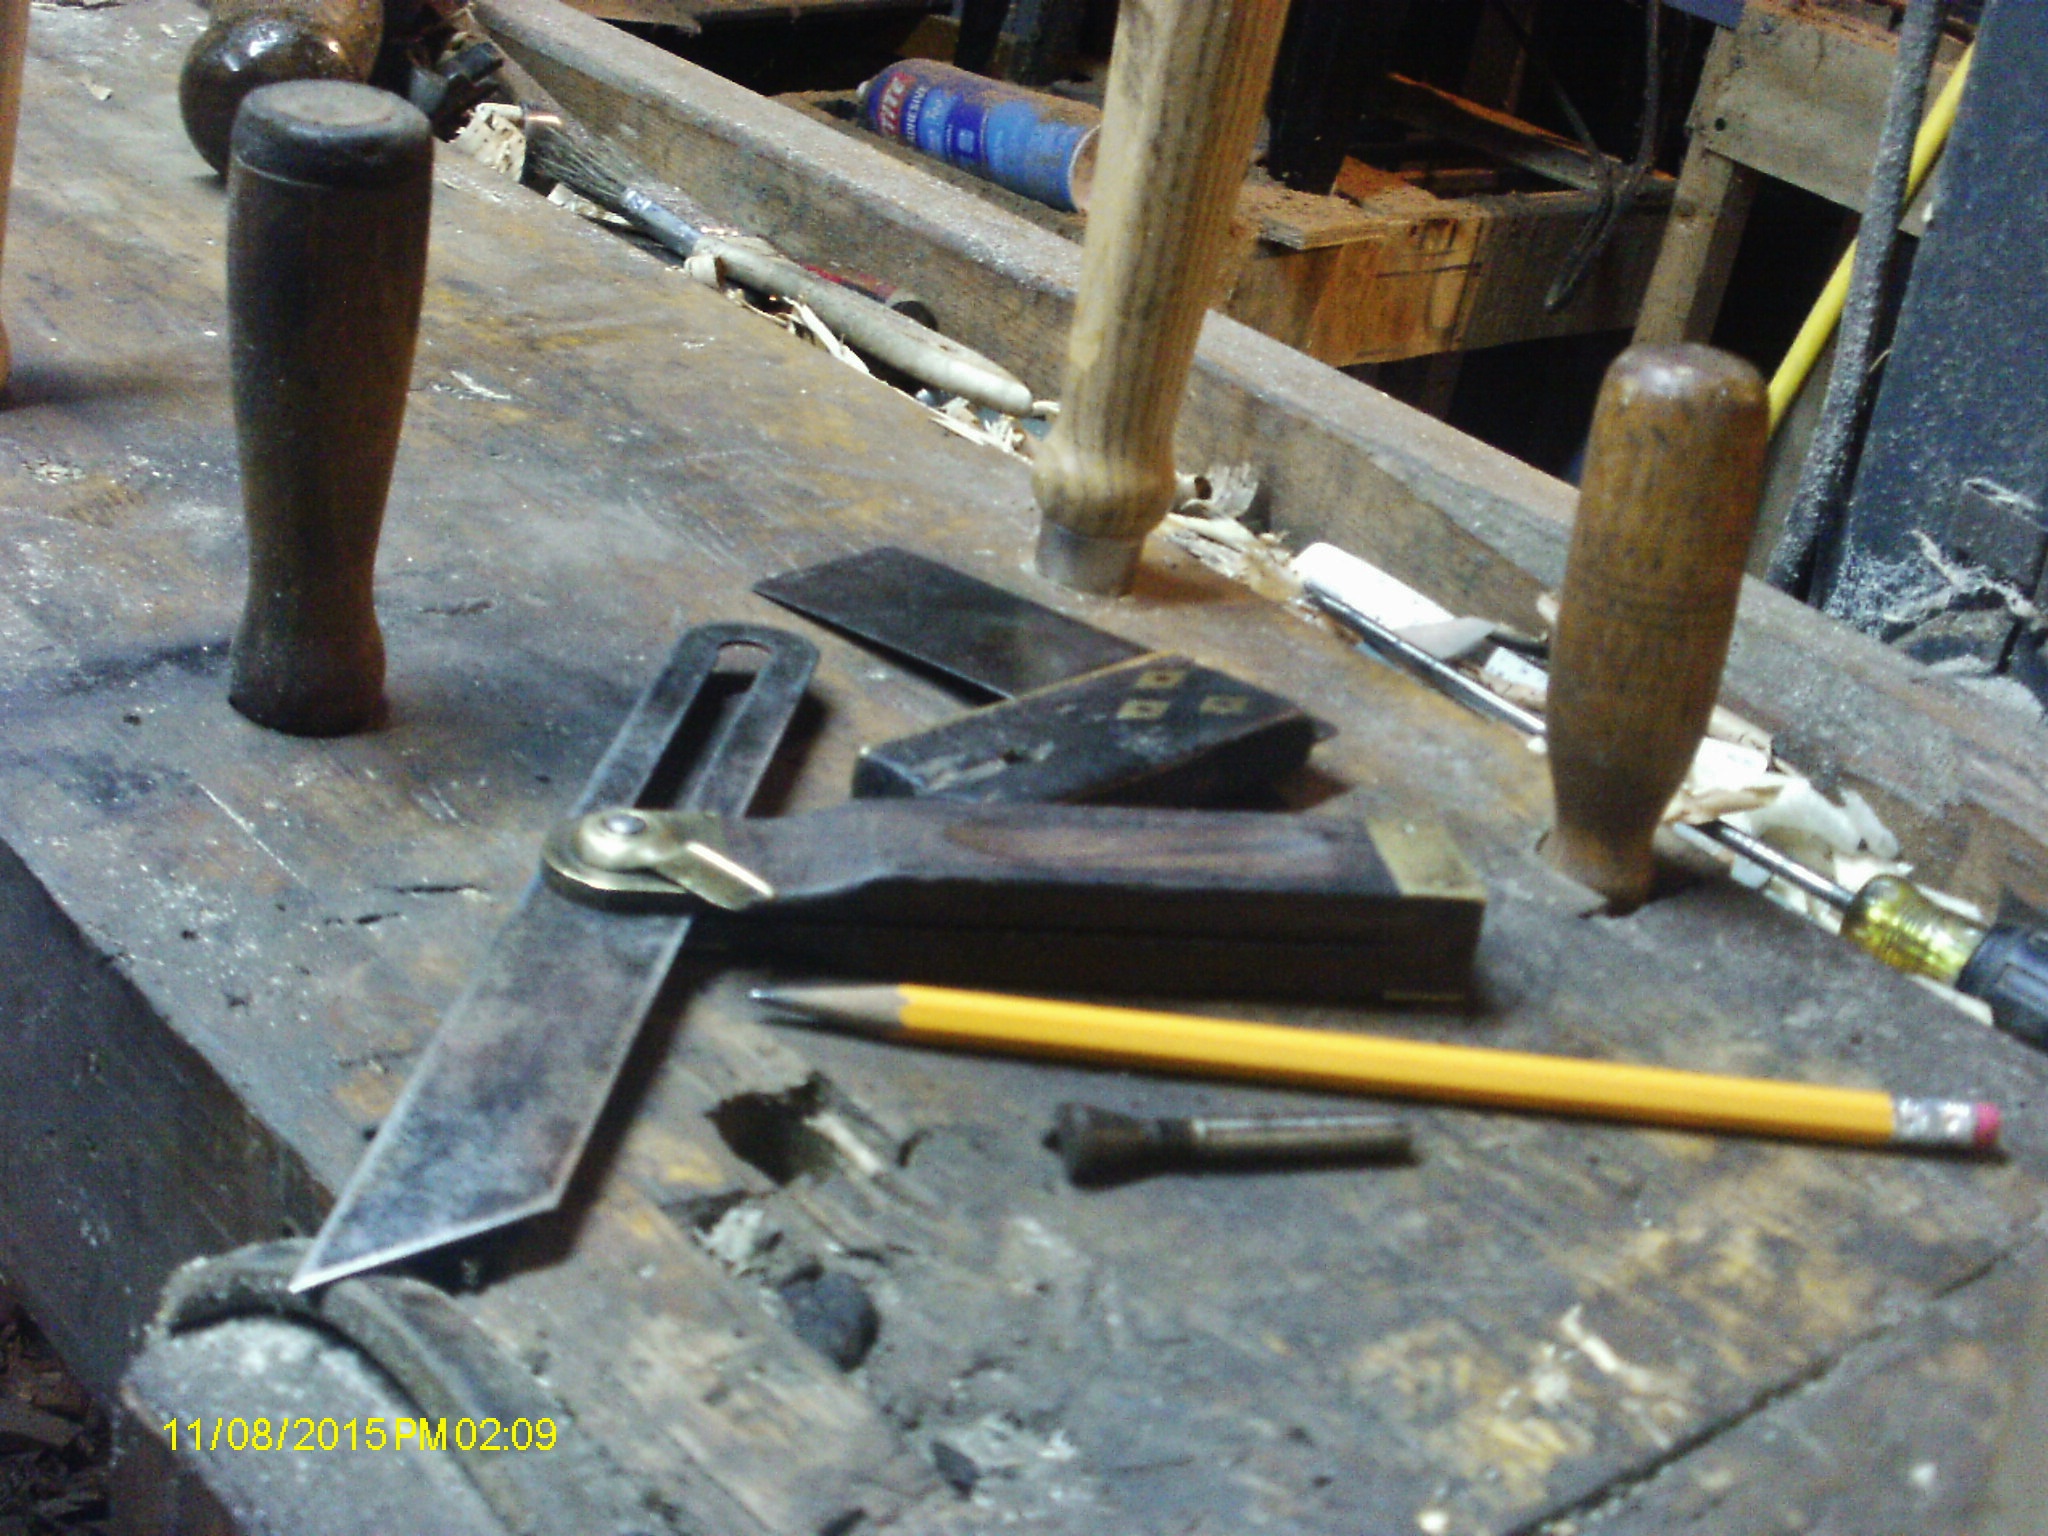
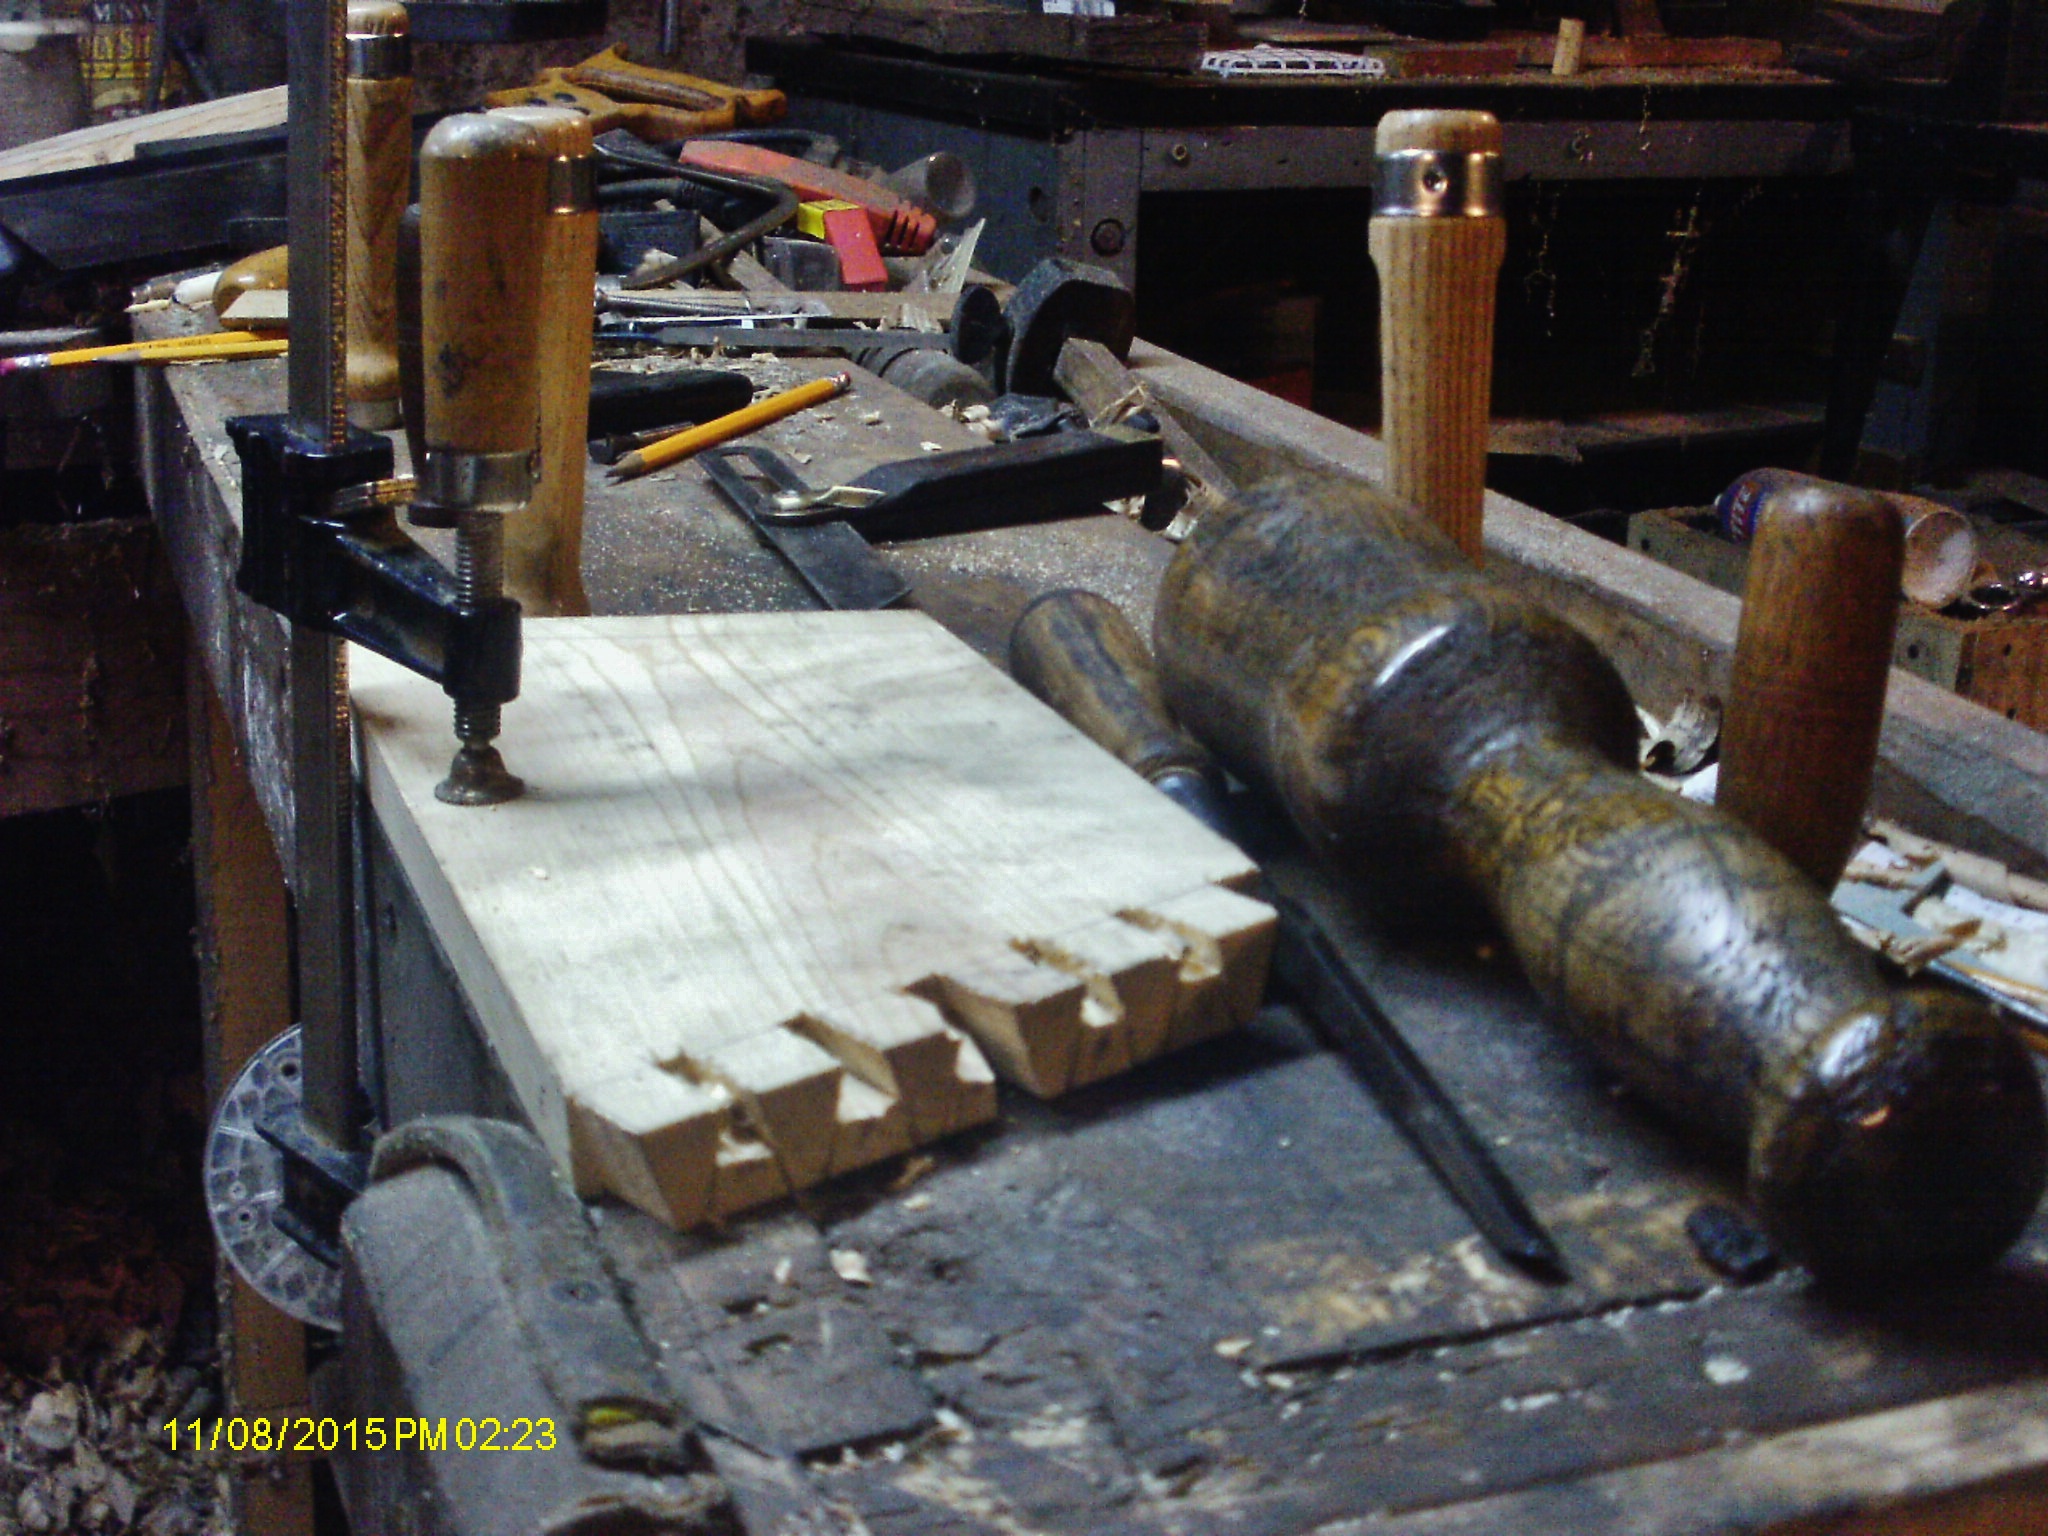
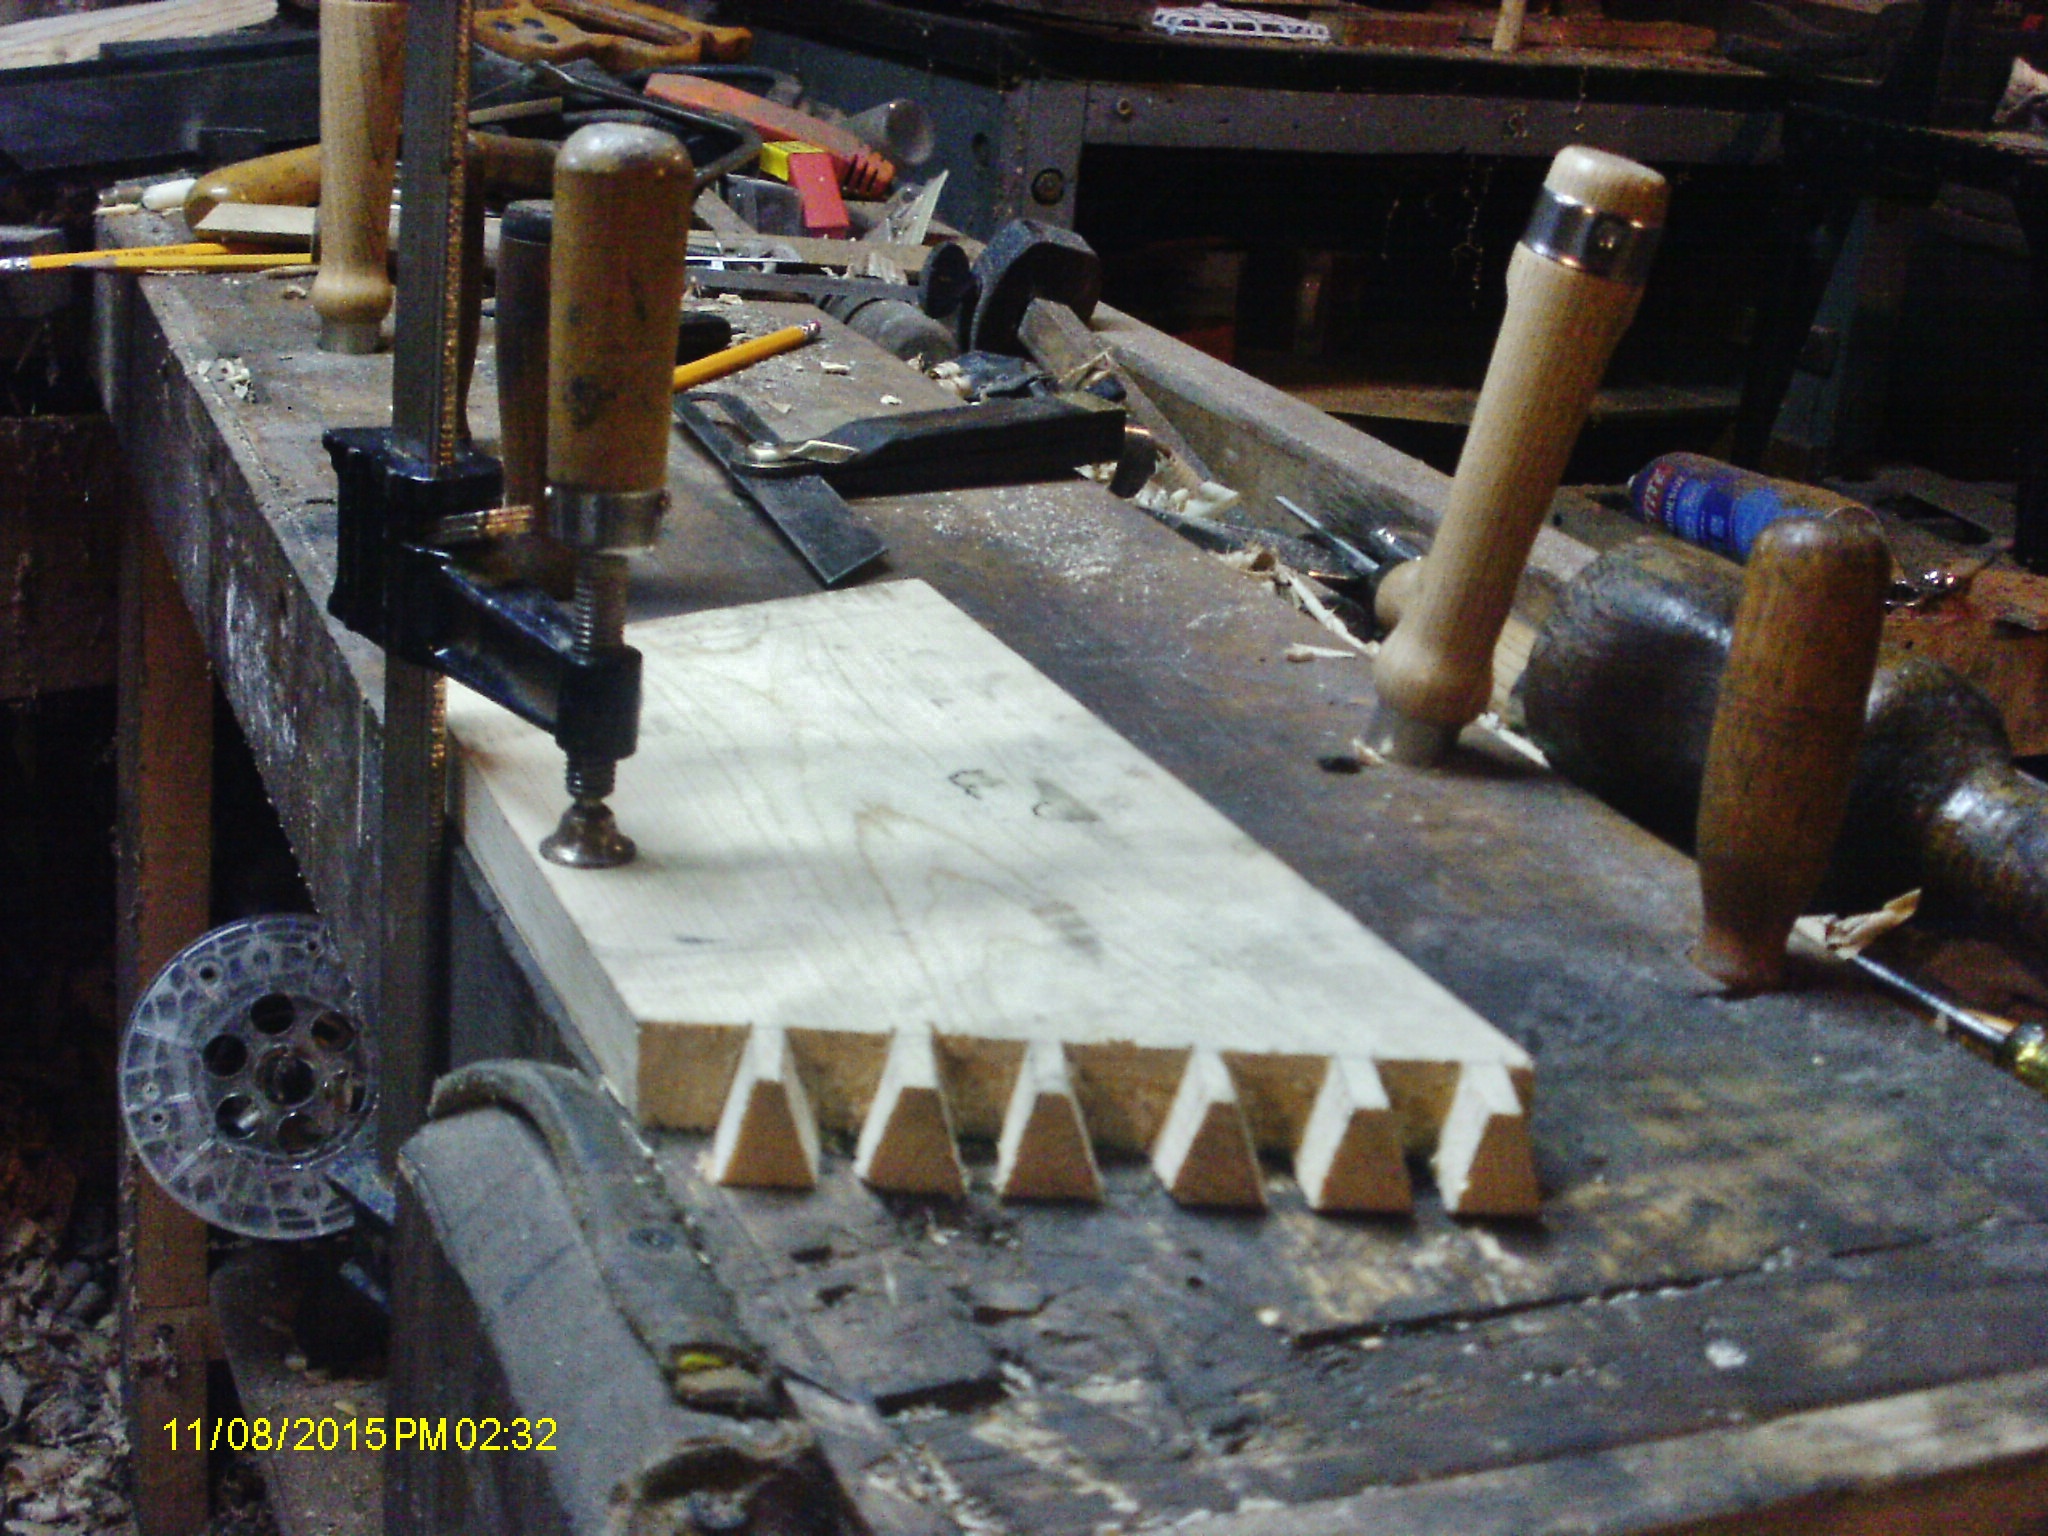
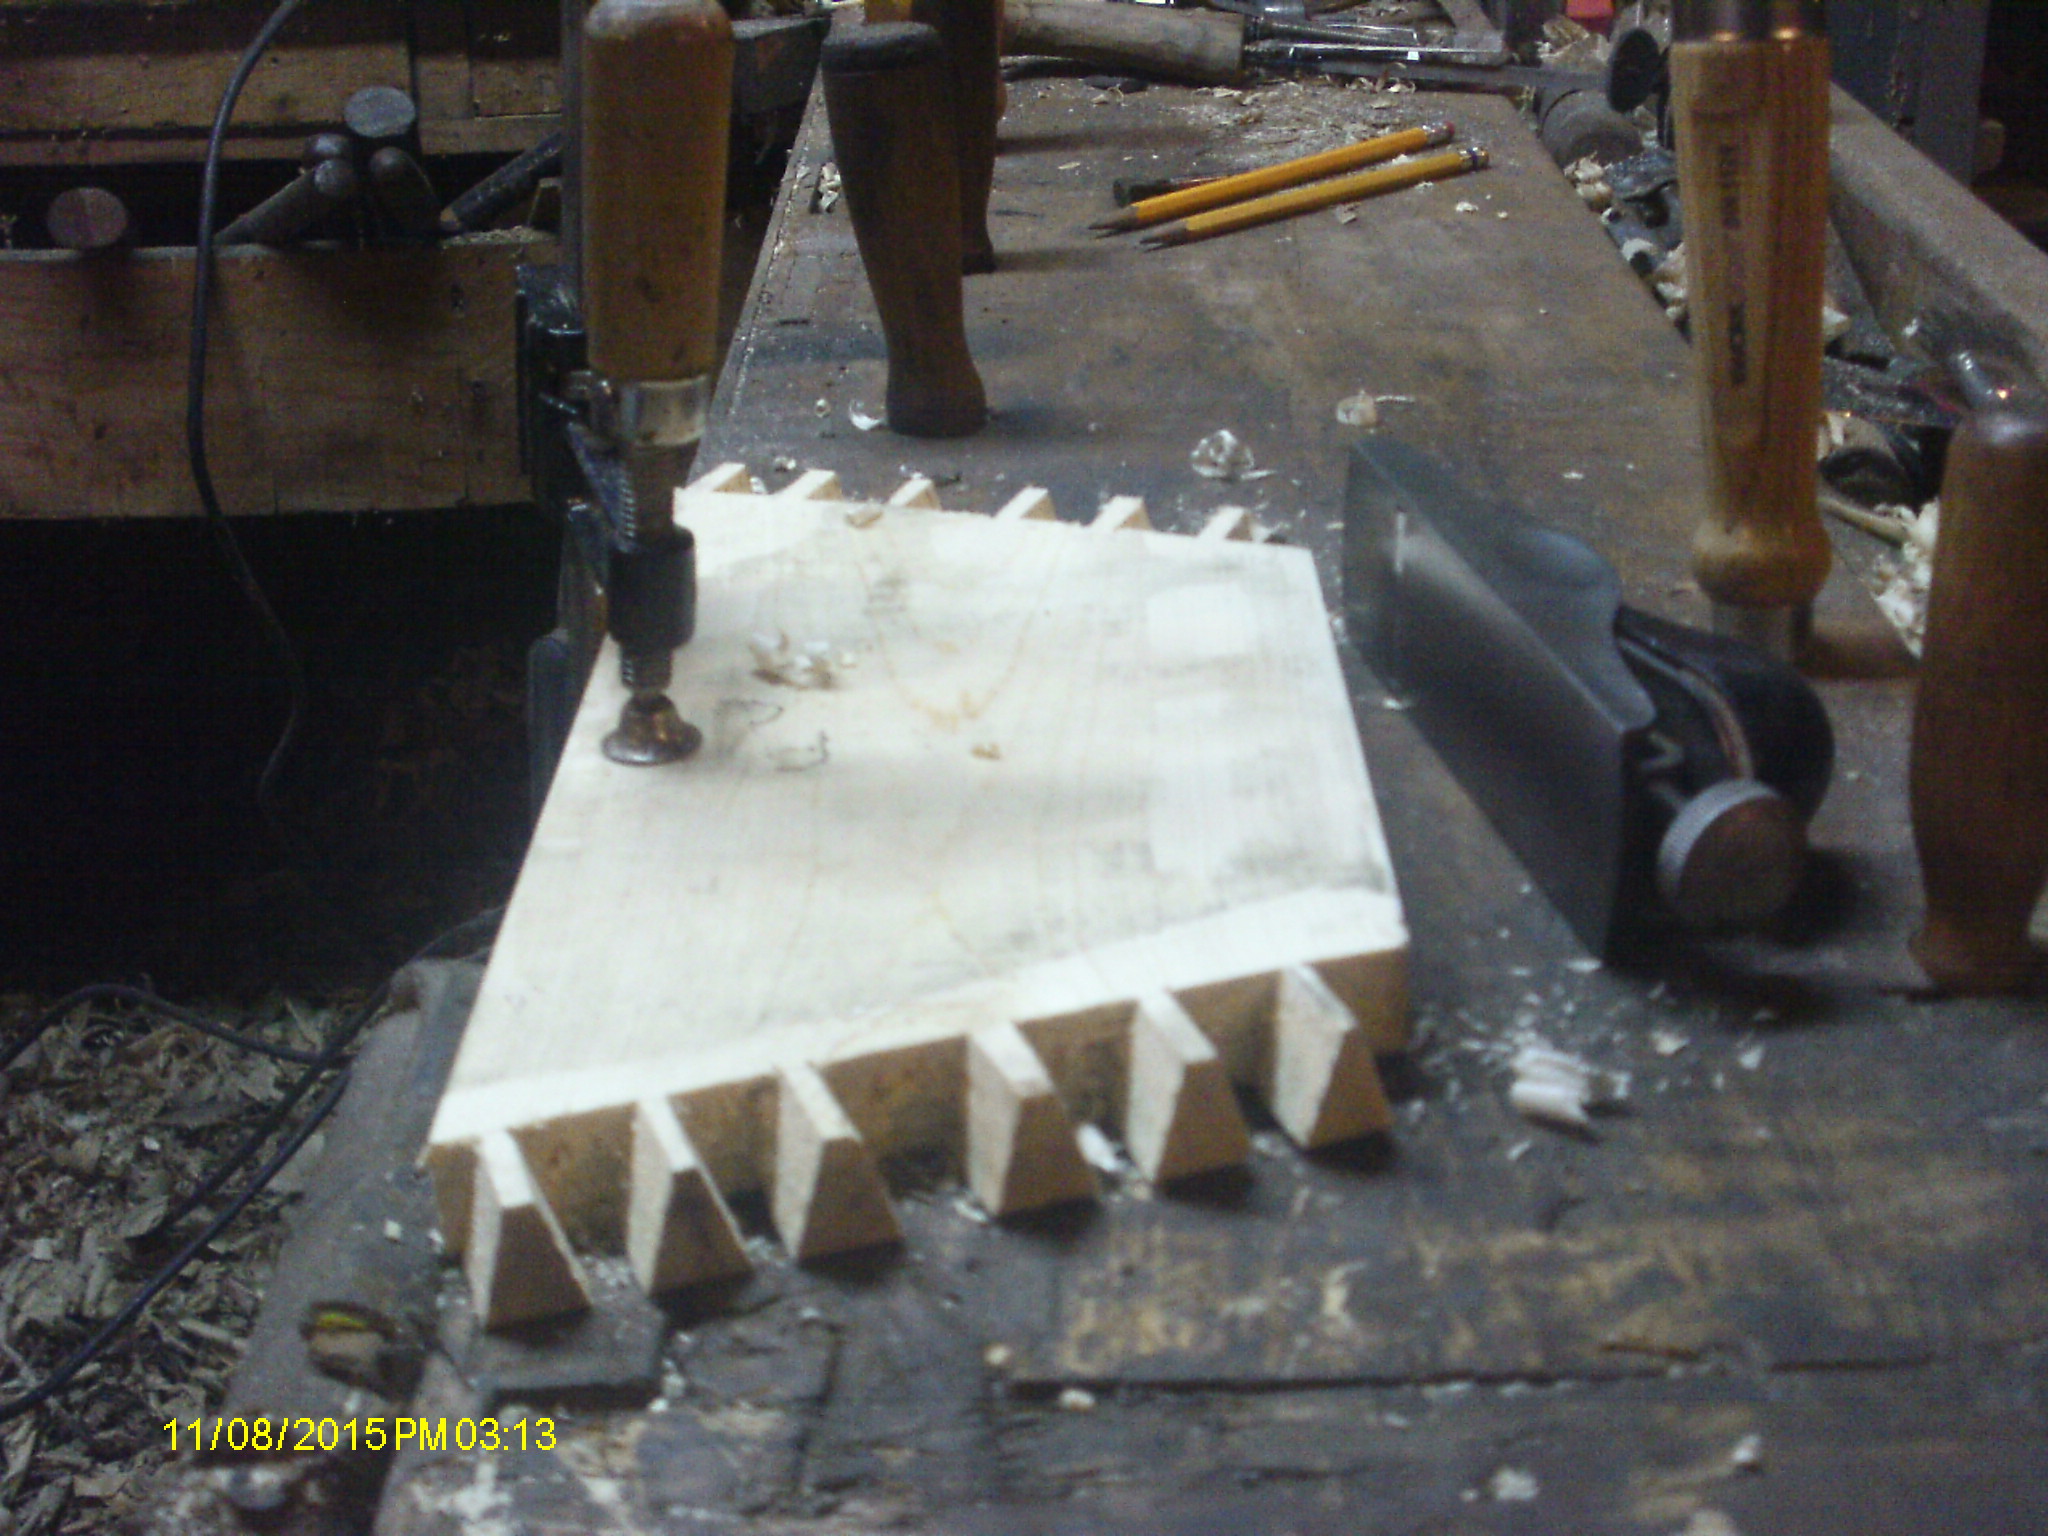
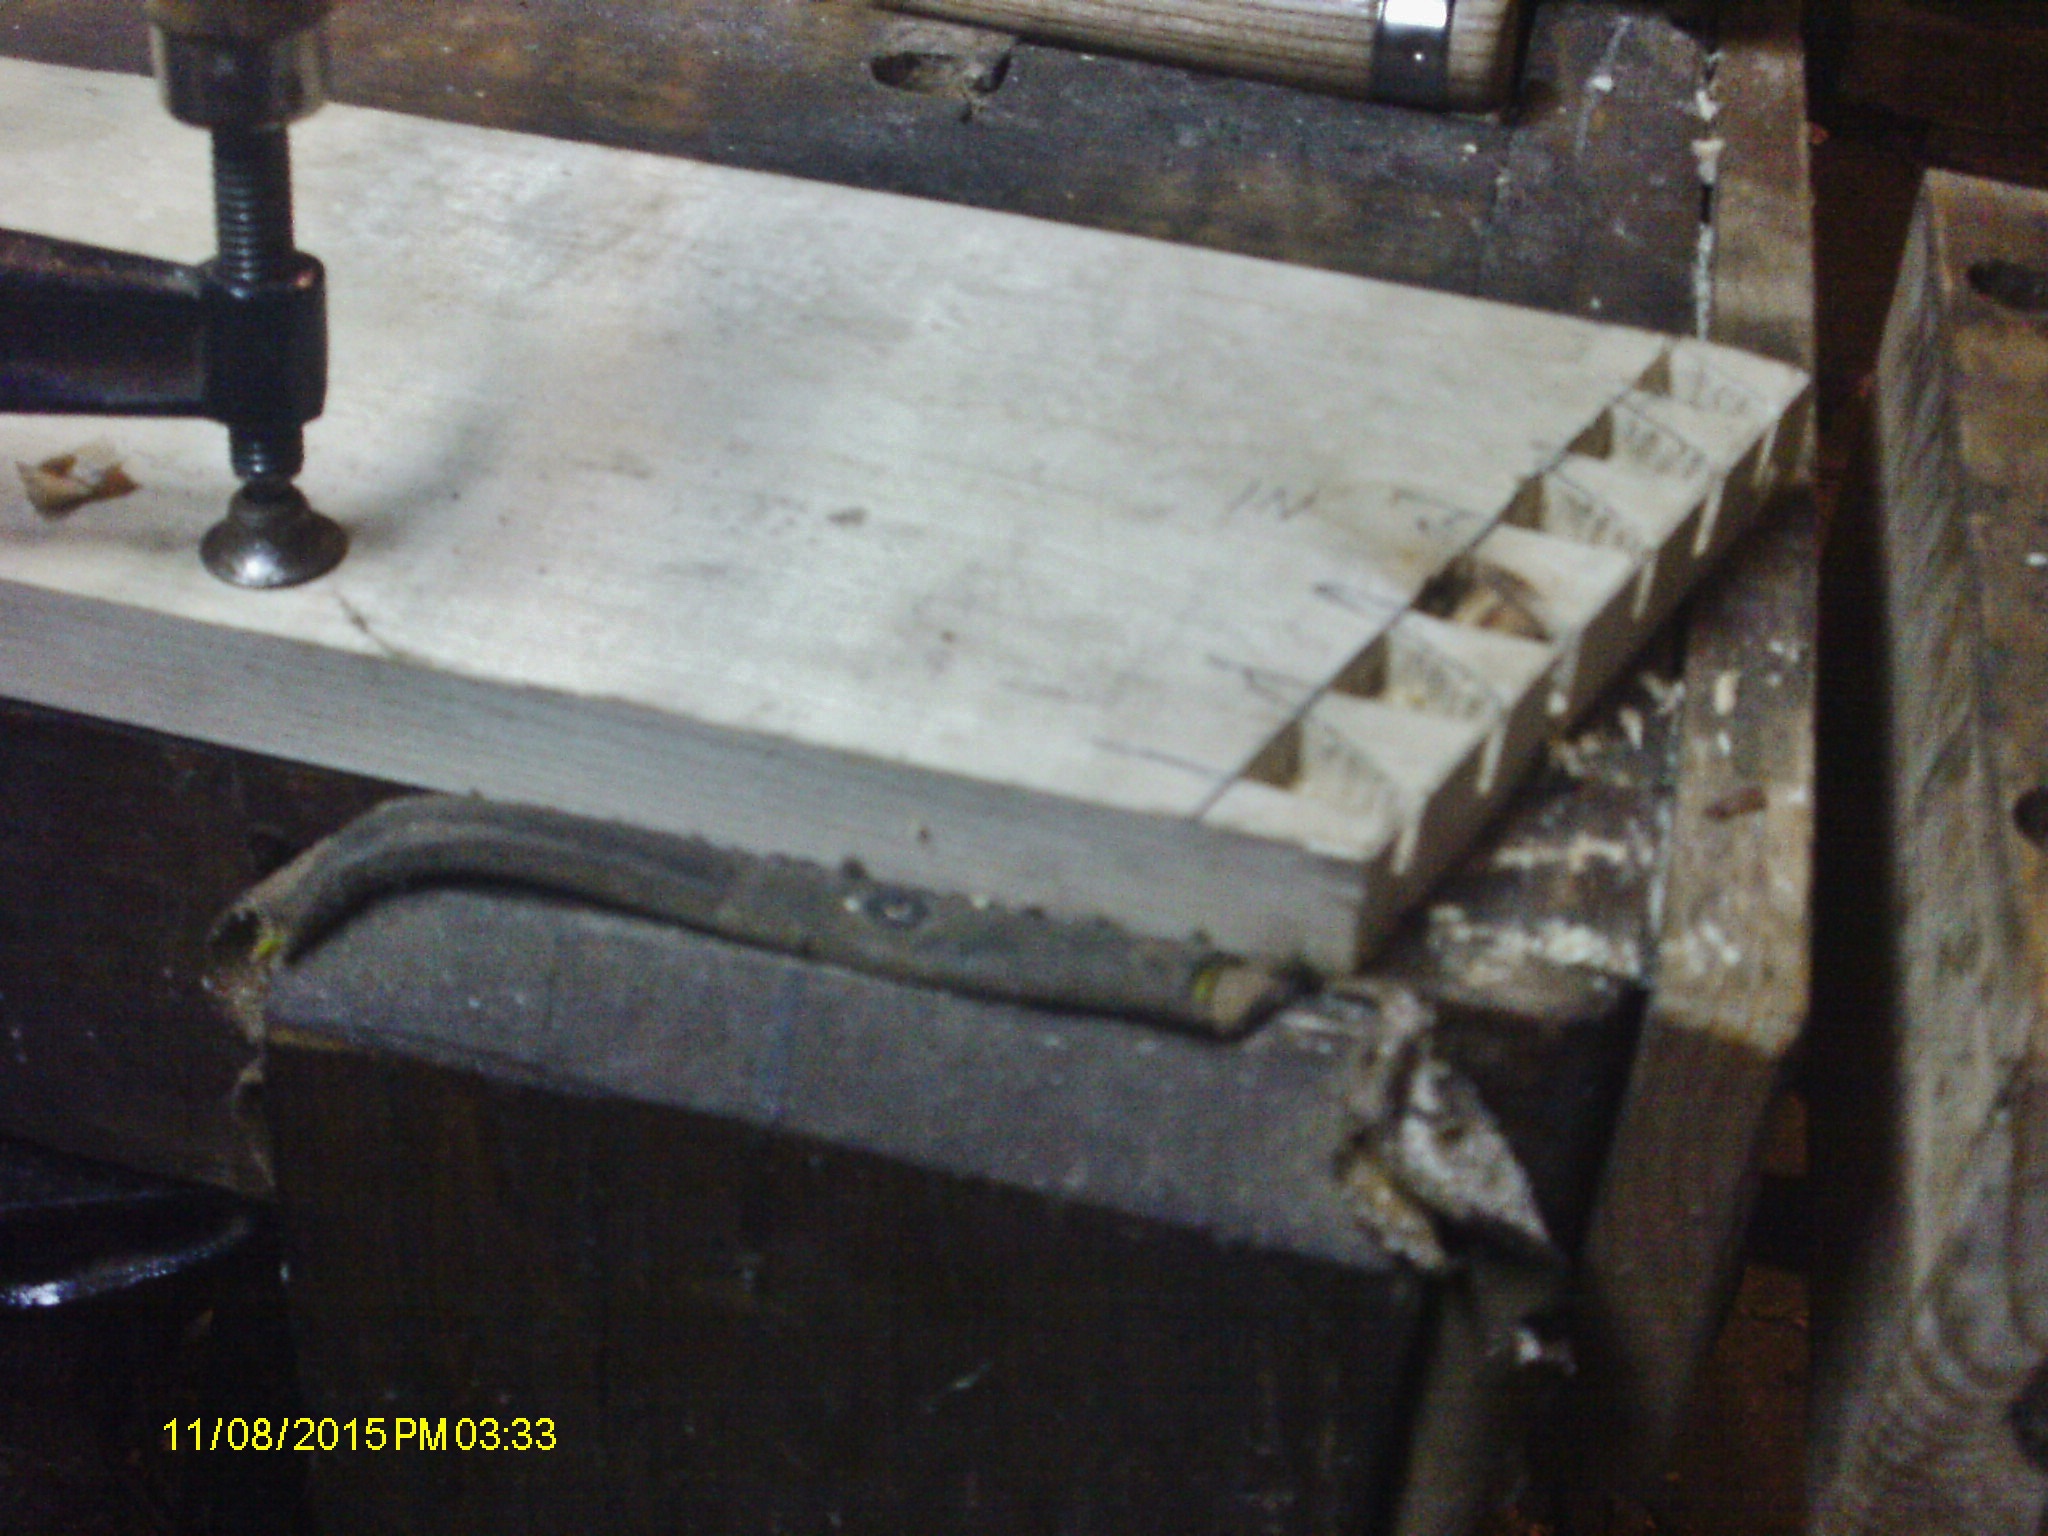
Ok, back is giving me fits lately, something "Popped" a few nights ago. tried to finish up a Loft bed project....didn't happen. Sat with a HOT heating pad on my lower back for a day and a half, FINALLY got so I could walk more than 10" without an "OW!!!" from the back. Had some chisels to sharpen,.....lean a bit over, and the back and forth.....nada. back wasn't happy. Got the back to relax again....had some tools to take to the shop...figured IF I moved slowly, and didn't rush things....I could do a little bit of sawdust making? Ok, got to the shop, back is still in "Happy, happy" mode....got some tools lined up.. that router bit was to mark out what shape I needed (1/2" bit) the Stanley bevel Gauge came home, so i set it to continue the layout lines from the bit. The small square to continue the lines around. Those handles sticking up? Well, dog holes are very nice at keeping chisels from rolling off onto the floor. Now have the "correct" saw to cut dovetails, a Disston No.4, 14" 9ppi, filed rip backsaw... The other backsaw was filed crosscut, and was at least 11 -15ppi. way too fine teeth. Notice the lines? Lately, I've found that IFI cut the pins first, less mistakes by me are made. The "x" is the waste areas. I try to split the lines on the pin boards. All lines cut? Clamp it to the bench, grab a chisel and mallet Chop down halfway. clean the chips away, flip the board over... Chop and pare until the pins look presentable. Being a bit lazy today, i went ahead, and cut the pins on the other end. saved the heavy stuff for last... have to keep checking, making sure the pins are facing the right direction. Have a number on the top edge on each end, telling me where these pins will go. I used the pins to mark the tails out, bandsaw to saw on the WASTE side of the lines. Then time to get to chopping, again.. For some reason, them knots keep getting in the way. Chop and then flip over, and finish them up. test fit....cuss fit, pare a bit...test fit, cuss fit, pare a sliver more....finally. Got both corners to fit together..almost Not too ugly? Laid out where the handle will go, at least on one end. Checked the oak plank for length. It will need to have the sides beveled to match the tote's sides. Handle? well...it is a work in progress.....hoping it is long enough. needs a hole to fit my fat fingers through to actually carry this thing around. I just MIGHT be about 1/2 way done with this thing......think it needs wheels??? Then my old back got tobe stiffening up...time to retreat to the heating pad, and the feel good pills...stay tuned, I ight have this done by turkey Day???
-
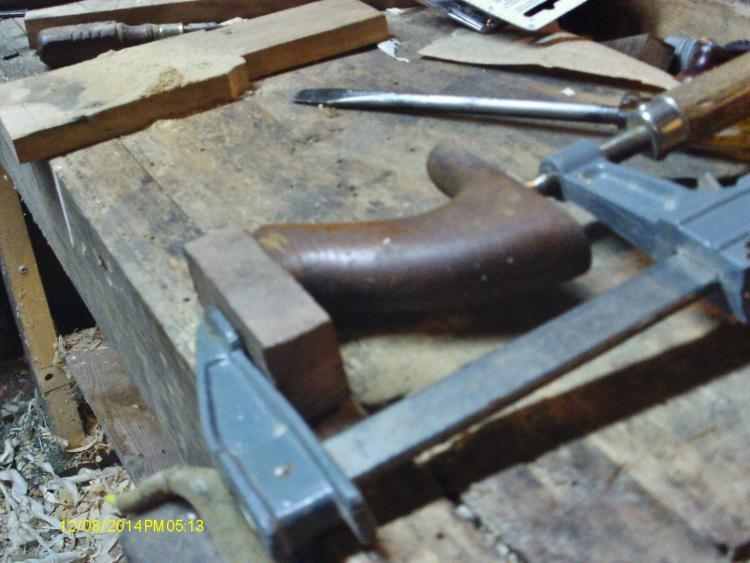
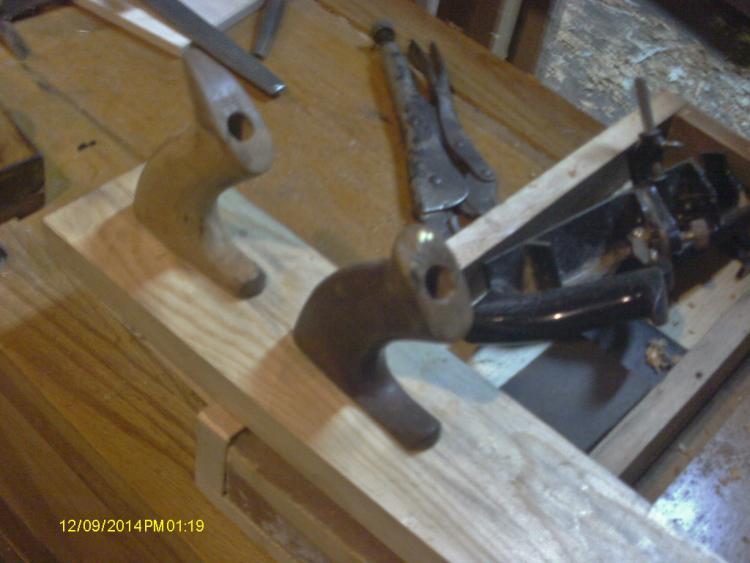
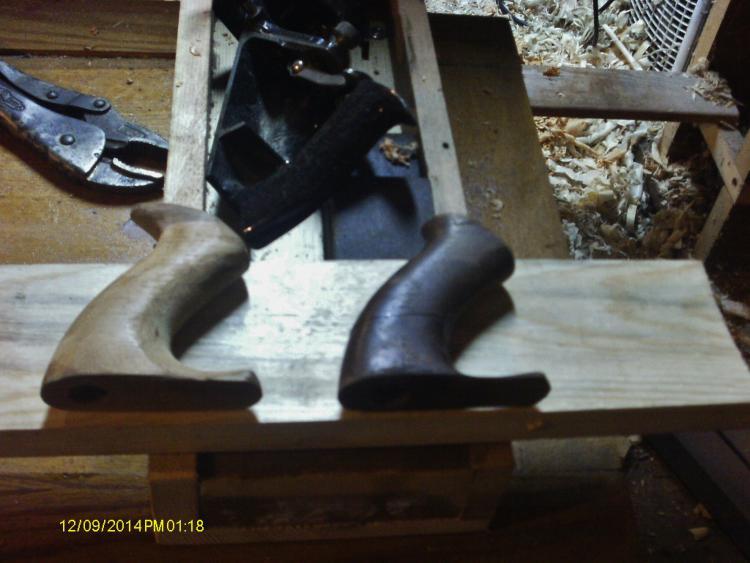
On a Stanley #26 I am rebuilding, the rear handle is ...well...JUNK Found a spare in the parts bin. No cracks, but the horn was broken off. Ground a flat spot where the new one would go. Needed some new wood.....hmmm, maybe a stick of Walnut? Thickness was to thin, but, IF I turned the block on it's face, and cut it to width that way...Then sit it in a clamp overnight. Well this afternoon, went down and removed the clamp. Used a Stanley #31 handle as a pattern of sorts. No carving chisels around.....AH, scrollsaw! Rough cut to the shapes needed. Now, how to smooth them out? Drag out the beltsander, place it handle down in the leg vise. Sand until I liked the shape, and the old finish was gone down to bare wood. Drilled a new hole for that brass thingy on top of the handle bolt Sitting behind the old tote. Those two extra brass screws is something that I will leave out of this rebuild. Another look Time to install this thing, and give a BLO bath Sitting on top of the beltsander I use. Another look? will be giving this entire plane a rub down. 1 coat on the handle, 2 coats on the rest of the wood wroks. BTW: Walnut dust STINKS!!! Nasty smelling stuff.