Search the Community
Showing results for tags 'finger joint'.
-
Our turning club has two TVs and sound system . We added two new microphones, a mixer and a PA speaker this month. The old DeWalt drill box is not large enough to handle all this so I set out to make a box which I fear is a bit oversize . However there will be padding added. measures about 18 l x 7.5 h x 12.5 deep. Did not want it to be too heave so planed the oak sides down to 3/8. As usual forgot pictures till done so staged on on the jig. This is what will go into the box plus the sound mixer. Router setup for finger joints. Had to change the clamps for 3/8 wood and didn't quite get it tight for first one and had to make a new end board That take care of and tight clamps left no problem. Laid out to check dado for continuity . The hard part here for me is to remember the order So I mark the corners to match. Test fit for sides. Now to make the top and bottom and hope I remember to take pics.
-
With the club's long time charity deciding they don't want wooden toys any more, we needed to find a new place. One current place is the local children's hospital taking 30 small boxes a month for the patients to decorate while there and take home. So I started making some. The first batch (6 of them) was mitered corners with a sliding lid, used keys on the corners. Second batch (5) finger-jointed and solid top rabbeted. Looking for something a little more efficient in production. Third was a prototype with an inset lid held with a brass rod as pivot hinge. Ok, but finicky. Forth was today. Mitered corners and inset plywood top and bottom panel. Biscuits to reinforce the miter joints. I did another groove on the inside near the top. Then once the box was assembled and glue dried, did another pass with the 1/4" bit on the router table. This made a double rabbet to hold the lid in place. Saves having to do an inner layer insert. I'll do a run of these when I get some more lumber and plywood. I talked to a local furniture shop last week and they told me the set out their scraps on Monday afternoon for the trash man. I was there and picked some of their cutoffs from the scrap bin;. Most of it was 1/2" poplar, probably drawer sides. A bit of maple and some cherry. In another adventure, I got a bunch of leftovers from red oak flooring (one time find) . Well, started today to rip off the tongue and groove edges so I could do glue-up. Then I thought, hey, the ends are going to be hidden by miter joints, just use them to align the glue up and rip off only the top and bottom edges. Lesson learned. It appears that the groove side is slightly wider on the top than on the bottom. I'm thinking that's so the top joint is tight and the bottom does not matter so much. I got a lot of "cup" in the top that I needed to get out with cauls and now I looks like there's a gap on the bottom of that joint. Well, nice try. Wait for the glue to dry and rip them apart. On the other ones, I will try just trimming off a bit on the groove side to align it up.
-
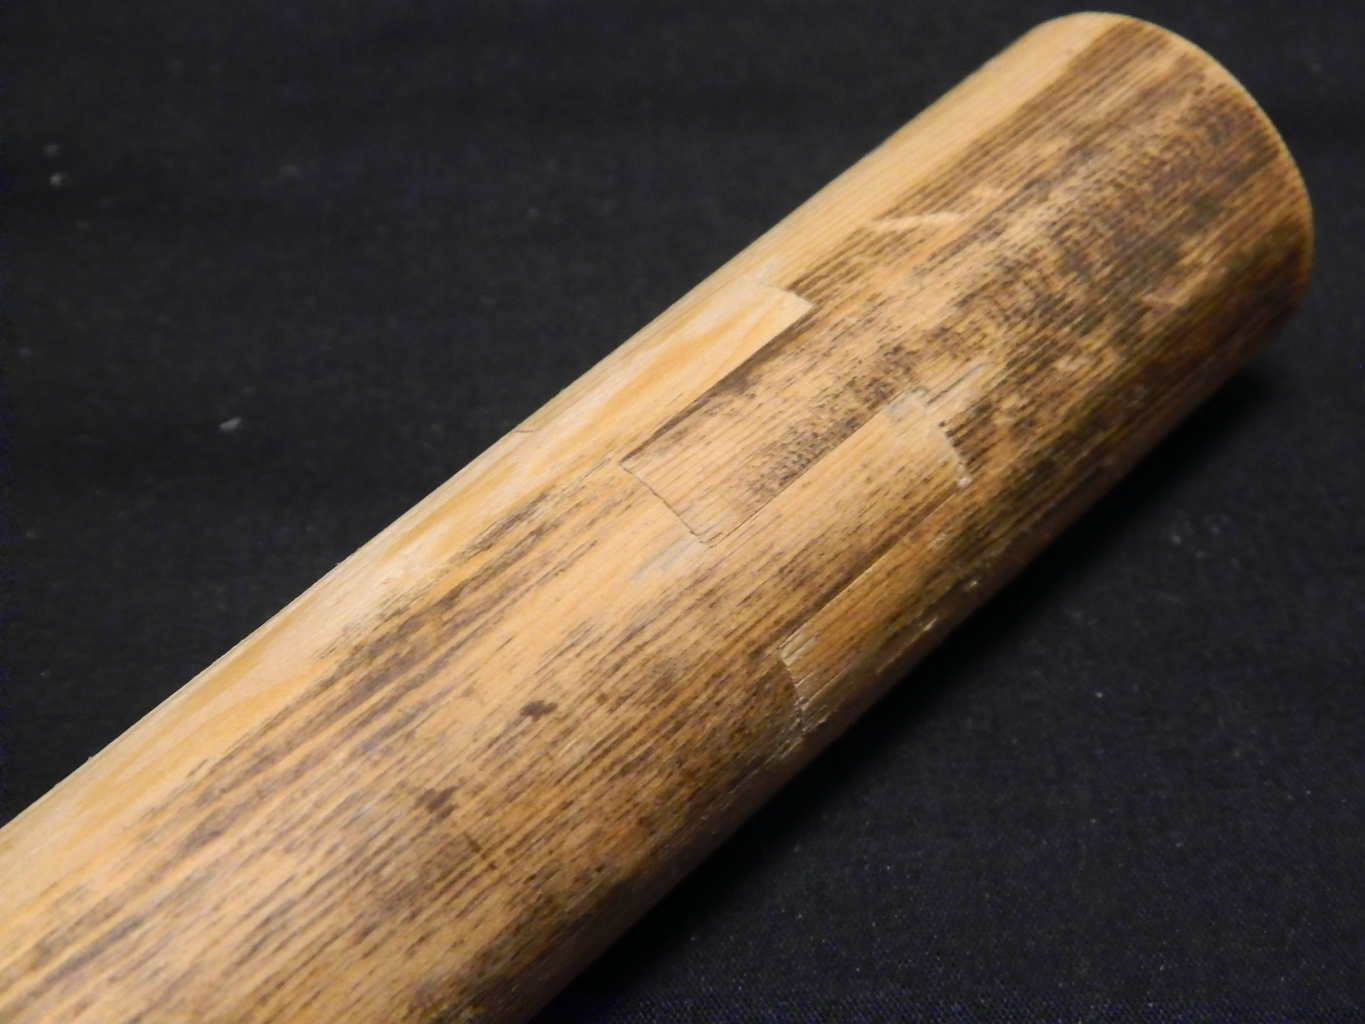
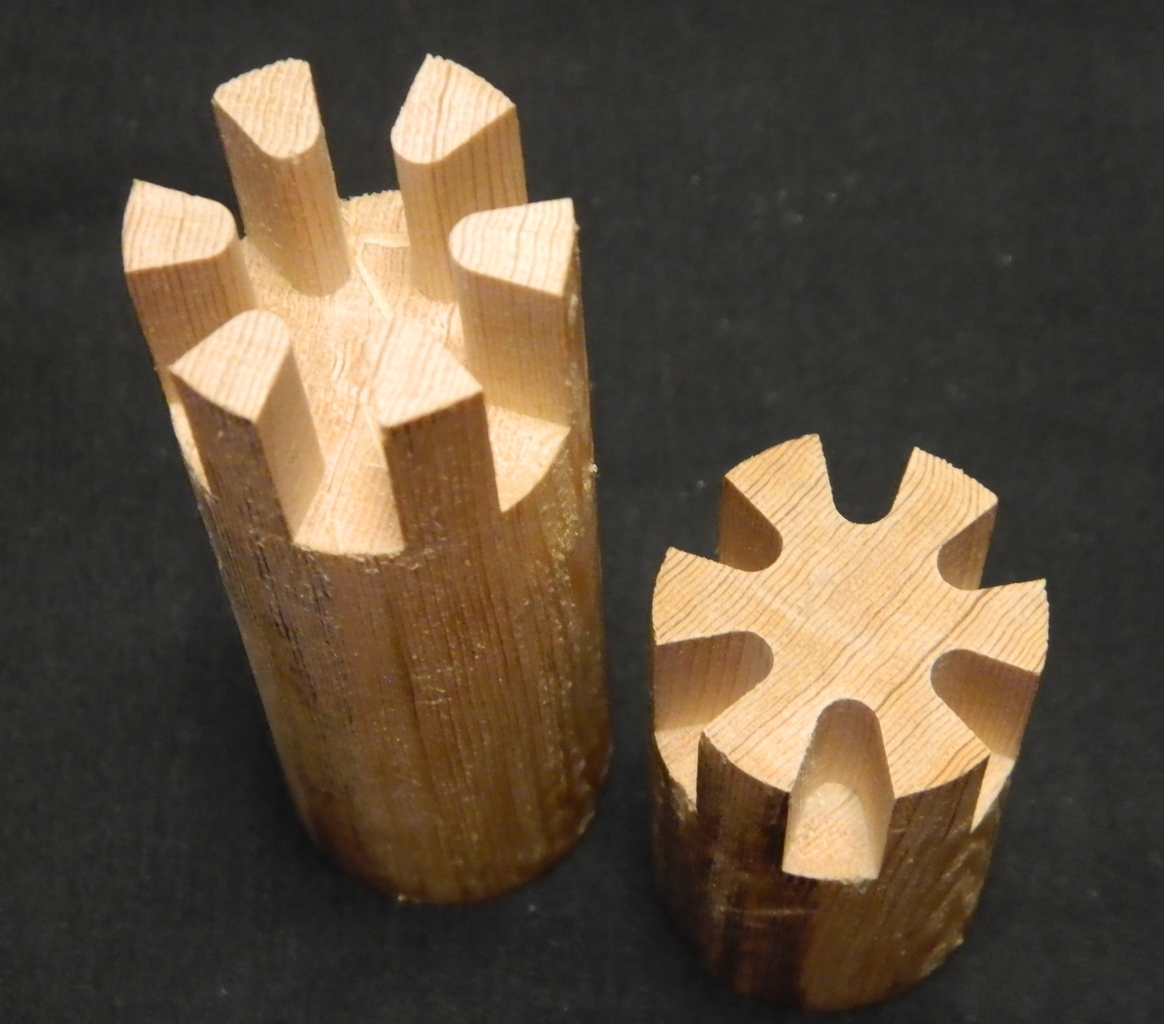
I've got a closet in my spare bedroom (storage room) that I wanted to add another clothes hanger rod to. Among my scrap pieces I had two 1.25" diameter closet rod sections that together would be long enough, but neither was long enough on their own. The distance to span is roughly 22". This is a CNC-cut splice joint I came up with to solve the problem. Test cut on smaller scraps shown in the photos. I'm calling it my radial finger joint. Finished spliced rod now loaded with clothes and seems to be able to handle the weight with no complaint. If it does fail eventually I'll report back. 4D
-
Trinket Box w/ Finger Joints
DerBengel posted a gallery image in Small Crafts, Boxes, Picture Frames, and Lighting
- 2 comments
-
- finger joint
- derbengel
-
(and 1 more)
Tagged with:


